
Decoding the Delight: The Science of Simple Fudge

The 3-Ingredient Peanut Butter Fudge Recipe
Key Equipment:
- Microwave-safe bowl
- 8×8 inch baking dish
- Parchment paper
Ingredients:
- 1 (14 ounce) can sweetened condensed milk
- 1 (16 ounce) jar creamy peanut butter (not natural)
- 1 teaspoon vanilla extract
Step-by-Step Instructions:
- Line an 8×8 inch baking dish with parchment paper, leaving an overhang on the sides for easy removal.
- In a large microwave-safe bowl, combine the sweetened condensed milk and peanut butter.
- Microwave on medium power (50%) for 1 minute. Stir well.
- Microwave for another 30 seconds on medium power. Stir again until smooth and completely combined. If needed, microwave in additional 15-second intervals, stirring after each, until smooth. Be careful not to overheat.
- Stir in the vanilla extract.
- Pour the mixture into the prepared baking dish and spread evenly.
- Refrigerate for at least 2 hours, or until firm.
- Lift the fudge out of the dish using the parchment paper overhang. Cut into squares and serve.
Confessions of a Fudge Fanatic: My Quest for Perfection
My first few attempts at this recipe were, to put it mildly, disappointing. I was impatient. I cranked up the microwave power, thinking it would speed things up. Big mistake. The peanut butter seized, the fudge was greasy, and the texture was all wrong. Then, I had an “Aha!” moment: low and slow is the way to go. Reducing the microwave power and using shorter bursts of heating allowed the peanut butter and condensed milk to meld together properly. Another challenge was the peanut butter itself. Like many of you, I initially thought natural peanut butter would be a healthier option. However, the oil separation inherent in natural peanut butter created a grainy texture in the final product. Switching to a stabilized, commercially processed peanut butter made a world of difference. It provided the perfect balance of fat and solids for a smooth, creamy fudge. I even experimented with chilling times. Two hours? Not nearly enough for a truly firm fudge. Overnight refrigeration is the key to achieving that perfect, sliceable consistency. Finally, I played around with add-ins. A sprinkle of sea salt on top adds a delightful contrast to the sweetness. But honestly, the simplicity of the original recipe is what makes it so appealing. If you love dips, be sure to check out this Caramel Apple Cheesecake Dip! Looking for something fruity? This Blueberry Lemon Dump Cake is a winner!The Foolproof Fudge Formula: A Bulletproof Technique
After countless batches, tweaks, and taste tests, I’ve distilled the process down to a simple, reliable technique. Follow these steps, and you’ll be enjoying perfect 3-ingredient peanut butter fudge in no time.- Embrace Low and Slow: Microwave on medium power (50%) in short intervals (1 minute, then 30 seconds, then 15 seconds), stirring thoroughly after each. This prevents the peanut butter from seizing and ensures even melting.
- Choose the Right Peanut Butter: Opt for a stabilized, commercially processed creamy peanut butter. Avoid natural peanut butters due to their oil separation issues.
- Patience is Paramount: Refrigerate the fudge for at least 4 hours, or preferably overnight, to allow it to firm up completely.
- Parchment Paper is Your Friend: Line your baking dish with parchment paper, leaving an overhang. This makes removing the fudge a breeze.
- Vanilla Makes a Difference: Don’t skip the vanilla extract. It enhances the overall flavor and adds a touch of sophistication.
Why is it important to microwave the ingredients on medium power and in short intervals?
Microwaving on medium power in short intervals prevents the peanut butter from seizing and ensures even melting, which is crucial for a smooth fudge texture.
Why does the recipe specify using creamy peanut butter instead of natural peanut butter?
Natural peanut butter tends to have oil separation, which can result in a grainy texture in the final fudge. Creamy, commercially processed peanut butter provides a more stable fat content for a smoother result.
How long should I refrigerate the fudge for the best results?
Refrigerating the fudge for at least 4 hours, or preferably overnight, is recommended to allow it to firm up completely and achieve the best sliceable consistency.
Can I skip the vanilla extract in the recipe?
While you could skip it, the vanilla extract enhances the overall flavor profile of the fudge and adds a touch of sophistication.
3-Ingredient Peanut Butter Fudge
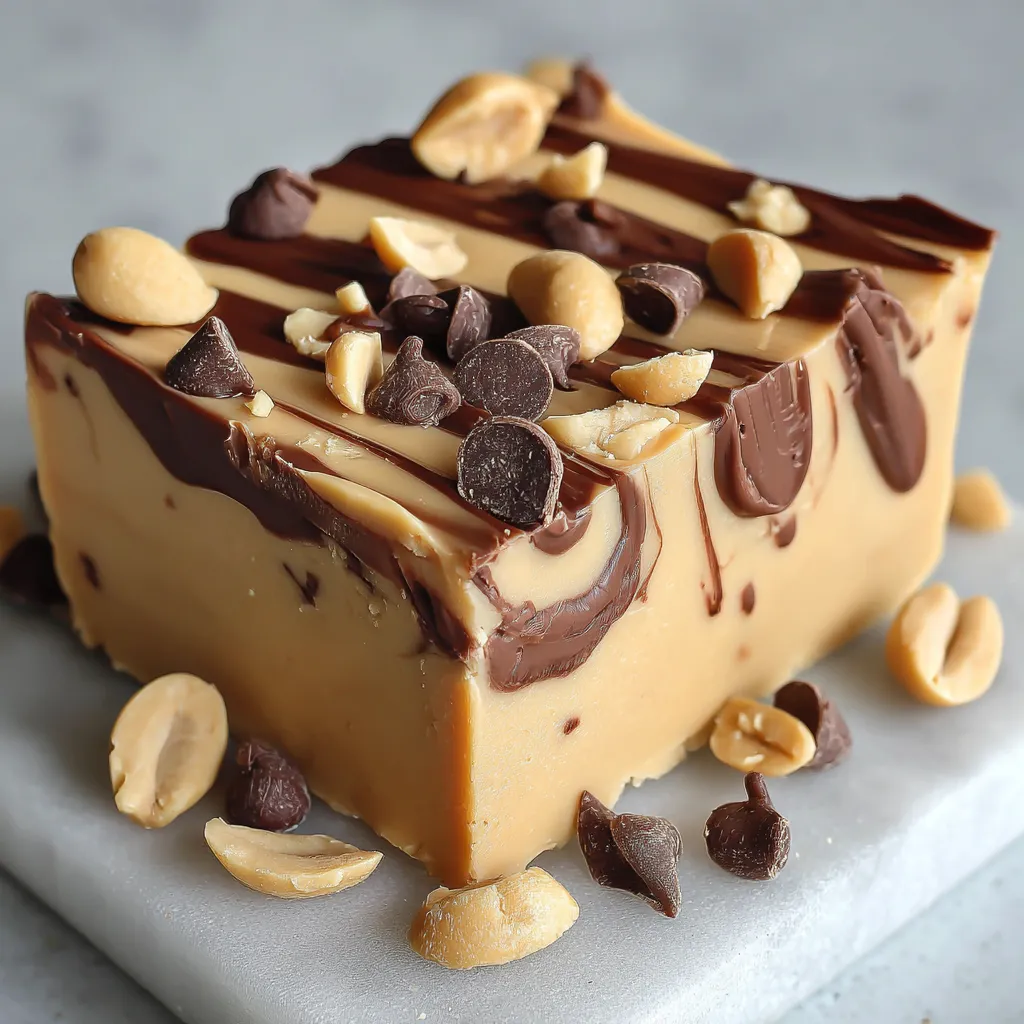
This incredibly easy 3-Ingredient Peanut Butter Fudge recipe delivers a velvety smooth, melt-in-your-mouth dessert with minimal effort. The combination of sweetened condensed milk, creamy peanut butter, and vanilla extract creates a rich and satisfying treat that’s perfect for any occasion.
Ingredients
Equipment
Method
- Line an 8×8 inch baking dish with parchment paper, leaving an overhang on the sides for easy removal.
- In a large microwave-safe bowl, combine the sweetened condensed milk and peanut butter.
- Microwave on medium power (50%) for 1 minute. Stir well.
- Microwave for another 30 seconds on medium power. Stir again until smooth and completely combined. If needed, microwave in additional 15-second intervals, stirring after each, until smooth. Be careful not to overheat.
- Stir in the vanilla extract.
- Pour the mixture into the prepared baking dish and spread evenly.
- Refrigerate for at least 2 hours, or until firm. For best results, refrigerate overnight.
- Lift the fudge out of the dish using the parchment paper overhang. Cut into squares and serve.
Notes
For the best results, use a stabilized, commercially processed creamy peanut butter and avoid natural peanut butters. Microwave on medium power in short intervals to prevent the peanut butter from seizing. Refrigerate for at least 4 hours, or preferably overnight, for a firm fudge. A sprinkle of sea salt on top can add a delightful contrast to the sweetness.


