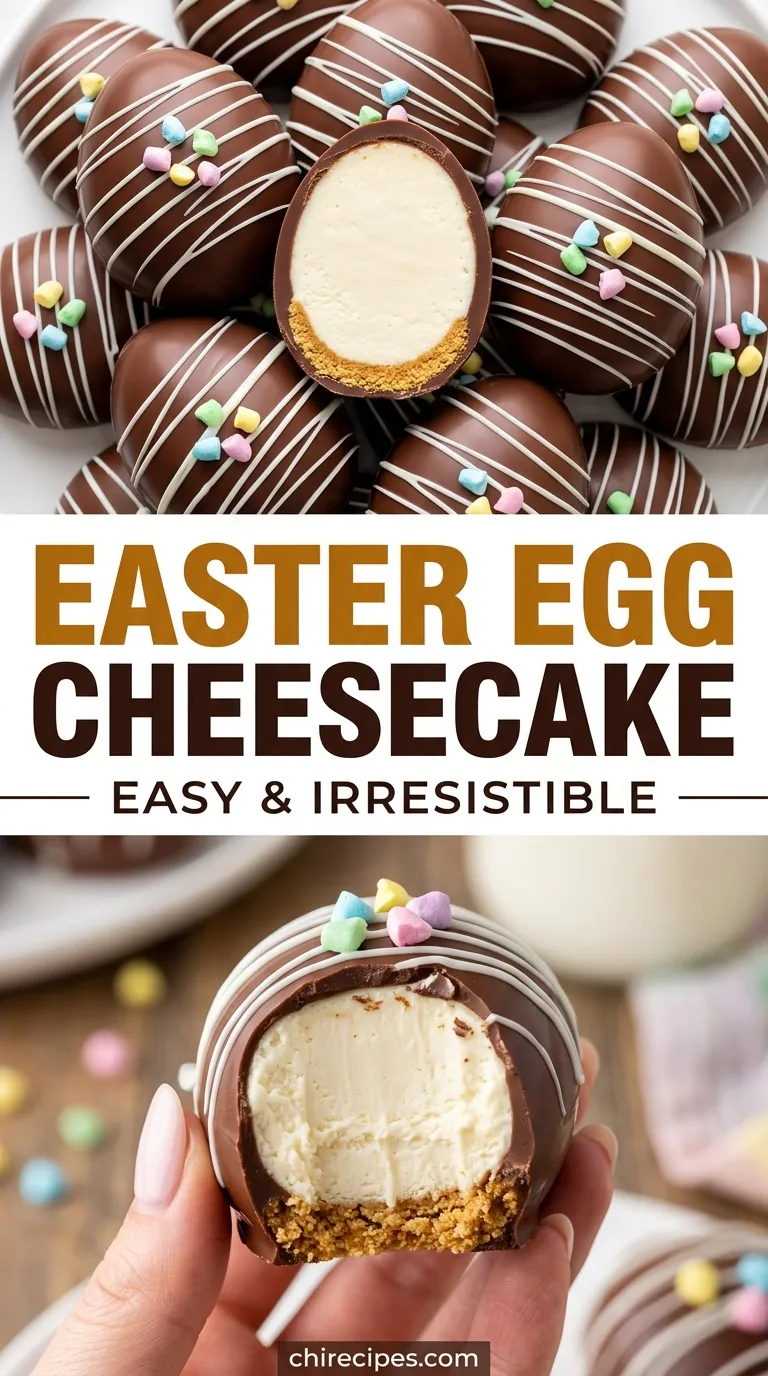
My favorite part of any holiday gathering is the moment the dessert comes out, the one that makes everyone’s eyes go wide with a mix of surprise and pure delight. This No Bake Easter Egg Cheesecake is *that* dessert. It’s a showstopper built on the simplest of secrets: no oven, no water bath, no stress. It’s just pure, unadulterated cheesecake bliss, dressed up in its Sunday best for a celebration of spring.
Get ready for a dessert experience that is as joyful to make as it is to eat. We’re talking about a buttery, crisp graham cracker crust that gives way to the most unbelievably light and creamy cheesecake filling you’ve ever tasted. It’s tangy, sweet, and melts in your mouth like a cloud, all crowned with a festive nest of whipped cream and vibrant candy eggs. This isn’t just a recipe; it’s the centerpiece of your Easter table.
The No Bake Easter Egg Cheesecake Difference
- Effortless & Impressive: This recipe delivers a bakery-quality “wow” factor without ever turning on your oven. It’s the ultimate secret weapon for a stress-free holiday dessert that looks like you spent all day on it.
- Perfectly Creamy Texture: The magic is in the method. By whipping the heavy cream separately and folding it into the smooth cream cheese base, we create a filling that is exceptionally light, airy, and mousse-like, avoiding the denseness of some no-bake recipes.
- Customizable & Fun: While the candy eggs are perfect for Easter, this recipe is a blank canvas. The topping is not just for show; it adds a delightful crunch and can be adapted for any holiday or occasion, making it a year-round favorite.
The Building Blocks
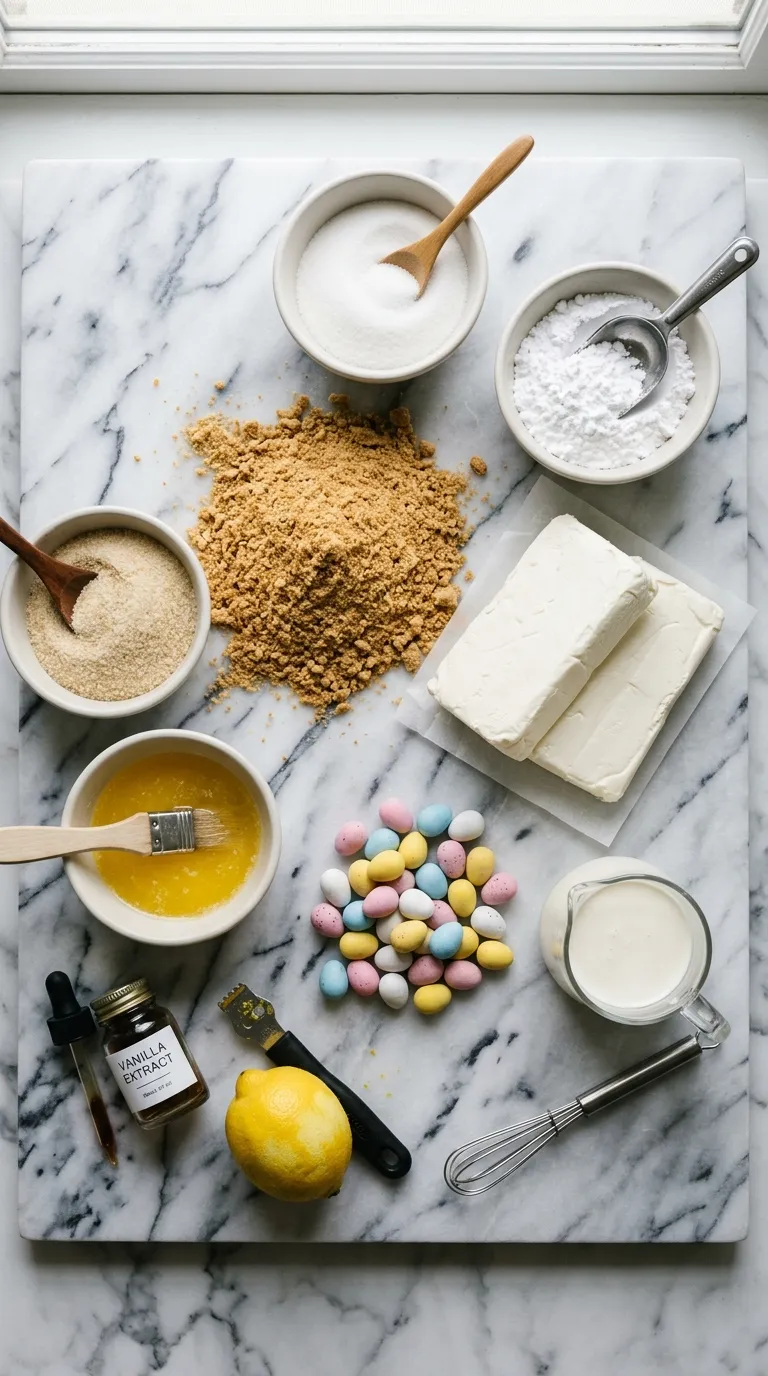
The beauty of a no-bake recipe is its simplicity, which means every single ingredient has a chance to shine. Using high-quality, full-fat ingredients is our non-negotiable rule for achieving that dreamy, decadent texture we’re after.
- Graham Cracker Crumbs: You can buy them pre-crushed or blitz whole crackers in a food processor. (This forms the classic, buttery, and sturdy foundation for our cheesecake).
- Unsalted Butter: Melted, this is the glue that holds our delicious crust together. (Using unsalted gives us full control over the saltiness).
- Granulated Sugar: Just a touch in the crust to add sweetness and help it crisp up in the fridge.
- Full-Fat Block Cream Cheese: This is the star of the show, so don’t skimp! (It MUST be the block style, not the whipped tub, and at room temperature to ensure a silky-smooth, lump-free filling).
- Powdered Sugar: Also known as confectioners’ sugar. (It dissolves instantly into the cream cheese, guaranteeing a velvety texture with no graininess).
- Heavy Whipping Cream: This is what makes the filling so light and airy. (It must be very cold to whip up to its full, voluminous potential).
- Pure Vanilla Extract: A crucial flavor component that enhances the tangy sweetness of the cream cheese. (Using pure extract instead of imitation makes a world of difference in the final taste).
- Mini Chocolate Eggs: The festive finishing touch! (Use your favorite kind, like Cadbury Mini Eggs, for that signature look and delightful crunch).
Swaps & Alternatives
Part of the fun in the kitchen is making a recipe your own! If you need to make a change or just want to experiment, here are a few simple swaps that work beautifully.
- For the Crust: Don’t have graham crackers? No problem! You can use crushed shortbread cookies, vanilla wafers, or even chocolate sandwich cookies (like Oreos) for a rich, dark crust.
- Gluten-Free Option: Easily make this recipe gluten-free by using your favorite brand of gluten-free graham-style crackers or cookies for the crust.
- Different Toppings: If you’re making this outside of the Easter season, feel free to top it with fresh berries, a drizzle of chocolate ganache, caramel sauce, or even a dollop of lemon curd.
- Cream Cheese: While full-fat is highly recommended for the best texture, you can use Neufchâtel cheese in a pinch, but be aware the filling may be slightly softer. Avoid fat-free versions entirely.
Gourmet Variations
Ready to take this stunning dessert to the next level? These simple additions can add a layer of gourmet flair that will have everyone asking for your secret.
First, consider adding citrus. The zest of one lemon or half an orange folded into the cheesecake filling will add an incredible brightness that cuts through the richness and complements the creamy flavor beautifully.
For a fruity twist, create a vibrant swirl. After you’ve spread the cheesecake filling in the crust, dollop a few spoonfuls of raspberry or strawberry puree on top. Use a knife to gently swirl it into the filling for a gorgeous visual effect and a burst of berry flavor in every bite. This technique is also amazing in baked cheesecakes, like this Strawberry Shortcake Cheesecake.
Another fantastic option is to create a hidden layer of flavor. Before adding the cheesecake filling, spread a thin layer of cooled chocolate ganache or lemon curd over the bottom of the crust. It’s a delightful surprise that adds complexity and richness.
Finally, don’t underestimate the power of a different crust. Using crushed Biscoff cookies will give the base a warm, spiced flavor that is absolutely divine with the tangy filling. A chocolate cookie crust is another classic choice that pairs perfectly with almost any topping.
How to Make No Bake Easter Egg Cheesecake
Alright, let’s get to the fun part! This process is so simple and rewarding. Just follow these steps, and you’ll have a perfect, show-stopping cheesecake chilling in your fridge in no time. The hardest part is waiting for it to set!
1. Prepare the Perfect Graham Cracker Crust
First things first, we build our foundation. In a medium bowl, mix together your graham cracker crumbs, granulated sugar, and melted butter. Stir until the mixture looks like damp sand and holds together when you pinch it.
Pour this mixture into a 9-inch springform pan. Using the bottom of a measuring cup or a glass, press the crumbs firmly and evenly across the bottom and slightly up the sides of the pan. A tightly packed crust is key to clean slices later! Pop the pan into the freezer to firm up while you make the filling.
2. Whip Up the Dreamy Cheesecake Filling
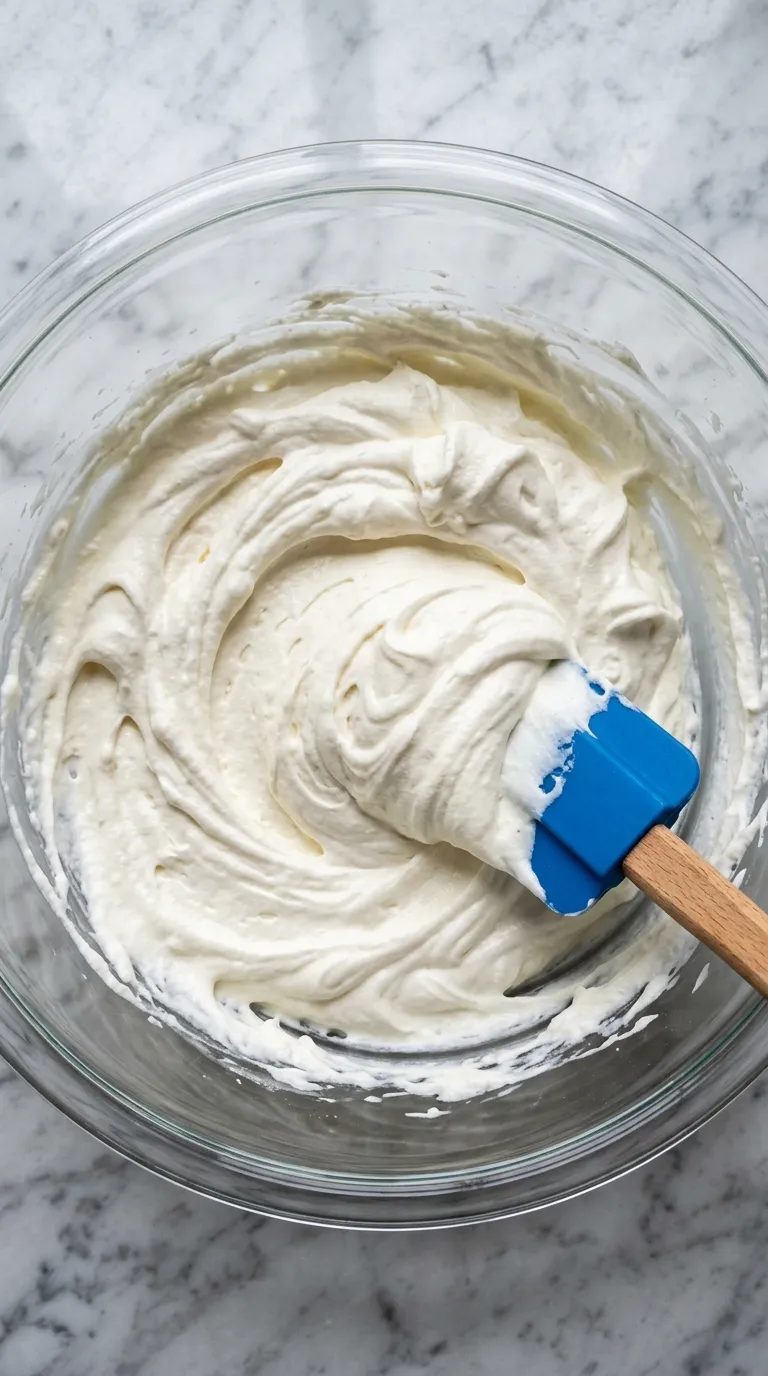
This is where the magic happens. In a large bowl, using a hand mixer or a stand mixer with the paddle attachment, beat the room temperature cream cheese on medium speed until it’s completely smooth and creamy. Scrape down the sides of the bowl, then add the powdered sugar and pure vanilla extract. Mix on low speed until just combined, then increase to medium and beat for another minute until smooth.
In a separate, chilled bowl, pour in the cold heavy whipping cream. Using clean beaters, whip the cream on medium-high speed until stiff peaks form. This means when you lift the beaters out, the cream holds its shape. Be careful not to over-whip! Gently fold about one-third of the whipped cream into the cream cheese mixture to lighten it up. Then, add the remaining whipped cream and fold until it’s fully incorporated and no streaks remain. The goal is to keep as much of that lovely air in the mixture as possible. This technique is a game-changer for all cheesecakes, including baked ones like this festive Snickerdoodle Cheesecake.
3. Assemble and Chill to Perfection
Retrieve your crust from the freezer. Gently spoon the glorious cheesecake filling over the crust, spreading it into an even, smooth layer with an offset spatula. The texture should be light and mousse-like. If you love no-bake desserts, you’ll adore the simplicity of this step, which is similar to making No-bake Strawberry Bars.
Now comes the most important step: patience! Cover the pan with plastic wrap and place it in the refrigerator to chill for at least 6-8 hours, but overnight is even better. This time is crucial for the cheesecake to set up properly and for the flavors to meld together. Do not rush this!
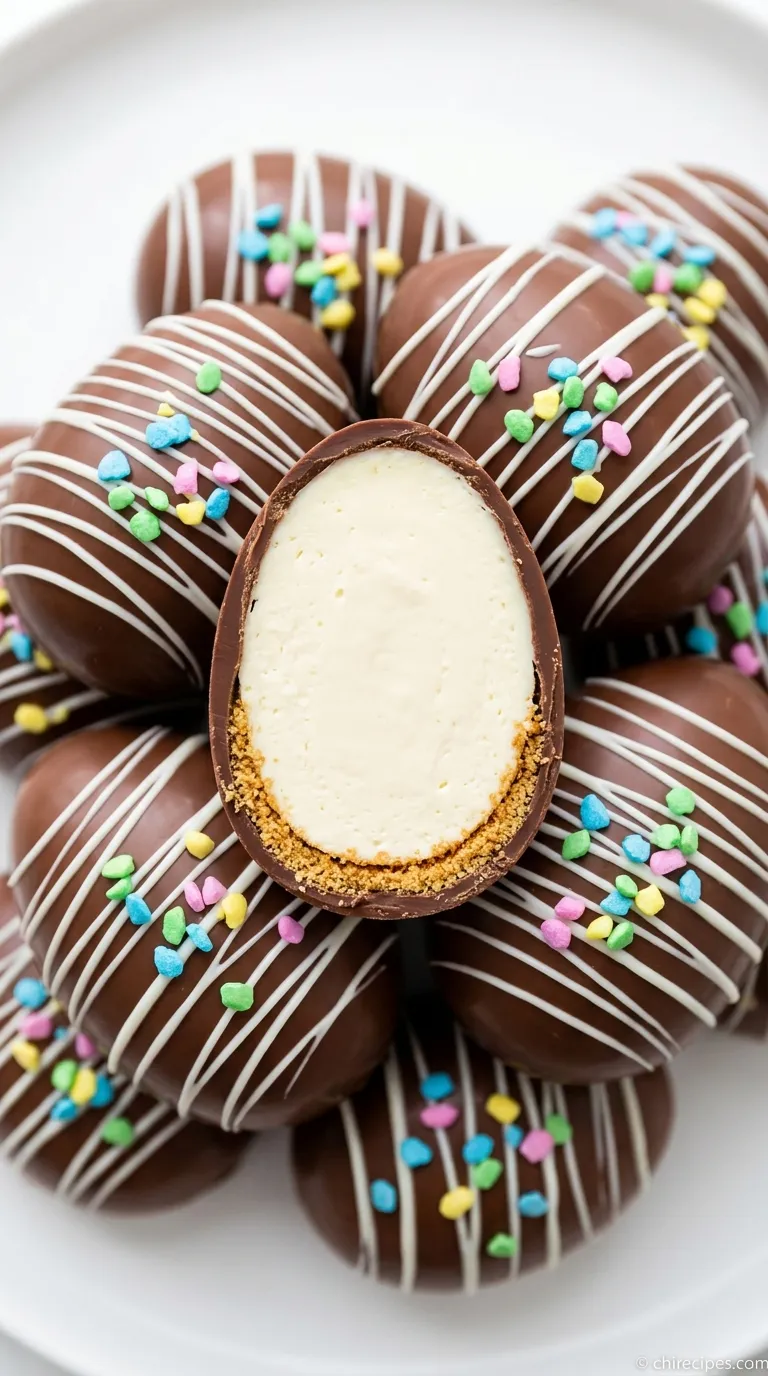
4. Create the Festive Easter Nest Topping
Once the cheesecake is fully chilled and firm, it’s time to decorate. You can make a simple whipped cream topping by whipping a bit more heavy cream with a tablespoon of powdered sugar until stiff peaks form. Pipe a decorative border around the edge of the cheesecake to create the “nest.”
Fill the center of your nest with the mini chocolate eggs. You can arrange them artfully or just pile them in for a rustic, abundant look. The pop of color and the promise of a crunchy, chocolatey bite make this the perfect finishing touch. For other fun, bite-sized dessert ideas, you could even serve this alongside some No-bake Strawberry Shortcake Bites.
Avoid These Pitfalls
- Using Low-Fat or Whipped Cream Cheese: This is the number one mistake. Low-fat versions contain more water and will result in a soupy, unset cheesecake. Whipped cream cheese has extra air and will not provide the right structure. Stick to full-fat blocks for guaranteed success.
- Not Chilling Long Enough: I know it’s tempting to dig in early, but this dessert absolutely needs the full 6-8 hours (or overnight) to firm up. Slicing it too soon will lead to a soft, messy slice that doesn’t hold its shape.
- Lumpy Filling: The key to a silky-smooth filling is starting with truly room temperature cream cheese. If it’s even slightly cool, it won’t blend smoothly with the sugar and you’ll be left with small, unappetizing lumps.
Serving Ideas
This No Bake Easter Egg Cheesecake is a true centerpiece, designed to be admired before it’s devoured. When you’re ready to serve, run a thin knife around the edge of the cheesecake before releasing the springform pan collar for a clean break.
Serve the cheesecake chilled, straight from the refrigerator. The contrast between the cold, creamy filling and the crunchy candy eggs is absolutely divine. It’s rich and satisfying all on its own, but a light cup of coffee or tea makes a wonderful companion.
If you’re hosting a larger gathering with a full dessert table, this cheesecake pairs beautifully with other impressive treats. Imagine a slice of this next to a vibrant Red Velvet Cheesecake or some delicate Cheesecake Deviled Strawberries for a true celebration of all things cheesecake!
For an extra touch of elegance, you can drizzle each slice with a little melted chocolate or a high-quality caramel sauce just before serving. But honestly, it’s perfect just as it is, letting the simple, delicious flavors speak for themselves.
If you tried this recipe and loved it, please leave a 5-star rating below. It helps us so much
Why didn’t my no-bake cheesecake set properly?
There are two common reasons for a no-bake cheesecake not setting. First, ensure you are using full-fat, block-style cream cheese, as low-fat or whipped versions contain too much water or air and will result in a soupy texture. Second, the cheesecake must chill in the refrigerator for at least 6-8 hours, or ideally overnight, to allow it to firm up completely.
What is the secret to getting a light and airy texture instead of a dense one?
The secret to the exceptionally light, mousse-like texture is the technique. The recipe calls for whipping the cold heavy cream separately until stiff peaks form, and then gently folding it into the cream cheese base. This process incorporates air, preventing the denseness found in some other no-bake recipes.
Can I adapt this cheesecake for holidays other than Easter?
Absolutely. This recipe is very versatile and can be adapted for any occasion. You can swap the candy egg topping for fresh berries, a drizzle of chocolate ganache, caramel sauce, or lemon curd. You can also change the crust by using crushed shortbread, vanilla wafers, or chocolate sandwich cookies instead of graham crackers.
Dreamy No Bake Easter Egg Cheesecake
Ingredients
Equipment
Method
- In a medium bowl, combine the graham cracker crumbs, granulated sugar, and melted butter. Stir until the mixture resembles damp sand.
- Press the crumb mixture firmly into the bottom and slightly up the sides of a 9-inch springform pan. Use the bottom of a glass or measuring cup to create a compact layer. Place the crust in the freezer to firm up while you prepare the filling.
- In a large bowl, using an electric mixer, beat the room temperature cream cheese on medium speed until completely smooth and free of lumps.
- Add 1 cup of powdered sugar and the vanilla extract. Mix on low speed until combined, then increase to medium and beat for another minute until silky smooth. Scrape down the sides of the bowl as needed.
- In a separate, chilled bowl, pour 1.5 cups of cold heavy whipping cream. Whip on medium-high speed until stiff peaks form. Be careful not to over-whip.
- Gently fold about one-third of the whipped cream into the cream cheese mixture to lighten it. Then, add the remaining whipped cream and fold until just combined, with no streaks remaining. The mixture should be light and airy.
- Remove the crust from the freezer. Spoon the cheesecake filling over the crust and spread it into an even layer using an offset spatula.
- Cover the cheesecake with plastic wrap and refrigerate for at least 6-8 hours, or preferably overnight, until fully set and firm.
- Before serving, prepare the topping. In a clean bowl, whip the remaining heavy cream with 1 tablespoon of powdered sugar until stiff peaks form.
- Transfer the whipped cream to a piping bag and pipe a decorative border around the edge of the cheesecake to create a ‘nest’.
- Fill the center of the nest with the mini chocolate candy eggs. Slice with a sharp knife and serve chilled.