That low, rumbling hum from the food processor is the only sound in the kitchen, a mechanical mantra that signals a tiny miracle is underway. Inside, whole roasted peanuts are on a journey, tumbling from a coarse, sandy crumb into a thick, stubborn paste. You might feel a moment of doubt, watching them cling to the sides in a solid clump, but this is the moment of transformation—the point of no return on the path to the creamiest, most intensely flavorful peanut butter you have ever experienced.
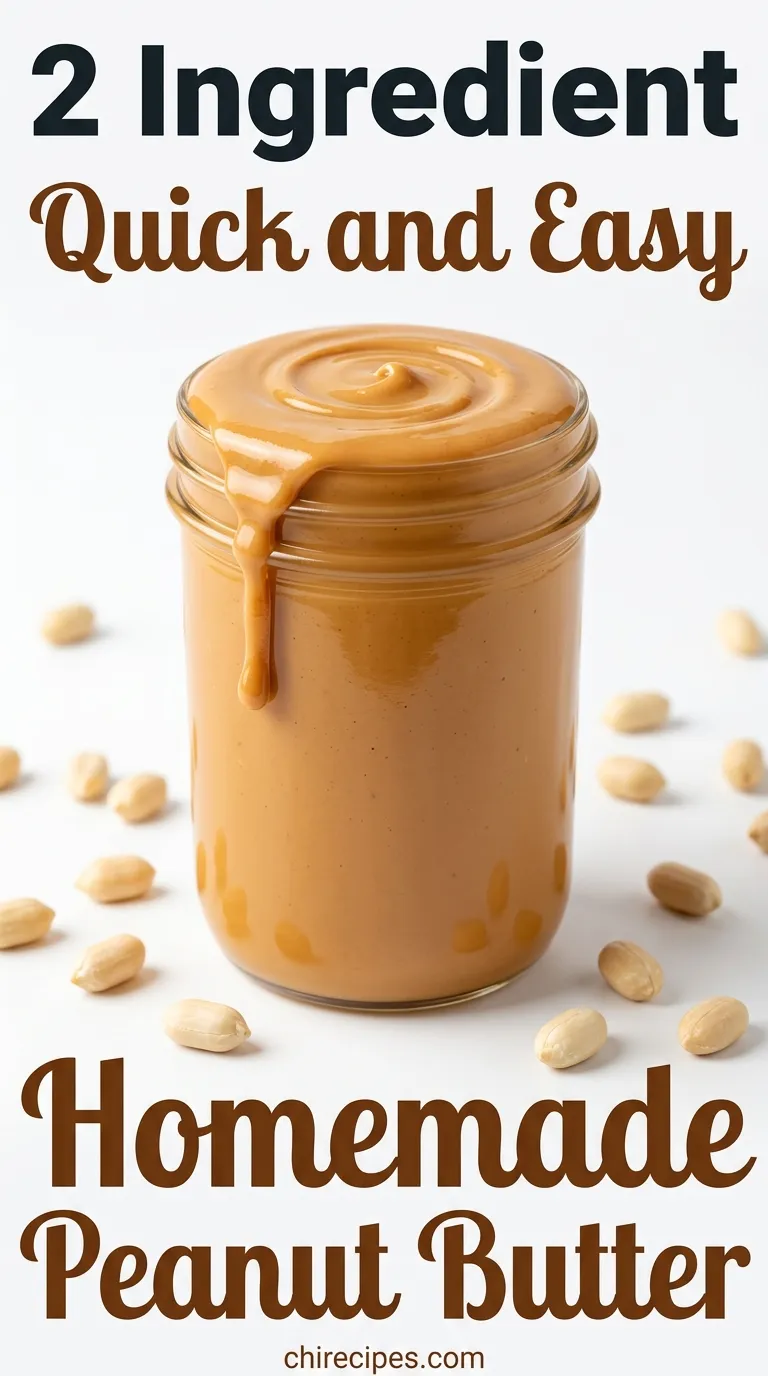
This recipe delivers a spread so pure and profound it will redefine what you think peanut butter can be. It’s a warm, liquid gold that coats your tongue with an unparalleled depth of roasted nuttiness, a flavor so vibrant it makes the jarred stuff taste like a distant memory. Get ready to dip, spread, and spoon your way through the best peanut butter of your life, made in your own kitchen in under ten minutes.
The Homemade Peanut Butter Difference
- Unbeatable Flavor and Aroma: Roasting the peanuts right before blending (or using high-quality pre-roasted ones) releases their natural oils and deepens their flavor, creating an aromatic, intensely nutty spread that store-bought versions can’t replicate.
- Total Texture Control: This method walks you through the distinct stages of blending, empowering you to stop whenever you reach your perfect consistency—from a rustic, chunky spread to a silky-smooth, drippy butter.
- Pure and Simple: With just one primary ingredient, you have complete authority over what goes in. No hydrogenated oils, no unnecessary sugars, no preservatives—just pure, unadulterated peanut goodness.
The Building Blocks
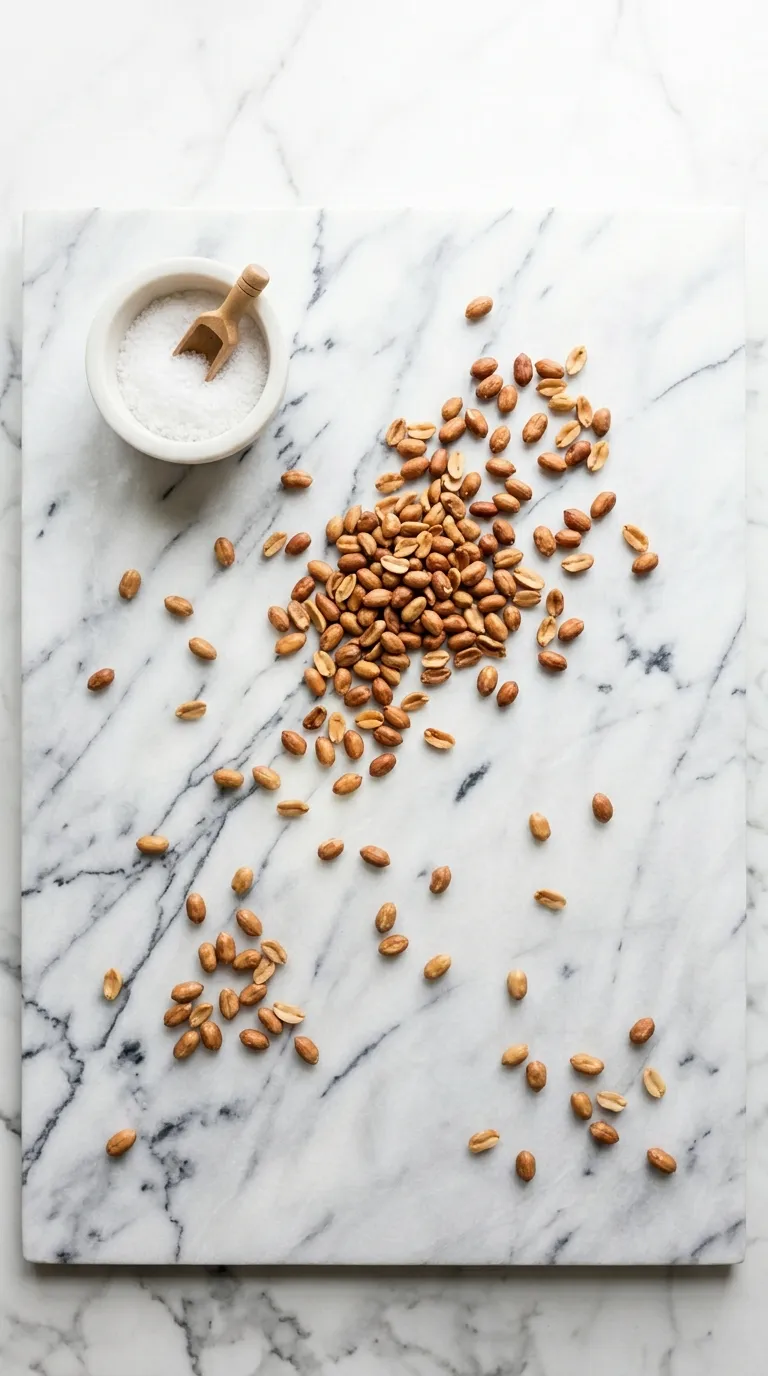
- Roasted Peanuts: (2 cups, unsalted) This is the heart and soul of your peanut butter. Using pre-roasted, unsalted peanuts saves time, but roasting your own raw peanuts will give you the absolute freshest, warmest flavor.
- Fine Sea Salt: (1/4 to 1/2 teaspoon, or to taste) This is not just for saltiness; it’s a flavor enhancer. Salt sharpens and intensifies the natural sweetness of the peanuts, making them taste more like themselves.
- Optional Add-ins: (See variations below) This is where you can get creative! A touch of honey or maple syrup for sweetness, or a teaspoon of neutral oil for extra creaminess.
Swaps & Alternatives
Don’t have the exact ingredients? No problem. This recipe is wonderfully flexible.- Different Nuts: This method works beautifully with other nuts. Try it with roasted almonds, cashews, pecans, or even pistachios for a gourmet nut butter.
- Sweeteners: If you prefer a sweeter butter, you can blend in 1-2 teaspoons of honey, maple syrup, or even a couple of pitted dates for natural sweetness. Add these at the very end of the blending process.
- Oil for Creaminess: If your peanuts are a bit dry or you want an ultra-creamy, drippy texture, you can add 1-2 teaspoons of a neutral oil like coconut oil (melted), avocado oil, or even peanut oil to help things along.
- Salted Peanuts: If you only have salted roasted peanuts, simply omit the added salt. Give the finished butter a taste and add more only if you feel it’s necessary.
Gourmet Variations
Once you’ve mastered the basic recipe, the fun truly begins. Think of this as a blank canvas for your flavor creativity.- Cinnamon Maple Pecan Butter: Swap half the peanuts for roasted pecans. Add 1 tablespoon of maple syrup and 1/2 teaspoon of ground cinnamon during the last 30 seconds of blending for a warm, cozy spread perfect for fall.
- Dark Chocolate Swirl: Once your peanut butter is smooth, transfer it to a jar. Melt 1/4 cup of good-quality dark chocolate chips and gently swirl it into the peanut butter with a knife for a decadent, marbled effect. This is a game-changer for desserts.
- Spicy Honey Peanut Butter: Add 1 tablespoon of honey and 1/4 teaspoon of cayenne pepper or a pinch of red pepper flakes at the end of blending. This sweet and spicy combination is incredible on toast or as a base for a savory sauce.
- Espresso Nut Butter: Add 1 teaspoon of instant espresso powder along with the salt. This will give the peanut butter a deep, rich, and slightly bitter note that pairs wonderfully with the roasted nuts.
Step-by-Step Instructions

1. Prepare the Peanuts
If you are using raw peanuts, spread them in a single layer on a baking sheet. Roast at 350°F (175°C) for 10-12 minutes, or until they are lightly golden and smell fragrant. Let them cool for just a few minutes; processing them while they’re still warm helps them break down and release their oils more easily. If you’re using pre-roasted peanuts, you can skip this step, but warming them in the oven for 5 minutes will still enhance the flavor.2. The First Blend: The Crumb Stage
Place the warm roasted peanuts and the salt into the bowl of a food processor or a high-speed blender. Secure the lid and turn the machine on high. For the first minute, the peanuts will break down into a coarse, sandy, crumb-like texture, similar to graham cracker crumbs.3. The Second Stage: The Pasty Ball
Keep the machine running. After another 1-2 minutes, you’ll notice a significant change. The oils will begin to release, and the crumbly mixture will start to clump together. It will form a thick, stiff paste and then, alarmingly, it will seize up into a single, tight ball that bangs around the processor bowl. Do not panic! This is a completely normal and necessary stage.4. The Breakthrough: The Creamy Release
This is where the magic happens. Keep the processor running. The heat and friction will cause the ball to break down. You may need to stop the machine once or twice to scrape down the sides and break up the clump with a spatula. Suddenly, the paste will loosen, become glossy, and transform into a thick but creamy peanut butter.5. The Final Blend: Silky Smooth
For a perfectly smooth and drippy peanut butter, let the machine run for another 2-3 minutes past the creamy stage. The longer it blends, the more heat it generates, and the smoother and more liquid it will become. This is the time to taste and adjust. Add a little more salt if needed, or blend in your sweetener or any other flavorings.Avoid These Pitfalls
- Giving Up Too Soon: The most common mistake is stopping the food processor when the peanuts form a tight ball. This is not the final stage! You must keep blending past this point until the oils fully release and the mixture turns creamy.
- Overloading Your Machine: While it’s tempting to make a huge batch, don’t overfill your food processor. This can strain the motor and prevent the peanuts from blending evenly. Work in batches if necessary.
- Using a Low-Powered Appliance: A mini-chopper or a weak blender may not have a motor strong enough to handle the thick paste stage. A sturdy food processor or a high-speed blender (like a Vitamix or Blendtec) is your best tool for this job.
Perfect Pairings
Now that you have this jar of liquid gold, the possibilities are endless. It elevates everything it touches.For a classic breakfast, spread it thickly on toasted sourdough or swirl it into a bowl of Healthy Overnight Oats. It’s also the perfect dip for crisp apple slices, celery sticks, or pretzels.
Don’t forget about baking! This homemade peanut butter will make your cookies and treats taste infinitely better. Use it to create the ultimate Peanut Butter Blossoms or some incredibly simple Peanut Butter Fudge. For a no-bake option, it’s the star ingredient in these delicious Peanut Butter Bites.
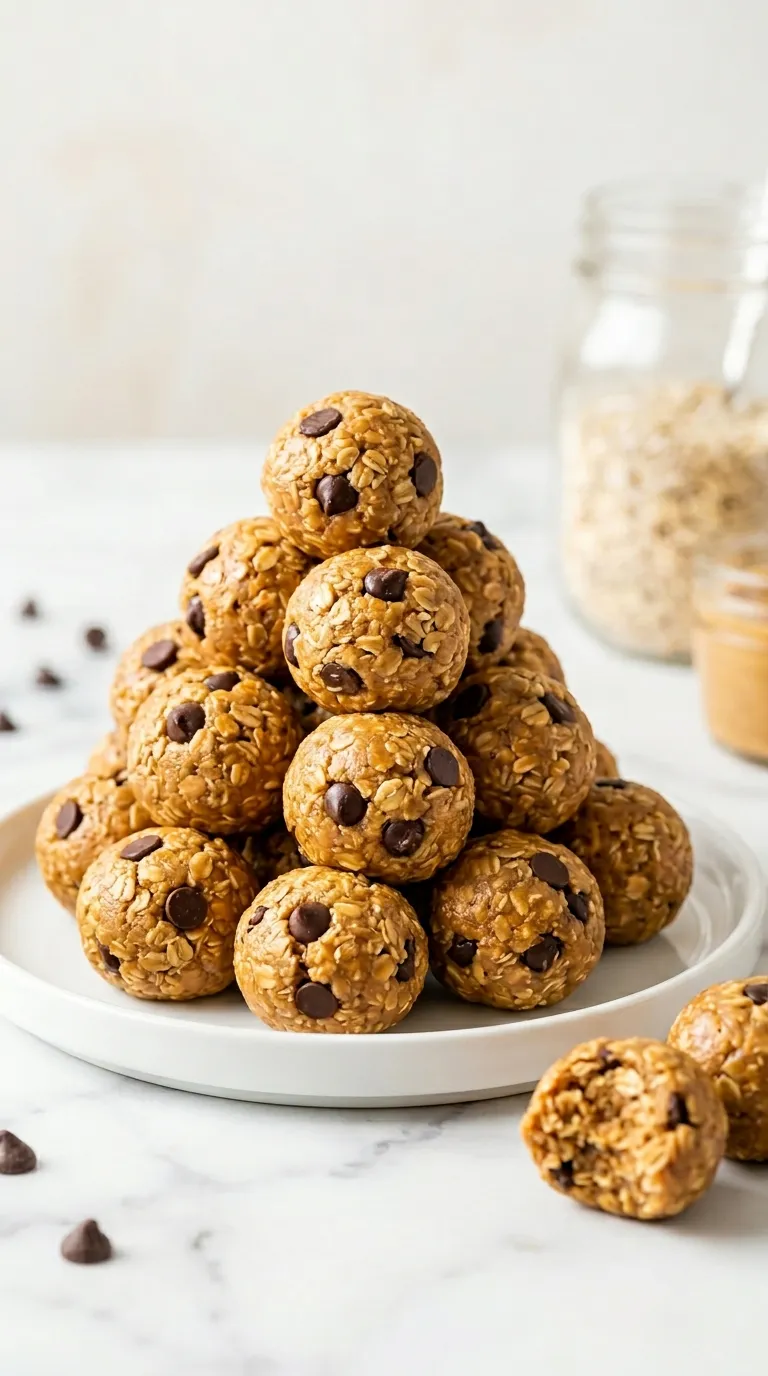
Thinking beyond the sweet? This peanut butter is a fantastic base for savory sauces. Thin it with a little soy sauce, lime juice, and ginger to create a dipping sauce for spring rolls or a dressing for a noodle salad. It’s the secret to a rich and flavorful Peanut Chicken Dish that will have everyone asking for the recipe. You can even use it to make special treats like these Chocolate Peanut Butter Valentine Hearts for someone you love.
Store your homemade peanut butter in an airtight jar in the refrigerator. It will firm up when chilled, so let it sit at room temperature for a few minutes to soften before using. It should last for several weeks, but let’s be honest—it will be gone long before then.
Did you change any ingredients? Let me know in the comments how you made this recipe your own
My peanut butter formed a tight, hard ball in the food processor. Is it ruined?
No, it’s not ruined! This is a completely normal and necessary stage. The oils are starting to release, causing the mixture to clump. You must keep the processor running past this point. The heat and friction will break the ball down and it will suddenly turn into a creamy, smooth peanut butter.
How can I make my homemade peanut butter sweeter or creamier?
For a sweeter butter, you can blend in 1-2 teaspoons of honey, maple syrup, or a couple of pitted dates at the end of the blending process. To achieve an extra-creamy, drippy texture, add 1-2 teaspoons of a neutral oil like coconut, avocado, or peanut oil.
Can I use other nuts or pre-salted peanuts for this recipe?
Yes, this method works beautifully with other nuts like roasted almonds, cashews, or pecans. If you are using pre-salted peanuts, simply omit the added salt from the recipe and only add more at the end if you feel it’s needed after tasting.

Homemade Peanut Butter
Ingredients
Equipment
Method
- Prepare Peanuts: If using raw peanuts, roast on a baking sheet at 350°F (175°C) for 10-12 minutes until fragrant. Let cool slightly. If using pre-roasted peanuts, it is highly recommended to warm them in the oven for 5 minutes to enhance flavor and help release their oils.
- First Blend (Crumb Stage): Place the warm peanuts and salt into the bowl of a food processor or a high-speed blender. Blend on high for about 1 minute until the peanuts break down into a coarse, sandy crumb texture.
- Second Stage (Pasty Ball): Continue blending for another 1-2 minutes. The mixture will start to clump and form a thick, stiff paste, eventually seizing into a single, tight ball that may bang around the bowl. Do not stop; this is a normal stage.
- Breakthrough (Creamy Release): Keep the machine running. The heat and friction will cause the ball to break down. You may need to stop the machine once or twice to scrape down the sides with a spatula. The paste will suddenly loosen, become glossy, and transform into a thick but creamy peanut butter.
- Final Blend (Silky Smooth): For an extra-smooth and drippy texture, continue blending for another 2-3 minutes until it reaches your desired consistency. Taste and add more salt if needed. This is also the time to blend in any optional sweeteners or oils.
- Store: Transfer the peanut butter to an airtight jar. It can be stored in the refrigerator for several weeks.
Notes
Tips: Using warm peanuts is key to a smooth blend. Be patient and trust the process, especially during the ‘pasty ball’ stage. A powerful food processor or blender is highly recommended for the best results.
Variations: For a sweeter butter, add 1-2 teaspoons of honey or maple syrup during the final blend. For extra creaminess, add 1-2 teaspoons of a neutral oil like coconut or peanut oil. Get creative by adding 1/2 tsp cinnamon, 1 tsp instant espresso powder, or swirling in 1/4 cup of melted dark chocolate after transferring to the jar.