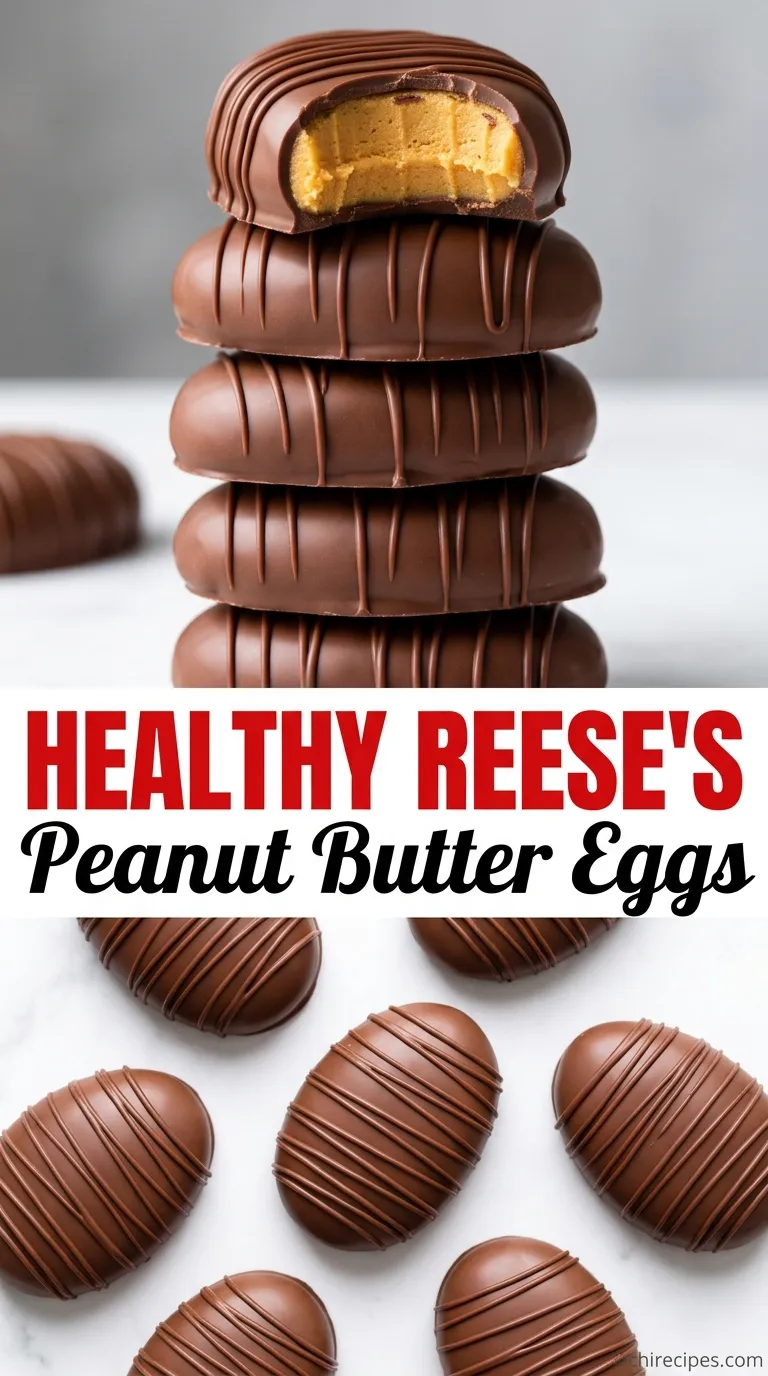
Certain textures are pure nostalgia, and the slightly grainy, melt-in-your-mouth filling of a Reese’s Peanut Butter Egg is one of them. It’s a specific kind of magic that feels impossible to replicate, a seasonal treat we wait for all year. But what if I told you that you could capture that exact texture, that perfect sweet-and-salty balance, right in your own kitchen, with just a handful of simple ingredients and absolutely no baking required?
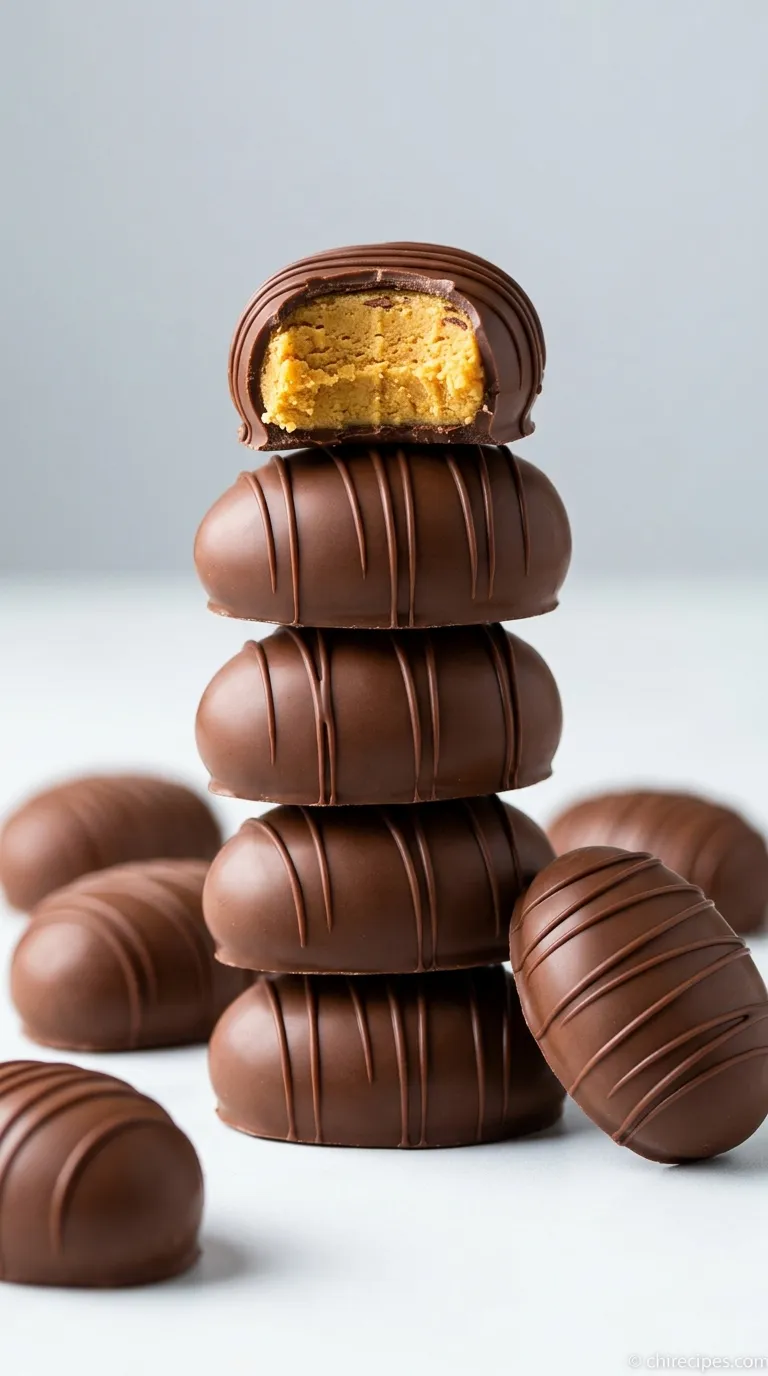
Get ready to create a tray of peanut butter eggs so divine, they’ll make you forget the store-bought version ever existed. We’re talking about a filling that is dense yet soft, intensely peanut buttery, and enrobed in a crisp, snappy shell of rich chocolate. This isn’t just a copycat recipe; it’s an upgrade, a guilt-free indulgence that puts you in complete control of the deliciousness.
The Homemade Reeses Peanut Butter Eggs Difference
- Perfectly “Imperfect” Texture: We use powdered sugar not just for sweetness, but to achieve that signature, slightly crumbly, not-quite-smooth filling that makes the original so addictive. It’s the key to avoiding a sticky, greasy center.
- The Critical Chill: This recipe builds in two chilling periods. The first firms up the filling for easy shaping, and the second flash-freeze ensures the eggs are solid enough to withstand a warm chocolate bath without melting into a mess.
- A Superior Chocolate Shell: By melting high-quality chocolate with a touch of coconut oil, we create a shell that has a beautiful sheen and the perfect “snap” when you bite into it, elevating the entire experience.
The Building Blocks
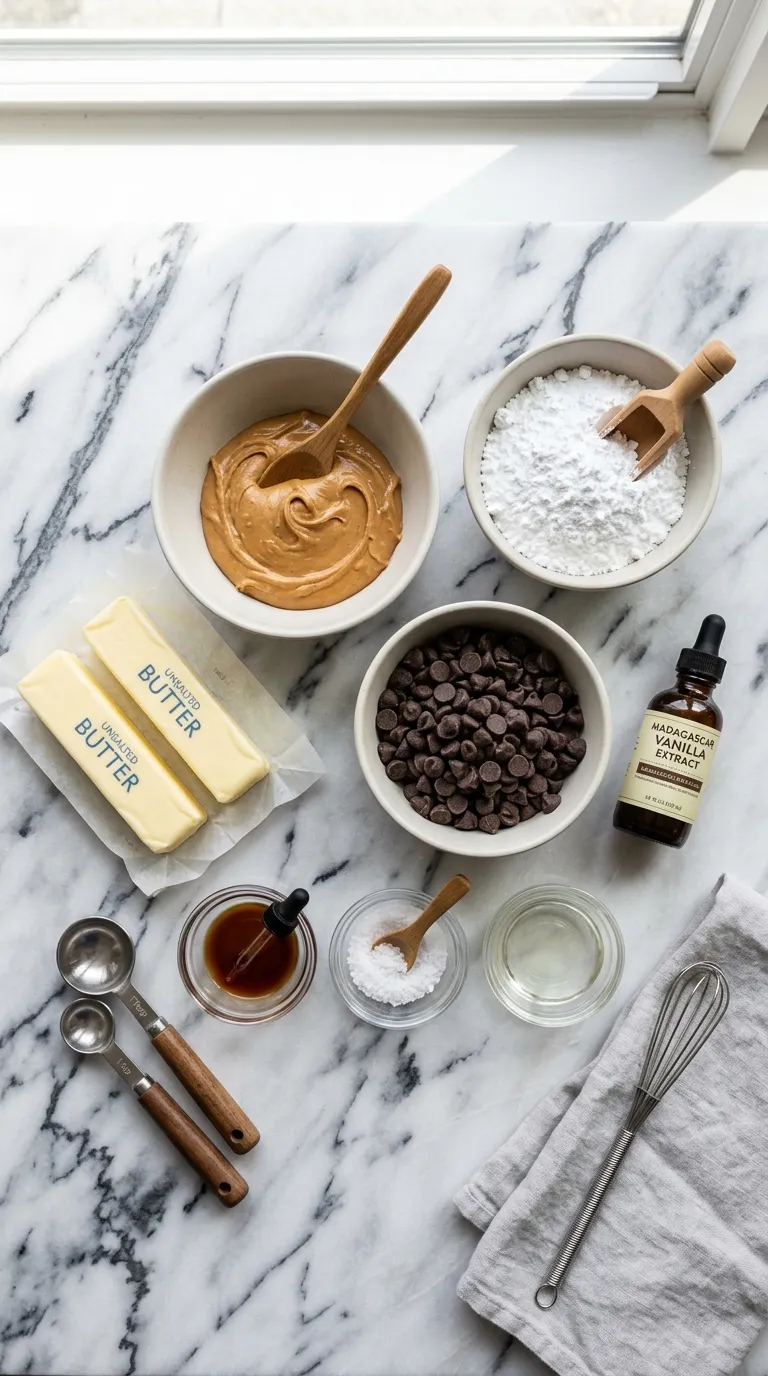
Here’s what you’ll need to gather:
- Creamy Peanut Butter: (The most important choice! Use a standard commercial brand like Jif or Skippy. Natural peanut butters will separate and create an oily, difficult-to-work-with filling.)
- Unsalted Butter: (Must be softened to room temperature to blend seamlessly into the peanut butter, creating a smooth, rich base.)
- Powdered Sugar: (Also known as confectioners’ sugar, this is non-negotiable. It dissolves instantly, providing sweetness and the essential structure that gives the filling its unique, slightly dense texture.)
- Vanilla Extract: (A small splash deepens the flavor and adds a warm, aromatic quality that complements both the peanut butter and chocolate.)
- Fine Sea Salt: (Just a pinch! This is crucial for balancing the sweetness of the sugar and enhancing the savory, nutty flavor of the peanut butter.)
- Good-Quality Chocolate Chips: (You can use semi-sweet, milk, or dark chocolate. The better the chocolate, the better the final taste. I love using a mix of milk and semi-sweet.)
- Coconut Oil or Vegetable Shortening: (This is our secret weapon for a flawless chocolate shell. A small amount helps the chocolate melt smoothly and set with a glossy finish and a satisfying snap.)
Swaps & Alternatives
Don’t have everything on hand? No problem. This recipe is wonderfully flexible. Here are a few simple swaps you can make in a pinch.- For Peanut Butter: If you have a peanut allergy or just want a different flavor, creamy almond butter or sunflower seed butter (like SunButter) are excellent alternatives. Just be sure they are the smooth, no-stir varieties.
- For Butter: To make this recipe dairy-free and vegan, simply swap the unsalted butter for a high-quality plant-based butter stick. Also, ensure you use dairy-free chocolate chips.
- For Chocolate: Feel free to use your favorite! High-quality chocolate melting wafers (like Ghirardelli) are fantastic as they are designed to melt perfectly without any additions. White chocolate also works for a different, sweeter twist.
- For Coconut Oil: If you don’t have coconut oil, an equal amount of vegetable shortening will achieve the same smooth, glossy result for your chocolate shell.
Gourmet Variations
Once you’ve mastered the classic version, it’s so much fun to play around and create your own signature peanut butter egg. These simple additions can elevate your treats to a whole new level of deliciousness.A fantastic way to add depth is by browning the butter before you begin. Just like in these Brown Butter Peanut Butter Blossoms, the nutty, toasty notes of brown butter add an incredible layer of flavor to the peanut butter filling.
For a delightful crunch, try mixing 1/2 cup of crispy rice cereal (like Rice Krispies) into the peanut butter filling before shaping the eggs. The subtle texture contrast is absolutely heavenly.
Another simple but elegant touch is to finish each egg with a tiny sprinkle of flaky sea salt (like Maldon) right after dipping it in chocolate. The salt crystals not only look beautiful but also provide a burst of flavor that cuts through the richness.
You can also incorporate other flavors into the filling itself. A tablespoon of cocoa powder will give you a chocolate peanut butter center, while a 1/4 teaspoon of cinnamon adds a lovely warmth.
Step-by-Step Instructions
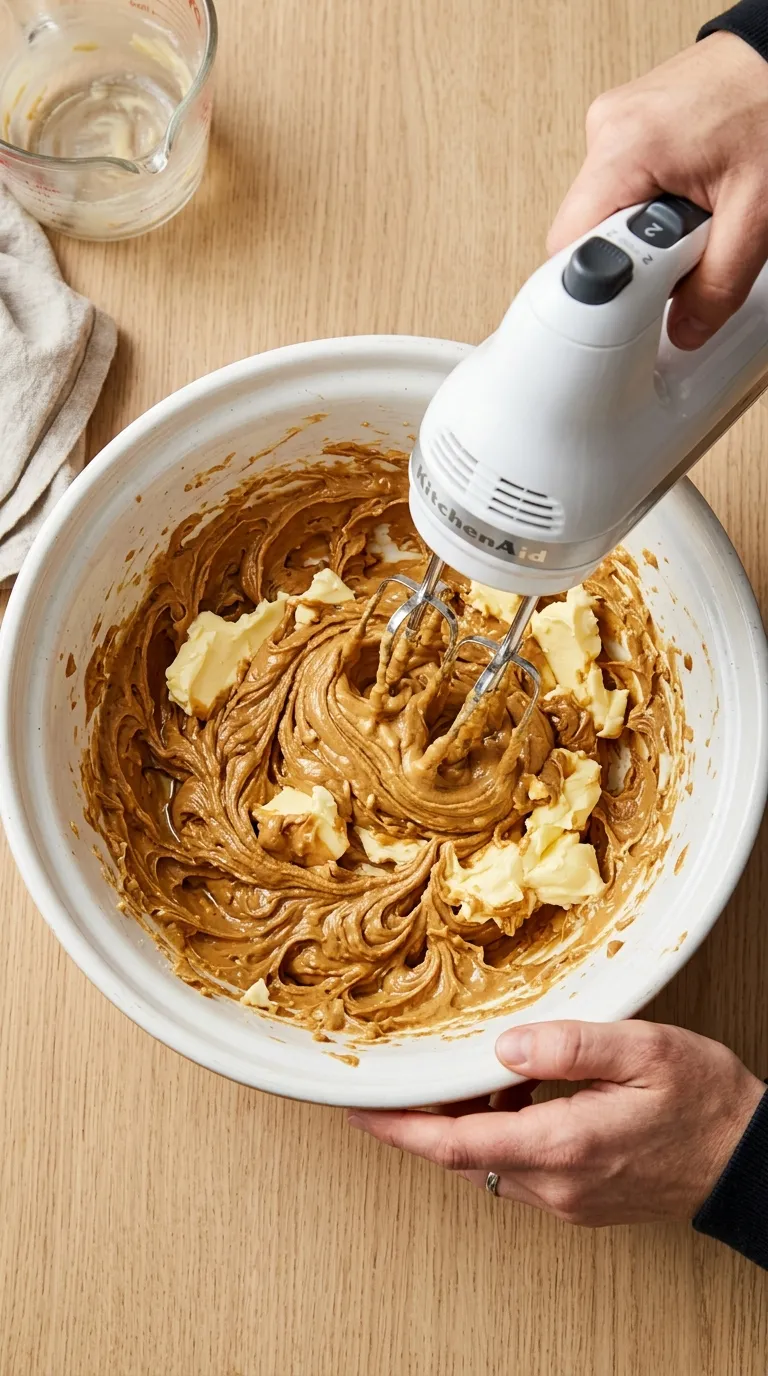
1. Create the Peanut Butter Filling
In a large bowl using a hand mixer or in the bowl of a stand mixer fitted with the paddle attachment, beat the softened butter and creamy peanut butter together on medium speed until completely smooth and combined. Scrape down the sides of the bowl, then add the vanilla extract and salt, mixing again until incorporated. You want a uniform, creamy base before adding the sugar.2. Build the Dough
With the mixer on low speed, gradually add the powdered sugar, about one cup at a time. The mixture will start to get very thick and stiff, almost like a cookie dough. Once all the sugar is added, it should be easy to handle and not overly sticky. If it feels too soft, you can add a little more powdered sugar, a tablespoon at a time.3. Shape the Eggs
Line a large baking sheet or platter with parchment paper or wax paper. This is crucial to prevent sticking! Scoop out about 1.5 to 2 tablespoons of the peanut butter mixture and roll it into a ball between your palms. Then, gently flatten and pinch one side to form that classic egg shape. Place the shaped egg on the prepared baking sheet and repeat with the remaining mixture. This is a great time to get creative with shapes; the same dough works perfectly for making Chocolate Peanut Butter Valentine Hearts for a different occasion!4. The First Chill
Place the baking sheet with the shaped eggs into the freezer for at least 30 minutes. Do not skip this step! Chilling the filling makes the eggs firm, which is absolutely essential for a clean and easy dipping process. A firm, cold egg won’t fall apart or melt when it hits the warm chocolate.5. Melt the Chocolate Shell
While the eggs are chilling, prepare your chocolate. In a microwave-safe bowl, combine the chocolate chips and the coconut oil. Microwave in 30-second intervals, stirring well after each one, until the chocolate is almost completely melted. Remove it from the microwave and continue stirring until it’s perfectly smooth and glossy. The residual heat will melt the last few bits. Alternatively, you can use a double boiler.6. Dip and Set
Remove the chilled peanut butter eggs from the freezer. Working one at a time, drop an egg into the melted chocolate. Use two forks to gently turn it over, ensuring it’s fully coated. Lift the egg out of the chocolate with one fork, and gently tap the fork against the side of the bowl to allow any excess chocolate to drip off. This technique is similar to what you’d use for other dipped treats, like these delicious Peanut Butter Bites.Place the chocolate-coated egg back onto the parchment-lined baking sheet. If you want to add sprinkles or flaky sea salt, do it now while the chocolate is still wet. Repeat with all the eggs. The process is very similar to finishing off Reese’s Mini Cup Peanut Butter Cookies, where you’re working with melted chocolate.
7. The Final Set
Place the baking sheet in the refrigerator for about 15-20 minutes, or until the chocolate shell is completely firm and set. Once they’re hard, they are ready to be enjoyed! Store any leftovers in an airtight container in the refrigerator for up to two weeks.Avoid These Pitfalls
- Using Natural Peanut Butter: The biggest mistake! Natural peanut butter contains too much oil, which will separate and create a greasy, soft filling that never properly sets up. Stick to a commercial, no-stir brand for the right consistency.
- Overheating the Chocolate: When melting chocolate in the microwave, short bursts of power are key. Overheating can cause the chocolate to “seize,” turning it into a thick, grainy, unusable clump. Low and slow is the way to go.
- Skipping the Chill Time: I can’t stress this enough. If you try to dip room-temperature or even just refrigerated eggs, they will likely fall apart in the warm chocolate. The freezer step is your best friend for a clean, professional-looking result.
Serving Ideas
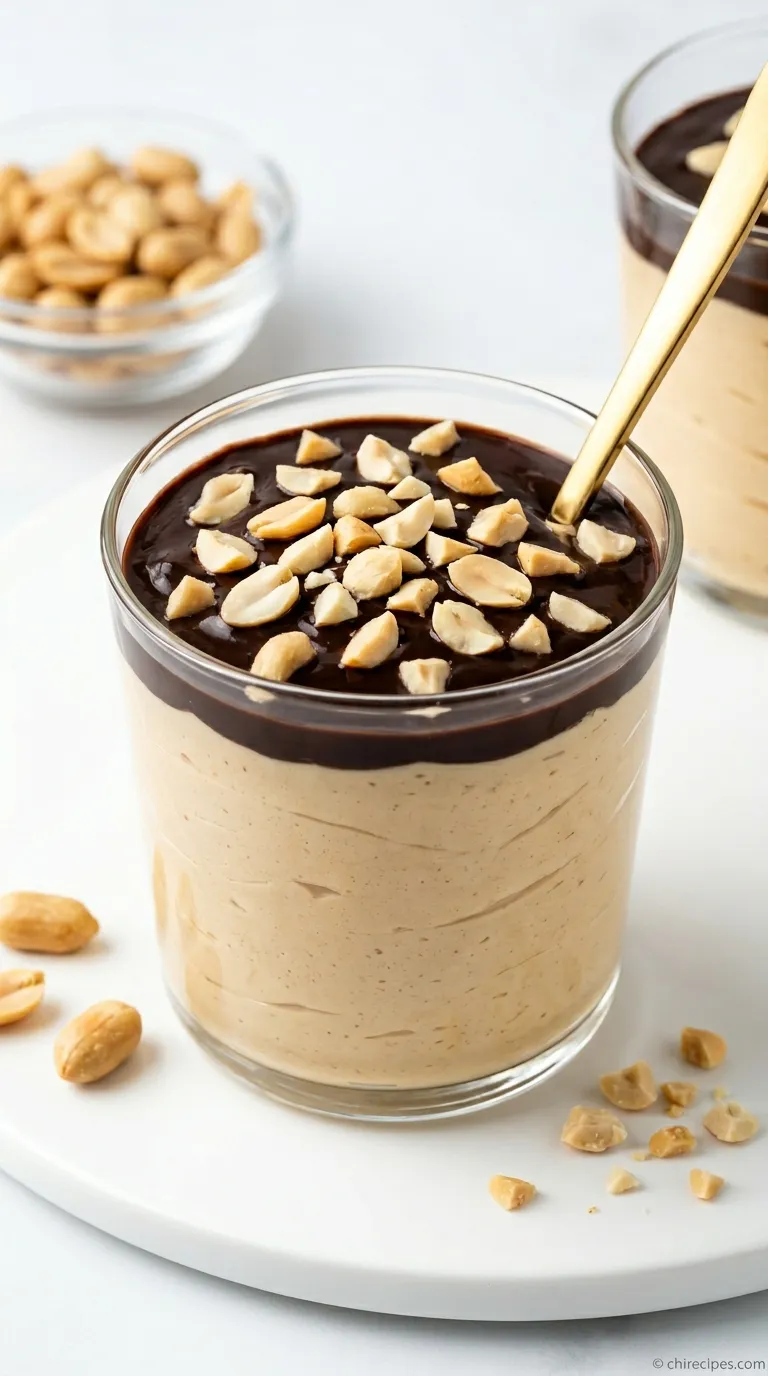
These homemade peanut butter eggs are a spectacular treat all on their own, but they also shine as part of a larger dessert spread. They are, of course, the star of any Easter basket, nestled amongst jelly beans and other festive candies.For a simple and satisfying snack, serve one or two chilled eggs with a tall glass of cold milk or a hot cup of coffee. The contrast between the cold, rich candy and a warm beverage is pure comfort.
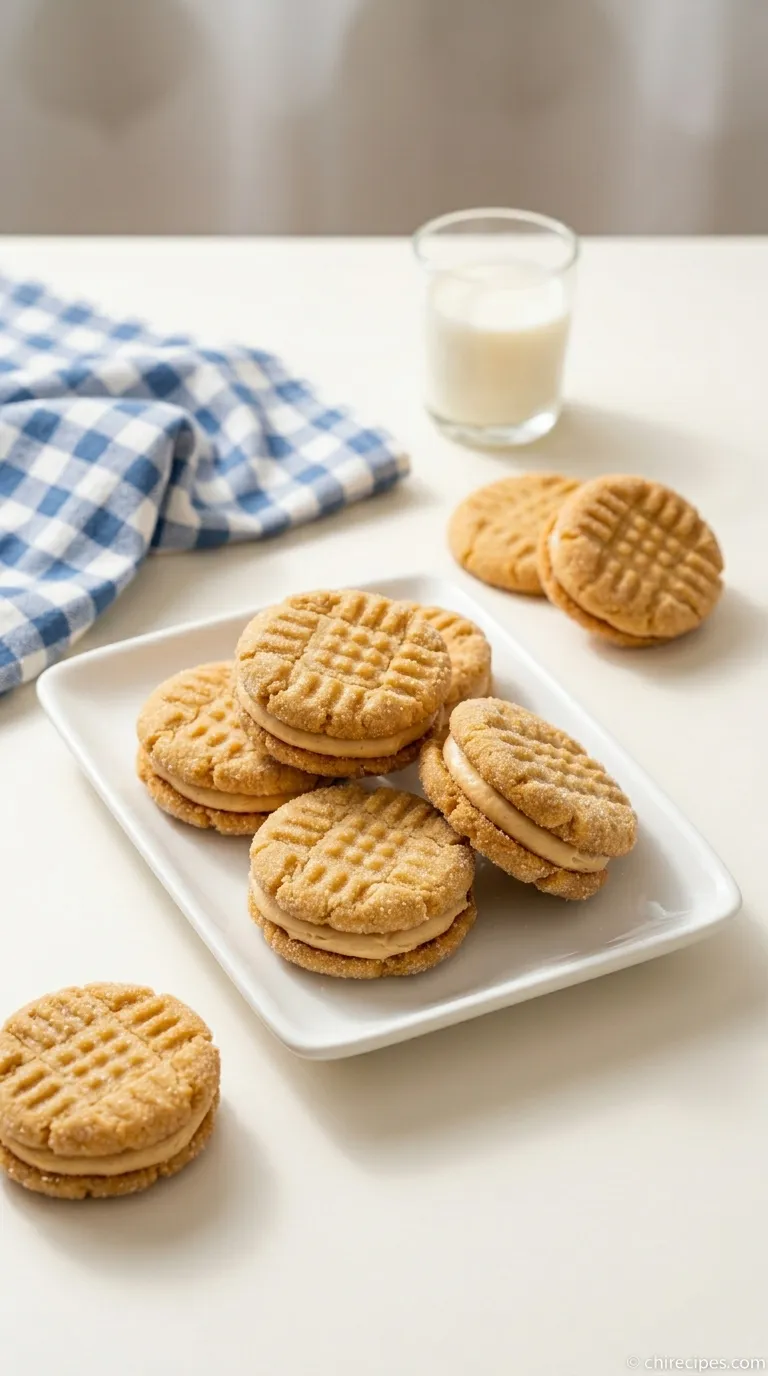
You can also create a beautiful dessert platter for a party or gathering. Arrange the eggs alongside other bite-sized peanut butter treats. They pair wonderfully with the chewy texture of Rolo-stuffed Peanut Butter Cookies or the simple richness of a classic Peanut Butter Fudge. The variety of textures and chocolate-to-peanut-butter ratios makes for an irresistible display.
For an extra-decadent dessert, roughly chop one of the eggs and use it as a topping for a scoop of vanilla or chocolate ice cream. The crunchy chocolate shell and soft filling create an incredible texture experience.
Did you change any ingredients? Let me know in the comments how you made this recipe your own
Why can’t I use natural peanut butter for this recipe?
You should avoid natural peanut butter because its excess oil will separate, creating a greasy and soft filling that doesn’t set properly. The recipe recommends using a commercial, no-stir brand like Jif or Skippy to achieve the correct dense, slightly crumbly texture.
What is the secret to getting a glossy, snappy chocolate shell?
The secret is to add a small amount of coconut oil or vegetable shortening to your chocolate chips before melting. This helps the chocolate melt smoothly and gives the finished shell a beautiful sheen and a satisfying snap when you bite into it.
Is it necessary to freeze the peanut butter eggs before dipping them in chocolate?
Yes, freezing the eggs for at least 30 minutes is a critical step. This makes the filling firm, which prevents the eggs from falling apart or melting when they are dipped into the warm chocolate, ensuring a much cleaner and more successful result.
Can I make these peanut butter eggs vegan or dairy-free?
Yes, the recipe is easily adaptable. To make it vegan and dairy-free, simply swap the unsalted butter for a high-quality plant-based butter stick and use dairy-free chocolate chips for the coating.
Homemade No-Guilt Peanut Butter Eggs
Ingredients
Equipment
Method
- In a large bowl with a hand mixer or a stand mixer with a paddle attachment, beat the softened butter and creamy peanut butter on medium speed until completely smooth and combined.
- Mix in the vanilla extract and salt. With the mixer on low speed, gradually add the powdered sugar, about one cup at a time, until a thick, stiff dough forms that is easy to handle.
- Line a large baking sheet with parchment paper. Scoop about 1.5 to 2 tablespoons of the mixture, roll it into a ball, then gently flatten and pinch one end to create an egg shape. Place on the prepared sheet and repeat with the remaining dough.
- Place the baking sheet of shaped eggs in the freezer for at least 30 minutes until very firm. Do not skip this step.
- While the eggs are chilling, combine the chocolate chips and coconut oil in a microwave-safe bowl. Microwave in 30-second intervals, stirring between each, until the chocolate is smooth and fully melted.
- Remove the frozen eggs from the freezer. Working one at a time, use two forks to dip and roll each egg in the melted chocolate until fully coated.
- Lift the egg out of the chocolate with a fork, tapping it gently on the side of the bowl to let any excess chocolate drip off. Place the coated egg back on the parchment-lined baking sheet.
- If desired, sprinkle with flaky sea salt or sprinkles while the chocolate is still wet. Refrigerate the baking sheet for 15-20 minutes, or until the chocolate shell is completely hard and set before enjoying.
Notes
Peanut Butter Choice: It is crucial to use a commercial, no-stir peanut butter. Natural peanut butter will separate and result in a greasy filling.
Chill Time is Key: Do not skip the 30-minute freeze time. It solidifies the eggs, making them easy to dip without falling apart in the warm chocolate.
Variations: For a crunchy texture, mix 1/2 cup of crispy rice cereal into the filling. For a gourmet touch, sprinkle flaky sea salt on top of the wet chocolate after dipping.
Dairy-Free/Vegan Option: Substitute the butter with a plant-based butter stick and use certified dairy-free chocolate chips.