
As the crisp autumn air settles in and the leaves begin to turn, the irresistible aroma of caramel and apples fills the kitchen, beckoning us to indulge in the quintessential flavors of the season. But when it comes to “Caramel Apple Bars: DIY Dream or Fall Fail?”, the line between homemade heaven and baking blunder can be a precarious one. Join us as we explore the delightful possibilities and potential pitfalls of crafting this autumnal treat in the comfort of your own home.
The Allure of Caramel Apple Bars
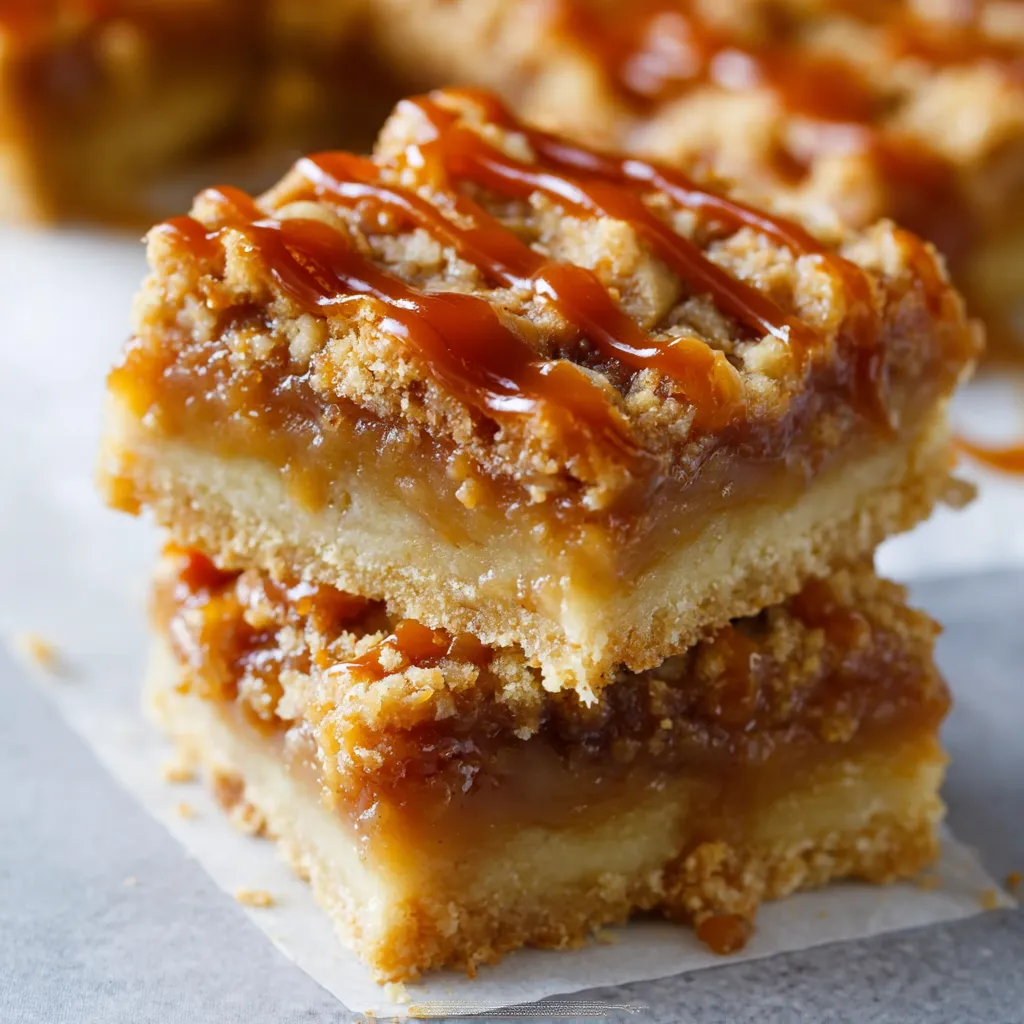
Caramel apple bars have long been a beloved fall favorite, capturing the essence of the season with their gooey caramel, tender apples, and buttery crust. These portable, handheld delights offer a delightful balance of sweet and tart, making them the perfect companion for cozy sweaters, crackling fires, and leaf-peeping adventures. Whether you’re reminiscing about childhood memories of county fairs or seeking to recreate the flavors of a quaint small-town bakery, the prospect of whipping up a batch of homemade caramel apple bars can be incredibly enticing.
Navigating the Caramel Conundrum
One of the primary challenges in crafting the perfect caramel apple bar lies in the caramel itself. Achieving the right consistency – not too thin and runny, yet not so thick that it becomes chewy and difficult to work with – can be a delicate dance. The key is to strike the right balance, creating a silky smooth caramel that complements the tender apples without overwhelming the other flavors. This requires careful attention to temperature, timing, and technique – a task that can intimidate even the most seasoned home bakers.
The Art of Caramel Making
Mastering the art of caramel making is crucial for the success of your caramel apple bars. The process involves slowly heating sugar until it caramelizes, transforming into a rich, golden-hued syrup. However, this delicate dance can quickly turn sour if the temperature is not carefully monitored. Overcooking the caramel can result in a bitter, burnt flavor, while undercooking can leave it thin and watery. Patience and vigilance are key, as the caramel can go from perfect to ruined in a matter of seconds.
Incorporating the Apples
Choosing the right apples is another crucial element in crafting the perfect caramel apple bars. Tart, crisp varieties like Granny Smith or Honeycrisp tend to hold their shape and provide a delightful contrast to the sweet caramel. Softer, sweeter apples like Fuji or Gala can become mushy and lose their texture when baked, potentially creating a soggy, unappetizing result.
Crust Conundrums: Achieving the Perfect Base
The foundation of a stellar caramel apple bar lies in the crust. A buttery, flaky base is essential to support the weight of the caramel and apples, while still maintaining a delightful texture. However, striking the right balance between tenderness and structural integrity can be a challenge. Overbaking can lead to a dry, crumbly crust, while underbaking can result in a soggy, uncooked bottom. Mastering the art of blind baking and finding the optimal baking time and temperature is crucial for creating a crust that complements the filling perfectly.
Decorative Delights: Elevating the Presentation
While the flavors of caramel apple bars are the true stars, the visual appeal of these treats can also play a significant role in their overall desirability. Drizzling the bars with additional caramel, sprinkling them with a dusting of cinnamon sugar, or adorning them with a dollop of whipped cream can take a simple homemade creation and transform it into a true showstopper. Paying attention to the details, from the neatness of the cut bars to the artful arrangement on the serving platter, can elevate the entire experience and make your caramel apple bars a true delight for the senses.
Caramel Apple Bar Recipes: Tried and True
If you’re ready to embark on your caramel apple bar-making journey, here are a few tried-and-true recipes to get you started:
Classic Caramel Apple Bars
- Preheat oven to 350°F. Grease a 9×13-inch baking pan.
- In a medium bowl, whisk together 2 cups all-purpose flour, 1 teaspoon baking powder, and 1/4 teaspoon salt.
- In a separate bowl, cream together 1 cup unsalted butter and 1 cup granulated sugar until light and fluffy.
- Beat in 2 large eggs, one at a time, then stir in 1 teaspoon vanilla extract.
- Gradually mix the dry ingredients into the wet ingredients until just combined.
- Press the dough into the prepared baking pan, creating an even layer.
- Bake for 15-20 minutes, or until the crust is lightly golden.
- In a medium saucepan, combine 1 cup packed brown sugar, 1/2 cup unsalted butter, 1/4 cup heavy cream, and 1/4 teaspoon salt.
- Cook over medium heat, stirring constantly, until the mixture comes to a boil.
- Reduce heat and simmer, continuing to stir, for 5-7 minutes, or until the caramel has thickened.
- Remove from heat and stir in 1 teaspoon vanilla extract.
- Arrange 3 cups peeled, cored, and sliced Granny Smith apples over the partially baked crust.
- Drizzle the caramel sauce evenly over the apples.
- Bake for an additional 25-30 minutes, or until the apples are tender and the caramel is bubbly.
- Allow to cool completely before cutting into bars.
Salted Caramel Apple Bars
- Preheat oven to 350°F. Grease a 9×13-inch baking pan.
- In a medium bowl, whisk together 2 1/4 cups all-purpose flour, 1 teaspoon baking powder, and 1/2 teaspoon salt.
- In a separate bowl, cream together 1 cup unsalted butter and 1 cup packed brown sugar until light and fluffy.
- Beat in 2 large eggs, one at a time, then stir in 2 teaspoons vanilla extract.
- Gradually mix the dry ingredients into the wet ingredients until just combined.
- Press half of the dough into the prepared baking pan, creating an even layer.
- Bake for 15 minutes, or until the crust is lightly golden.
- In a medium saucepan, combine 1 cup packed brown sugar, 1/2 cup unsalted butter, 1/4 cup heavy cream, and 1/2 teaspoon sea salt.
- Cook over medium heat, stirring constantly, until the mixture comes to a boil.
- Reduce heat and simmer, continuing to stir, for 5-7 minutes, or until the caramel has thickened.
- Remove from heat and stir in 1 teaspoon vanilla extract.
- Arrange 3 cups peeled, cored, and sliced Honeycrisp apples over the partially baked crust.
- Drizzle the salted caramel sauce evenly over the apples.
- Crumble the remaining dough over the top of the caramel and apples.
- Bake for an additional 25-30 minutes, or until the apples are tender and the topping is golden brown.
- Allow to cool completely before cutting into bars.
Conclusion: Embracing the Caramel Apple Bar Challenge
Crafting the perfect caramel apple bars may seem like a daunting task, but with a little patience, attention to detail, and a willingness to experiment, the rewards can be truly delightful. Whether you’re a seasoned baker or a novice in the kitchen, the journey of mastering this autumnal treat is one filled with the promise of gooey caramel, tender apples, and the satisfaction of a homemade creation that captures the essence of the fall season. So, don your apron, gather your ingredients, and embark on your own caramel apple bar adventure – the only question that remains is, will it be a DIY dream or a fall fail?


