It was always a race against my cousins to snag the first batch of fried okra fresh from my grandma’s cast iron skillet. The smell alone transported you to a summer afternoon in her sun-drenched kitchen. I’ve spent years trying to recreate that crispy, tangy magic, and I finally cracked the code! Today, I’m sharing all my secrets for the most amazing Buttermilk Fried Okra Recipe That’ll Have You Licking the Plate you’ll ever make!
The Ultimate Buttermilk Fried Okra: A Love Story

Okay, friends, let’s be honest. Okra has a reputation. It’s often misunderstood, and sometimes, well, it can be a little…slimy. But trust me on this. When prepared correctly, okra transforms from a potentially questionable vegetable into a crispy, tangy, utterly addictive treat. This Buttermilk Fried Okra recipe is the key to unlocking okra’s true potential. We’re talking about a golden-brown crust, a tender interior, and a flavor that will have you reaching for more (and more!).
This isn’t just any fried okra recipe. The buttermilk soak is the secret weapon. It tenderizes the okra, adds a subtle tang, and helps the breading adhere perfectly. The result? A restaurant-quality dish you can easily make at home. So, grab your apron, and let’s get frying!
What Makes This Buttermilk Fried Okra So Special?
Before we dive into the recipe, let’s talk about why this particular method is a game-changer:
The Buttermilk Magic: Buttermilk isn’t just a liquid. It’s a flavor enhancer and a tenderizer all in one. The acidity in the buttermilk breaks down the okra’s natural sliminess and infuses it with a delightful tang.
The Double Dredge: We’re not skimping on the breading here. A double dredge ensures a thick, crispy crust that stays put during frying.
The Seasoning Symphony: A blend of classic Southern spices elevates the flavor profile to a whole new level. We’re talking savory, a little spicy, and utterly irresistible.
The Perfect Fry: Achieving that golden-brown perfection is all about temperature control. I’ll walk you through the process step by step to ensure your okra is perfectly cooked every time.
Ingredients You’ll Need
Here’s what you’ll need to make this masterpiece. Don’t worry, most of these are pantry staples!
Fresh Okra: 1 pound, washed and sliced into ½-inch thick rounds
Buttermilk: 2 cups
All-Purpose Flour: 2 cups
Cornmeal: 1 cup (yellow or white, your choice!)
Salt: 2 teaspoons
Black Pepper: 1 teaspoon
Garlic Powder: 1 teaspoon
Onion Powder: 1 teaspoon
Paprika: ½ teaspoon
Cayenne Pepper: ¼ teaspoon (optional, for a little kick)
Vegetable Oil: For frying (about 3-4 cups)
Step-by-Step Instructions: From Prep to Plate
Alright, let’s get down to business! Follow these steps carefully, and you’ll be rewarded with the best Buttermilk Fried Okra of your life.
1. Prepare the Okra: Wash the okra thoroughly and pat it dry with paper towels. This is crucial! Excess moisture will prevent the breading from sticking properly. Slice the okra into ½-inch thick rounds.
2. Buttermilk Soak: Place the sliced okra in a large bowl and pour the buttermilk over it. Make sure all the okra is submerged. Cover the bowl and refrigerate for at least 30 minutes, or up to 2 hours. The longer it soaks, the more tender and flavorful it will be.
3. Combine Dry Ingredients: In a separate large bowl, whisk together the flour, cornmeal, salt, pepper, garlic powder, onion powder, paprika, and cayenne pepper (if using). This is your breading mixture.
4. Double Dredge: This is where the magic happens. Remove a handful of okra from the buttermilk, allowing the excess to drip off. Dredge it thoroughly in the breading mixture, making sure every piece is fully coated. Then, return the okra to the buttermilk for a quick dip (just a second or two). Finally, dredge it again in the breading mixture. This double coating creates a super crispy crust.
5. Heat the Oil: Pour the vegetable oil into a large, heavy-bottomed skillet or Dutch oven. Heat the oil over medium-high heat until it reaches 350°F (175°C). Use a deep-fry thermometer to monitor the temperature. If you don’t have a thermometer, you can test the oil by dropping a small piece of breading into it. If it sizzles and turns golden brown in about 30 seconds, the oil is ready.
6. Fry in Batches: Carefully add the breaded okra to the hot oil in a single layer. Do not overcrowd the skillet, as this will lower the oil temperature and result in soggy okra. Fry for 2-3 minutes per side, or until golden brown and crispy.
7. Drain and Serve: Remove the fried okra from the skillet with a slotted spoon and place it on a wire rack lined with paper towels to drain excess oil. Season with a little extra salt, if desired. Serve immediately and prepare to be amazed!
Success Tips for Perfect Buttermilk Fried Okra
Here are a few golden rules to ensure your Buttermilk Fried Okra is a resounding success:
Don’t Skip the Buttermilk Soak: This step is essential for tenderizing the okra and adding flavor. Don’t be tempted to skip it!
Maintain the Oil Temperature: Keeping the oil at a consistent temperature is crucial for crispy, non-greasy okra. Use a thermometer to monitor the temperature and adjust the heat as needed.
Don’t Overcrowd the Skillet: Frying in batches ensures that the okra cooks evenly and stays crispy.
Use Fresh Oil: Old or used oil can impart unwanted flavors to your okra. Use fresh vegetable oil for the best results.
Serve Immediately: Fried okra is best enjoyed hot and crispy. Don’t let it sit around for too long, or it will lose its crunch.
Variations and Adaptations
Want to put your own spin on this classic recipe? Here are a few ideas:
Spicy Fried Okra: Add more cayenne pepper to the breading mixture for a spicier kick. You could also add a pinch of chili powder or a dash of hot sauce to the buttermilk.
Herb-Infused Okra: Add dried herbs like thyme, rosemary, or oregano to the breading mixture for a more complex flavor.
Cheese-Crusted Okra: Add grated Parmesan or cheddar cheese to the breading mixture for a cheesy twist.
Gluten-Free Fried Okra: Substitute the all-purpose flour with a gluten-free flour blend. Make sure to use gluten-free cornmeal as well.
Serving Suggestions
Buttermilk Fried Okra is a versatile side dish that pairs well with a variety of meals. Here are a few serving suggestions:
Southern Classics: Serve it alongside fried chicken, mashed potatoes, and collard greens for a classic Southern feast.
BBQ Bonanza: Pair it with grilled ribs, pulled pork, or brisket for a delicious barbecue spread.
Seafood Sensations: Serve it with grilled shrimp, blackened catfish, or fried oysters for a taste of the coast.
Veggie Delight: Enjoy it as a side dish with other grilled or roasted vegetables for a vegetarian-friendly meal.
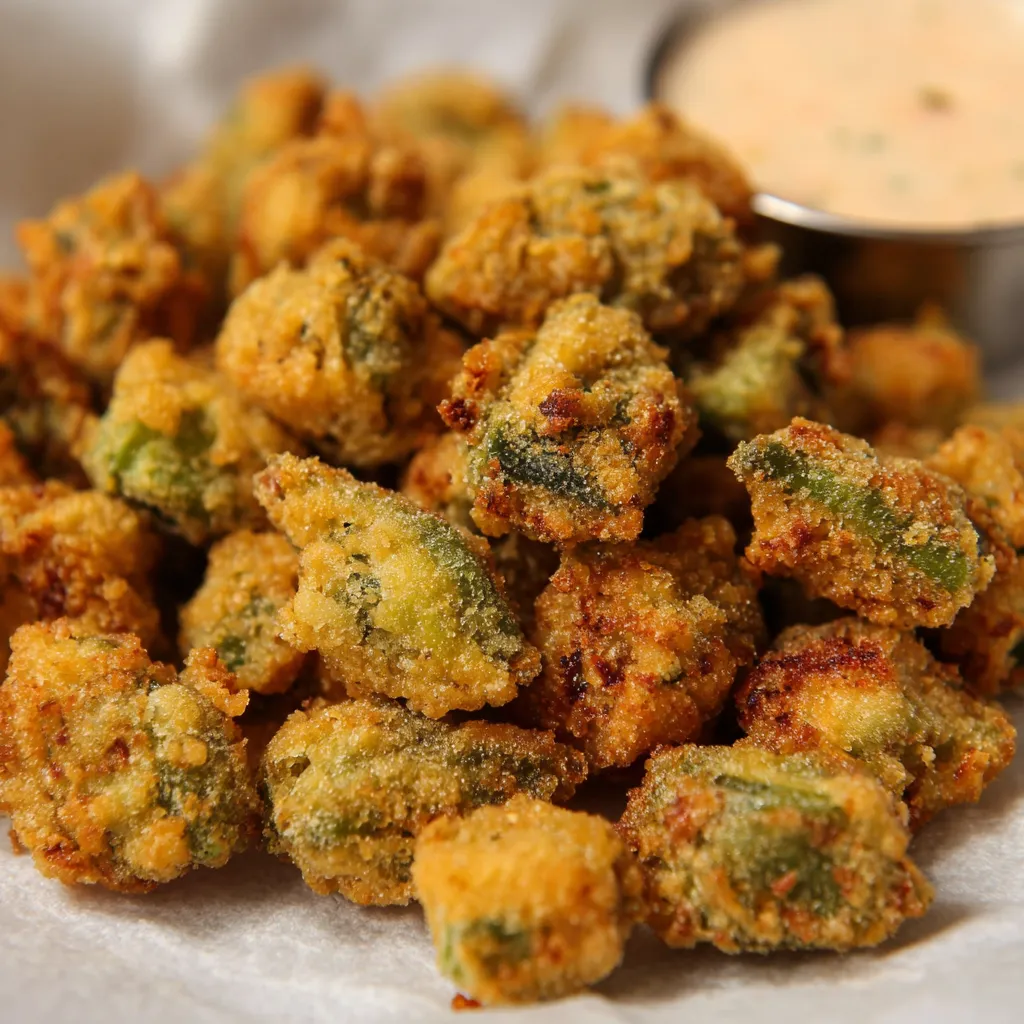
Snack Attack: Serve it as a snack with your favorite dipping sauce, such as ranch dressing, comeback sauce, or a spicy mayo.
And speaking of dipping sauces, have you ever tried Fried Okra with Buttermilk Dip? It’s crispy, creamy and a perfect match! It’s a fantastic way to enjoy okra with a cool and tangy contrast.
Beyond Frying: Exploring Other Okra Delights
While I adore this Buttermilk Fried Okra recipe, there are so many other ways to enjoy this versatile vegetable. If you’re looking for a healthier alternative, consider Crunchy Baked Okra Recipe Crispy Delicious. It offers a similar crispy texture without all the oil.
For a super speedy side dish, check out Fried Okra with Zatarain’s. It’s ready in just 10 minutes! Or, for another healthier option, try Crunchy Oven-Fried Okra Guilt-Free Snack Recipe. It’s a great way to enjoy okra without the added fat.
If you’re in the mood for something completely different, give Garlic Roasted Okra a try. It’s so good you’ll Lick Your Plate Delicious! It’s an easy and flavorful way to enjoy okra as a side dish. And if you like a little heat, don’t miss Spicy Cajun Fried Okra. It’s a crunchy, flavor-packed recipe that will spice up your meal!
Storing and Reheating
If you happen to have any leftover Buttermilk Fried Okra (which is unlikely!), here’s how to store and reheat it:
Storing: Store the leftover okra in an airtight container in the refrigerator for up to 2 days.
Reheating: For the best results, reheat the okra in a preheated oven at 350°F (175°C) for 5-10 minutes, or until crispy. You can also reheat it in an air fryer for a few minutes. Avoid microwaving, as this will make the okra soggy.
A Few More Tips for Okra Success
Choose the Right Okra: Look for small to medium-sized okra pods that are firm and bright green. Avoid okra that is soft, bruised, or discolored.
Don’t Overcook: Overcooked okra can become mushy and slimy. Cook it until it’s golden brown and crispy, but still slightly tender on the inside.
Season Generously: Don’t be afraid to season your okra liberally with salt, pepper, and other spices. The flavor will intensify during frying.
Experiment with Dipping Sauces: Get creative with your dipping sauces! Ranch dressing, comeback sauce, spicy mayo, and even a simple vinaigrette can all be delicious accompaniments to fried okra.
Conclusion: Your Ticket to Okra Nirvana
So there you have it, friends! My foolproof recipe for Buttermilk Fried Okra that will have you licking the plate. With a little bit of patience and attention to detail, you can transform this often-misunderstood vegetable into a crispy, tangy, utterly addictive treat. Now go forth, fry some okra, and prepare to be amazed! I promise, this will become a new favorite in your kitchen!
Buttermilk Fried Okra That’ll Have You Licking the Plate
Ingredients
Equipment
Method
- Wash okra and pat it completely dry. Slice into ½-inch thick rounds.
- Place sliced okra in a bowl and cover with buttermilk. Soak for at least 30 minutes (or up to 2 hours in the fridge).
- In a large bowl, whisk together flour, cornmeal, salt, pepper, garlic powder, onion powder, paprika, and cayenne (if using).
- Remove okra from buttermilk, dredge in breading. Return to buttermilk, then dredge again. Shake off excess.
- Heat vegetable oil in a large skillet or Dutch oven to 350°F (175°C). Test with a thermometer or a crumb of batter.
- Fry okra in batches for 2-3 minutes per side until golden brown and crispy. Do not overcrowd.
- Transfer fried okra to a paper towel–lined rack. Season with a pinch of salt if desired. Serve hot.