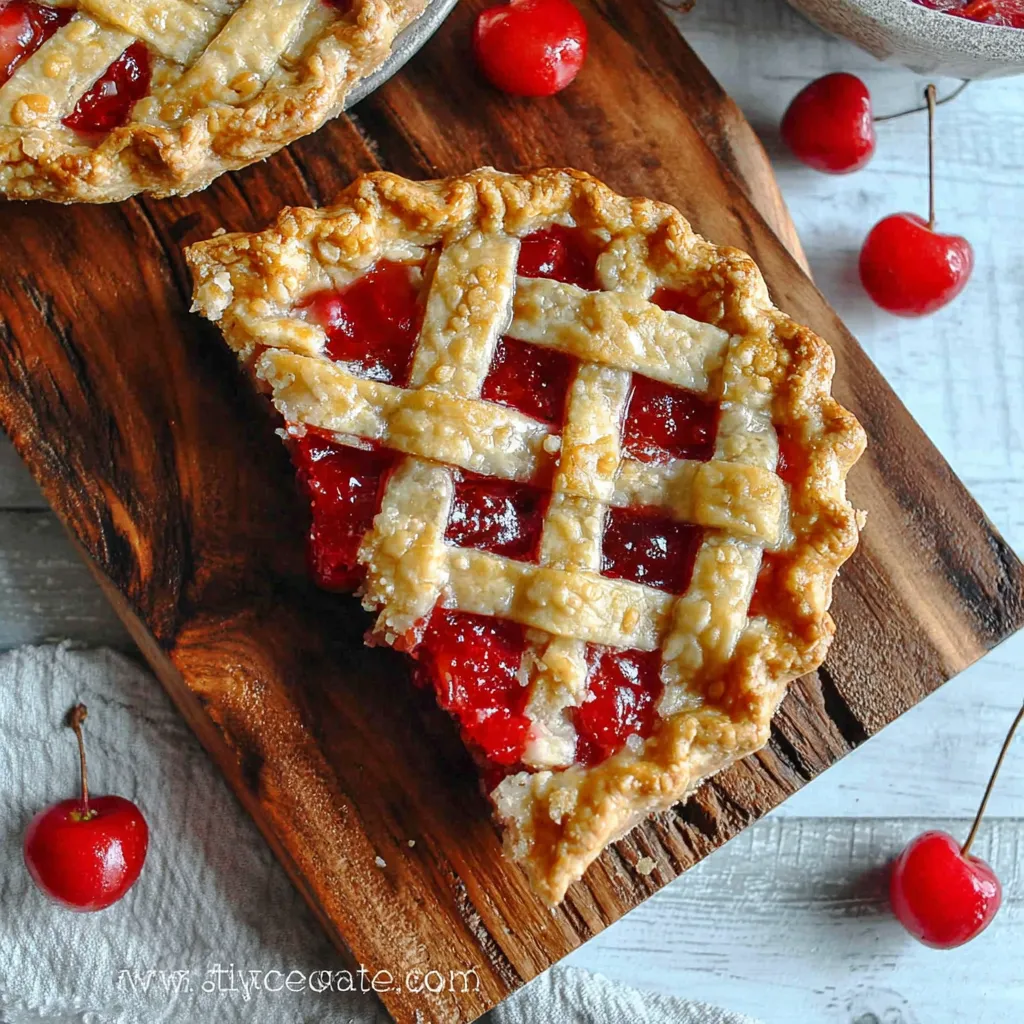
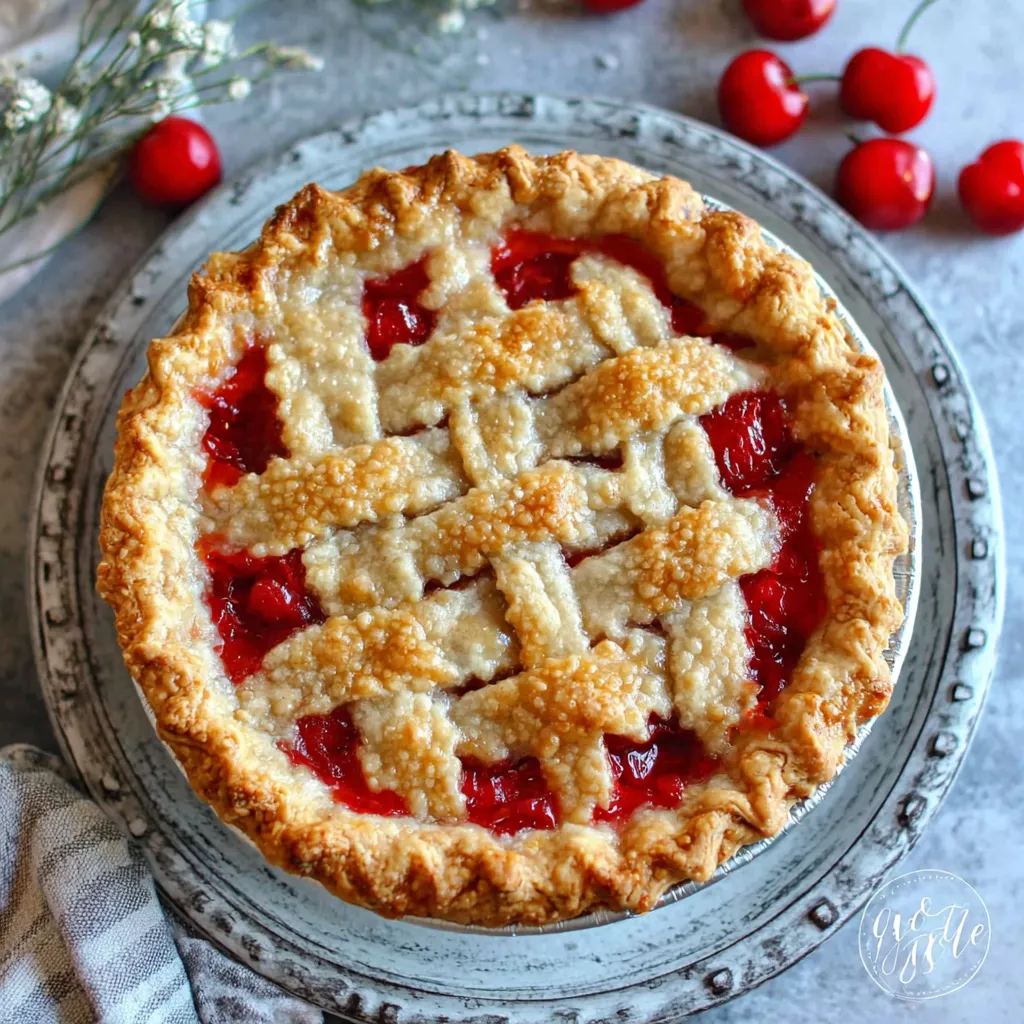
I can still picture my grandmother’s kitchen, filled with the warm, comforting aroma of baked goods. She always had a little something sweet waiting, and one of my absolute favorites was her cherry pie. Sadly, since discovering my gluten intolerance, traditional pies have been off the menu – until now! Today, I’m beyond thrilled to share my secret weapon for creating the most delightful Easy Gluten-Free Sweet Cherry Pocket Pie you’ll ever taste, a perfectly portioned treat that’s bursting with flavor and totally gluten-free. Get ready to experience pie perfection!
The Joy of Gluten-Free Cherry Pocket Pies

Let’s face it, making a full-sized gluten-free pie can be daunting. The crust is often finicky, and sometimes, you just want a single serving of sweet, fruity goodness. That’s where these Easy Gluten-Free Sweet Cherry Pocket Pies come in! They’re quick, easy, and perfectly portioned, making them ideal for a satisfying dessert without the fuss. Plus, they’re portable, which means you can enjoy them on picnics, potlucks, or simply as a delightful afternoon treat.
Why Choose Pocket Pies?
Pocket pies offer a unique advantage over traditional pies. Firstly, they bake faster, thanks to their smaller size. Secondly, they are incredibly easy to handle, making them perfect for beginner bakers. Thirdly, the crust-to-filling ratio is absolutely perfect in every single bite. And finally, they’re simply adorable!
Ingredients You’ll Need
To make these delicious pocket pies, you’ll need the following ingredients:
- Gluten-Free Flour Blend: Use a good-quality all-purpose gluten-free flour blend that contains xanthan gum. This acts as a binder and gives the crust its elasticity. I always have a bag on hand; it makes everything easier!
- Butter: Cold, unsalted butter is crucial for creating a flaky crust.
- Sugar: A combination of granulated sugar and a touch of brown sugar adds sweetness and depth of flavor.
- Salt: A pinch of salt enhances the sweetness and balances the flavors.
- Ice Water: This helps to bring the dough together without overworking it.
- Sweet Cherries: Fresh or frozen sweet cherries work perfectly. If using frozen, thaw and drain them well.
- Cornstarch: This thickens the cherry filling, preventing it from becoming too runny.
- Lemon Juice: Adds a bright, tangy flavor that complements the sweetness of the cherries.
- Almond Extract: A touch of almond extract enhances the cherry flavor and adds a hint of sophistication.
- Egg Wash: An egg wash gives the pies a beautiful golden-brown color.
- Turbinado Sugar: Sprinkling turbinado sugar on top adds a lovely sparkle and a delightful crunch.
Step-by-Step Instructions
Now, let’s get baking! Follow these easy steps to create your own batch of irresistible Easy Gluten-Free Sweet Cherry Pocket Pies:
- Prepare the Gluten-Free Pie Dough: In a large bowl, whisk together the gluten-free flour, granulated sugar, brown sugar, and salt.
- Cut in the Butter: Cut the cold butter into small cubes and add it to the flour mixture. Use a pastry blender or your fingertips to cut the butter into the flour until the mixture resembles coarse crumbs. You want to see small pieces of butter throughout the flour mixture – this is key for flakiness!
- Add the Ice Water: Gradually add the ice water, one tablespoon at a time, mixing gently after each addition. Continue adding water until the dough just comes together. Be careful not to overmix!
- Form the Dough: Gently form the dough into a disk, wrap it in plastic wrap, and refrigerate for at least 30 minutes. This allows the gluten-free flour to hydrate and the butter to chill, resulting in a more tender crust.
- Make the Cherry Filling: While the dough is chilling, prepare the cherry filling. In a medium saucepan, combine the sweet cherries, granulated sugar, cornstarch, lemon juice, and almond extract.
- Cook the Filling: Cook the cherry mixture over medium heat, stirring constantly, until it thickens and the cherries soften, about 5-7 minutes. Remove from heat and let cool completely. This is important to prevent the dough from becoming soggy.
- Preheat the Oven: Preheat your oven to 375°F (190°C) and line a baking sheet with parchment paper.
- Roll Out the Dough: On a lightly floured surface (use your gluten-free flour blend), roll out the chilled dough to about 1/8-inch thickness. You might find it helpful to roll the dough between two sheets of parchment paper to prevent sticking.
- Cut Out the Circles: Use a 4-inch round cookie cutter or a sharp knife to cut out circles from the dough.
- Assemble the Pocket Pies: Place a spoonful of the cooled cherry filling in the center of each circle.
- Fold and Seal: Fold the dough over to form a half-moon shape. Use a fork to crimp the edges, sealing the filling inside. Press firmly to ensure a good seal.
- Brush with Egg Wash: In a small bowl, whisk together the egg and a tablespoon of water. Brush the egg wash over the top of each pocket pie.
- Sprinkle with Sugar: Sprinkle the tops of the pocket pies with turbinado sugar.
- Bake: Bake for 20-25 minutes, or until the pies are golden brown and the filling is bubbling.
- Cool: Let the pocket pies cool on the baking sheet for a few minutes before transferring them to a wire rack to cool completely.
- Enjoy!: Serve warm or at room temperature and enjoy your delicious Easy Gluten-Free Sweet Cherry Pocket Pies!
Success Tips for Perfect Pocket Pies
These simple tips will ensure your Easy Gluten-Free Sweet Cherry Pocket Pies turn out perfectly every time:
- Keep Everything Cold: Cold butter and ice water are essential for creating a flaky gluten-free crust. If the butter melts too quickly, the crust will be tough and greasy.
- Don’t Overmix the Dough: Overmixing gluten-free dough can result in a tough crust. Mix just until the dough comes together, then refrigerate.
- Cool the Filling Completely: Adding warm filling to the dough will make it soggy and difficult to handle. Make sure the filling is completely cool before assembling the pocket pies.
- Seal the Edges Well: Press the edges of the pocket pies firmly with a fork to prevent the filling from leaking out during baking.
- Bake Until Golden Brown: Bake the pocket pies until they are golden brown and the filling is bubbling. This ensures the crust is cooked through and the filling is heated.
Variations and Additions
Want to get creative? Here are a few ideas for variations and additions to your Easy Gluten-Free Sweet Cherry Pocket Pies:
- Add Spices: A pinch of cinnamon, nutmeg, or ginger to the cherry filling adds warmth and complexity.
- Use Different Fruits: Feel free to substitute the cherries with other fruits, such as blueberries, raspberries, or peaches. Just adjust the sugar and cornstarch accordingly. Maybe try making a batch of BLUEBERRY BOYFRIEND BAIT BARS next!
- Add Chocolate Chips: A handful of mini chocolate chips to the cherry filling adds a touch of decadence.
- Top with Glaze: Drizzle the cooled pocket pies with a simple glaze made from powdered sugar and milk for an extra touch of sweetness.
Serving Suggestions
These Easy Gluten-Free Sweet Cherry Pocket Pies are delicious on their own, but here are a few serving suggestions to elevate your experience:
- Serve with Ice Cream: A scoop of vanilla ice cream or whipped cream is the perfect complement to these warm pocket pies. If you love the idea of pairing cherries with something cold and sweet, you absolutely must try CHERRY SORBET DELIGHT.
- Dust with Powdered Sugar: A light dusting of powdered sugar adds a touch of elegance.
- Pair with Coffee or Tea: These pocket pies are the perfect accompaniment to a cup of coffee or tea.
Making Ahead and Freezing Instructions
These Easy Gluten-Free Sweet Cherry Pocket Pies can be made ahead of time and frozen for later. Here’s how:
- To Make Ahead: Prepare the dough and filling as directed. Assemble the pocket pies, but do not bake. Cover them tightly with plastic wrap and refrigerate for up to 24 hours. When ready to bake, brush with egg wash, sprinkle with sugar, and bake as directed.
- To Freeze: Assemble the pocket pies, but do not bake. Place them on a baking sheet lined with parchment paper and freeze until solid. Once frozen, transfer them to a freezer-safe bag or container. They can be frozen for up to 3 months. When ready to bake, bake directly from frozen, adding a few extra minutes to the baking time.
Gluten-Free Baking Tips
Baking gluten-free can be a bit different than traditional baking. Here are a few tips to help you succeed:
- Use a Good-Quality Gluten-Free Flour Blend: Not all gluten-free flour blends are created equal. Look for a blend that contains xanthan gum, which helps to bind the ingredients together.
- Don’t Overmix: Overmixing gluten-free dough can result in a tough crust. Mix just until the ingredients are combined.
- Let the Dough Rest: Allowing the dough to rest in the refrigerator for at least 30 minutes helps the gluten-free flour to hydrate and the butter to chill, resulting in a more tender crust.
- Use Cold Ingredients: Cold butter and ice water are essential for creating a flaky gluten-free crust.
- Don’t Be Afraid to Experiment: Gluten-free baking can be a learning process. Don’t be afraid to experiment with different flours and techniques until you find what works best for you.
Other Cherry Dessert Ideas
If you’re a cherry lover like me, here are a few other cherry dessert ideas you might enjoy:
- ROASTED CHERRY BROWNIE PERFECTION: Rich, fudgy brownies with sweet, roasted cherries. This is a match made in heaven!
- Cherry Pie Bites Bliss: Another delightful way to enjoy cherry pie flavor in smaller portions. Like CHERRY PIE BITES BLISS, these are perfect for parties or a quick dessert fix.
- Black Forest Cake: A classic German dessert with layers of chocolate cake, whipped cream, and cherries.
- Cherry Clafoutis: A simple baked custard dessert with cherries. Very similar to this BLACKBERRY CLAFOUTIS, but with a cherry twist!
And if you’re looking for something completely different, but still delicious and gluten-free, you might even want to give Gluten-Free Fried Okra a try! Okay, I know it’s not dessert, but sometimes, a little salty snack is just what you need.
Conclusion
These Easy Gluten-Free Sweet Cherry Pocket Pies are a delightful treat that everyone can enjoy. With their flaky crust, sweet and tangy cherry filling, and easy-to-make recipe, they’re sure to become a family favorite. So, gather your ingredients, preheat your oven, and get ready to experience the joy of gluten-free baking! I know you’ll absolutely love them!
Why are pocket pies better than making a full-sized gluten-free cherry pie?
Pocket pies are quicker to make, easier to handle, perfectly portioned for a single serving, and have a great crust-to-filling ratio.
What is the key ingredient for making a flaky gluten-free pie crust?
Using cold, unsalted butter and ice water are crucial for creating a flaky gluten-free crust. Also, be sure not to overmix the dough.
Can I make these cherry pocket pies ahead of time?
Yes, you can assemble the pocket pies, cover them tightly, and refrigerate for up to 24 hours before baking. Alternatively, you can freeze the unbaked pocket pies for up to 3 months.
What if I don’t have sweet cherries? Can I use other fruits?
Yes, you can substitute the cherries with other fruits such as blueberries, raspberries, or peaches. Just adjust the sugar and cornstarch accordingly.

Gluten-Free Cherry Pie Magic (Pocket Pies)
Ingredients
Equipment
Method
- Prepare the Gluten-Free Pie Dough: In a large bowl, whisk together the gluten-free flour, granulated sugar, brown sugar, and salt.
- Cut in the Butter: Cut the cold butter into small cubes and add it to the flour mixture. Use a pastry blender or your fingertips to cut the butter into the flour until the mixture resembles coarse crumbs. You want to see small pieces of butter throughout the flour mixture – this is key for flakiness!
- Add the Ice Water: Gradually add the ice water, one tablespoon at a time, mixing gently after each addition. Continue adding water until the dough just comes together. Be careful not to overmix!
- Form the Dough: Gently form the dough into a disk, wrap it in plastic wrap, and refrigerate for at least 30 minutes.
- Make the Cherry Filling: While the dough is chilling, prepare the cherry filling. In a medium saucepan, combine the sweet cherries, granulated sugar, cornstarch, lemon juice, and almond extract.
- Cook the Filling: Cook the cherry mixture over medium heat, stirring constantly, until it thickens and the cherries soften, about 5-7 minutes. Remove from heat and let cool completely.
- Preheat the Oven: Preheat your oven to 375°F (190°C) and line a baking sheet with parchment paper.
- Roll Out the Dough: On a lightly floured surface (use your gluten-free flour blend), roll out the chilled dough to about 1/8-inch thickness. You might find it helpful to roll the dough between two sheets of parchment paper to prevent sticking.
- Cut Out the Circles: Use a 4-inch round cookie cutter or a sharp knife to cut out circles from the dough.
- Assemble the Pocket Pies: Place a spoonful of the cooled cherry filling in the center of each circle.
- Fold and Seal: Fold the dough over to form a half-moon shape. Use a fork to crimp the edges, sealing the filling inside. Press firmly to ensure a good seal.
- Brush with Egg Wash: In a small bowl, whisk together the egg and a tablespoon of water. Brush the egg wash over the top of each pocket pie.
- Sprinkle with Sugar: Sprinkle the tops of the pocket pies with turbinado sugar.
- Bake: Bake for 20-25 minutes, or until the pies are golden brown and the filling is bubbling.
- Cool: Let the pocket pies cool on the baking sheet for a few minutes before transferring them to a wire rack to cool completely.
- Enjoy!: Serve warm or at room temperature.


