The Creamy Canvas: Understanding Cheesecake’s Foundation
Crafting the Elixir: Apple Cider Reduction Demystified
Apple cider reduction is simply the process of simmering apple cider to concentrate its flavor and sugars. This is critical because using unreduced cider would introduce too much liquid into the cheesecake batter, resulting in a soggy, unstable dessert. The reduction process not only intensifies the apple flavor but also creates a syrupy consistency that incorporates beautifully into the creamy base. Additionally, the caramelized sugars contribute a depth of flavor that elevates the entire cheesecake. The perfect reduction should be thick enough to coat the back of a spoon.The Ultimate Apple Cider Cheesecake Recipe
Key Equipment:
- 9-inch Springform Pan
- Large Roasting Pan
- Electric Mixer (Stand or Handheld)
- Saucepan
- Aluminum Foil
- Instant-Read Thermometer
Ingredients:
For the Crust:
- 1 1/2 cups graham cracker crumbs
- 5 tablespoons unsalted butter, melted
- 1/4 cup granulated sugar
- 1/4 teaspoon ground cinnamon
For the Apple Cider Reduction:
- 4 cups apple cider (unfiltered is best)
For the Cheesecake Filling:
- 32 ounces (4 packages) cream cheese, softened to room temperature
- 1 3/4 cups granulated sugar
- 1/4 cup packed light brown sugar
- 1/4 cup all-purpose flour
- 1 teaspoon ground cinnamon
- 1/2 teaspoon ground nutmeg
- 1/4 teaspoon ground cloves
- 1/4 teaspoon salt
- 1 cup apple cider reduction (cooled)
- 2 large eggs
- 2 large egg yolks
- 1/2 cup sour cream
- 1 teaspoon vanilla extract
For the Apple Topping (Optional):
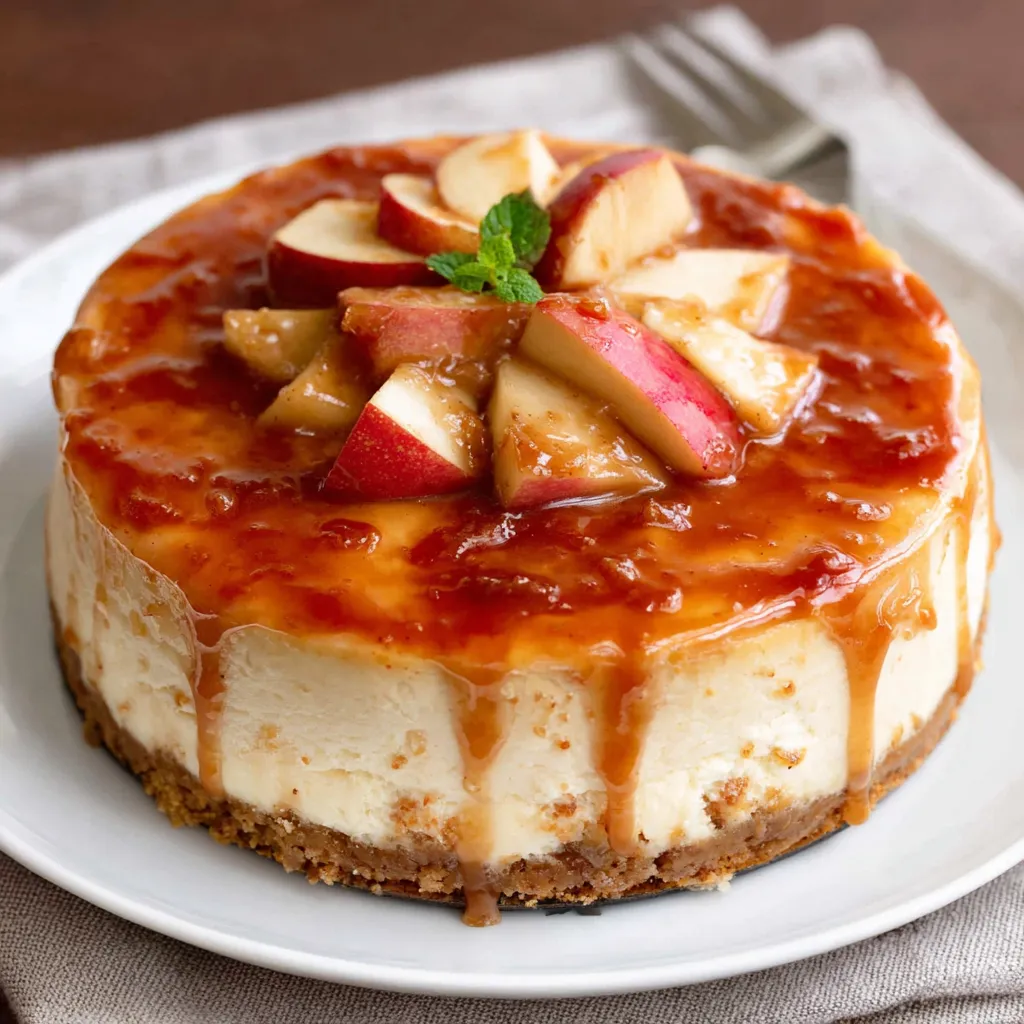
- 2 medium apples, peeled, cored, and thinly sliced
- 2 tablespoons butter
- 2 tablespoons brown sugar
- 1/2 teaspoon cinnamon
Step-by-Step Instructions:
- Prepare the Crust: Preheat oven to 350°F (175°C). In a medium bowl, combine graham cracker crumbs, melted butter, sugar, and cinnamon. Press the mixture firmly into the bottom of the springform pan.
- Bake the Crust: Bake the crust for 8-10 minutes, or until lightly golden. Let it cool completely. Wrap the bottom of the springform pan tightly with heavy-duty aluminum foil to prevent water from seeping in during the water bath.
- Make the Apple Cider Reduction: In a medium saucepan, bring the apple cider to a boil over medium-high heat. Reduce heat to medium-low and simmer until the cider is reduced to 1 cup, about 45-60 minutes. Stir occasionally to prevent sticking. Let the reduction cool completely.
- Prepare the Cheesecake Filling: In a large bowl, beat the softened cream cheese with an electric mixer until smooth and creamy. Gradually add the granulated sugar and brown sugar, beating until well combined.
- Add the flour, cinnamon, nutmeg, cloves, and salt. Beat until just combined. Do not overmix.
- Gradually add the cooled apple cider reduction, mixing until smooth.
- Add the eggs and egg yolks one at a time, beating gently after each addition. Stir in the sour cream and vanilla extract. Be careful not to overmix the batter; overmixing incorporates air, which can cause the cheesecake to puff up and crack.
- Pour and Bake: Pour the cheesecake filling over the cooled crust. If making the Apple Topping, sautee the apple slices with butter, brown sugar and cinnamon in a pan over medium heat until softened and caramelized. Arrange the apples on top of the cheesecake filling.
- Place the springform pan inside a large roasting pan. Carefully pour hot water into the roasting pan until it reaches about halfway up the sides of the springform pan.
- Bake in the preheated oven for 65-75 minutes, or until the edges of the cheesecake are set but the center still has a slight jiggle.
- Cooling Process: Turn off the oven and crack the oven door slightly. Let the cheesecake cool in the oven for 1 hour. This gradual cooling helps prevent cracking.
- Remove the cheesecake from the water bath and let it cool completely at room temperature. Then, cover it with plastic wrap and refrigerate for at least 6 hours, or preferably overnight, before serving.
- Serving: Before serving, run a thin knife around the edge of the springform pan to loosen the cheesecake. Carefully remove the sides of the pan. Serve chilled. Enjoy!
Cracking the Code: My Apple Cider Cheesecake Adventure
My quest for the perfect Apple Cider Cheesecake began, as many culinary adventures do, with a fair amount of trial and error. My first few attempts were… well, let’s just say they weren’t pretty. The initial problem was the apple cider itself. I naively assumed that simply adding apple cider to the batter would impart enough flavor. Wrong! The resulting cheesecake tasted faintly of apple, but it was overwhelmed by the cream cheese. The texture was also off – too wet and dense. Then, I had an “Aha!” moment: reduction. The science here is fascinating. By simmering the apple cider for an extended period, I could concentrate its flavor and reduce its water content, creating a potent apple essence that wouldn’t compromise the cheesecake’s texture. This was a game-changer. Suddenly, the apple flavor was front and center, perfectly complementing the creamy base. But the journey wasn’t over. My next challenge was the dreaded cheesecake crack. Like many of you, I initially thought more cream was the answer. I started experimenting with different ratios of cream cheese to sour cream, but nothing seemed to work consistently. That’s when I stumbled upon the importance of the water bath. The water bath provides a gentle, even heat that prevents the cheesecake from drying out and cracking. It also helps to maintain a consistent temperature throughout the baking process, ensuring a creamy, smooth texture. And the final hurdle? Overbaking. Even with the water bath, I was still occasionally ending up with a slightly dry cheesecake. The key, I discovered, was to pull the cheesecake out of the oven *just* before it was fully set. The center should still have a slight jiggle. It will continue to set as it cools. This is where an instant-read thermometer becomes your best friend. Aim for an internal temperature of around 150°F (65°C). I also experimented with different crusts, eventually settling on a graham cracker crust with a hint of cinnamon. The cinnamon adds a warm, spicy note that complements the apple flavor perfectly. I even tried adding a layer of CINNAMON APPLE CRUMB on top for a delightful textural contrast, but ultimately decided that the simplicity of the plain graham cracker crust allowed the apple cider flavor to shine. I also tried making APPLE CINNAMON COOKIES and crushing them for the crust, but that was too much. After countless iterations, tweaks, and taste tests, I finally cracked the code. The result is an Apple Cider Cheesecake that is not only incredibly delicious but also foolproof. It’s creamy, tangy, and bursting with apple flavor. It’s the perfect fall dessert. I even added some Caramel Apple to the mix and made a CARAMEL APPLE CHEESECAKE and a CARAMEL APPLE CHEESECAKE. Both were delicious but I preferred the pure apple cider flavor.The Foolproof Formula: Apple Cider Cheesecake Success
- Master the Reduction: Don’t skip the apple cider reduction! It’s the key to concentrated apple flavor and the correct batter consistency. Reduce 4 cups of apple cider to 1 cup for optimal results.
- Room Temperature is Key: Ensure your cream cheese is fully softened to room temperature. This is crucial for a smooth, lump-free batter.
- Don’t Overmix: Overmixing incorporates air into the batter, which can cause the cheesecake to puff up and crack. Mix until just combined.
- Embrace the Water Bath: The water bath is non-negotiable for preventing cracks and ensuring a creamy texture. Wrap the springform pan tightly with foil.
- Underbake Slightly: Pull the cheesecake out of the oven when the edges are set but the center still has a slight jiggle. It will continue to set as it cools. Use an instant-read thermometer to ensure the correct internal temperature (around 150°F or 65°C).
- Cool Gradually: Turn off the oven and crack the door slightly to allow the cheesecake to cool slowly. This helps prevent cracking.
- Chill Thoroughly: Refrigerate the cheesecake for at least 6 hours, or preferably overnight, before serving. This allows the flavors to meld and the texture to firm up.
- Slice Cleanly: Run a thin, sharp knife under hot water and wipe it clean before each slice for perfect presentation.
Why is it important to reduce the apple cider before adding it to the cheesecake batter?
Reducing the apple cider concentrates its flavor and reduces its water content. Using unreduced cider would introduce too much liquid into the cheesecake batter, resulting in a soggy, unstable dessert.
What is the purpose of using a water bath when baking this apple cider cheesecake?
The water bath provides gentle, even heat that prevents the cheesecake from drying out and cracking. It also helps to maintain a consistent temperature throughout the baking process, ensuring a creamy, smooth texture.
How do I know when the cheesecake is done baking?
The cheesecake is done when the edges are set but the center still has a slight jiggle. An instant-read thermometer should read around 150°F (65°C).
Why is it important to cool the cheesecake gradually?
Cooling the cheesecake gradually, by turning off the oven and cracking the door slightly, helps prevent cracking.
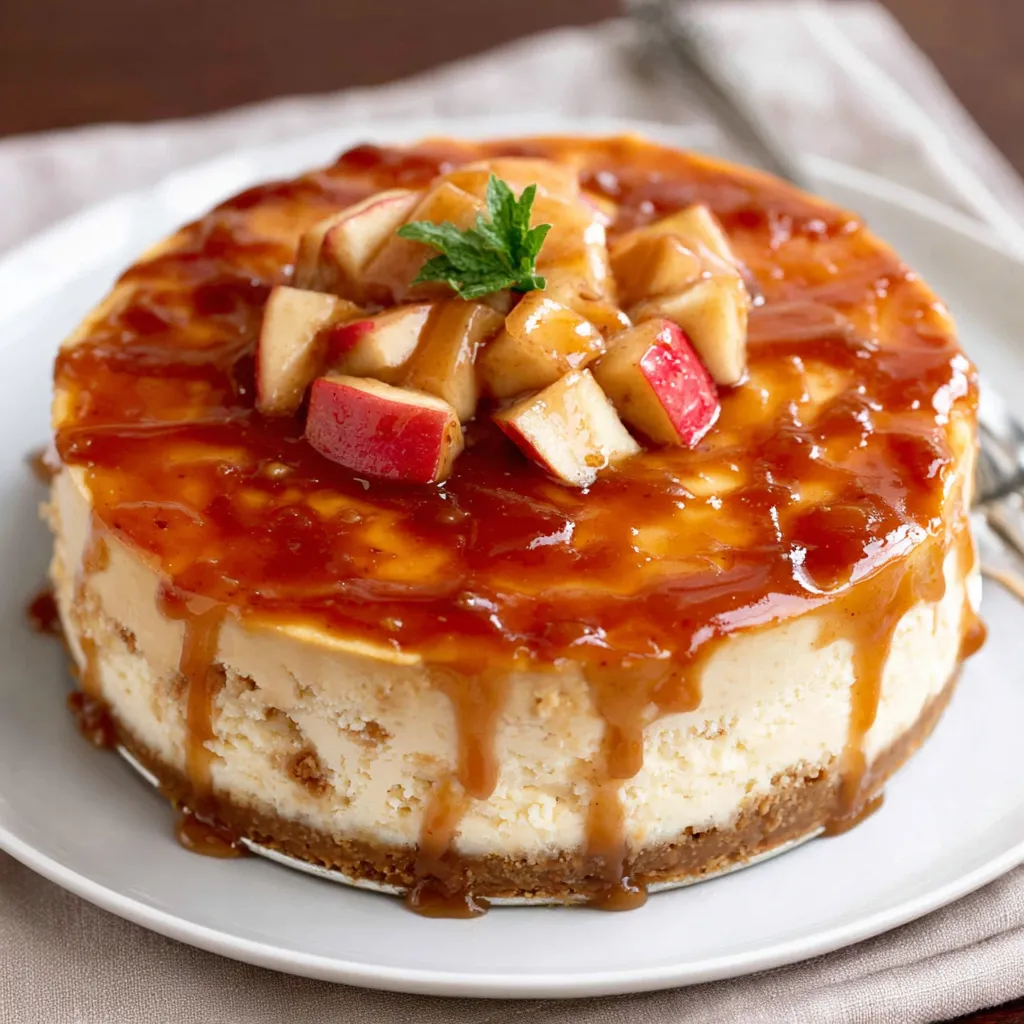
Ultimate Apple Cider Cheesecake
Ingredients
Equipment
Method
- Preheat oven to 350°F (175°C).
- In a medium bowl, combine graham cracker crumbs, melted butter, sugar, and cinnamon.
- Press the mixture firmly into the bottom of the springform pan.
- Bake the crust for 8-10 minutes, or until lightly golden.
- Let it cool completely.
- Wrap the bottom of the springform pan tightly with heavy-duty aluminum foil to prevent water from seeping in during the water bath.
- In a medium saucepan, bring the apple cider to a boil over medium-high heat.
- Reduce heat to medium-low and simmer until the cider is reduced to 1 cup, about 45-60 minutes.
- Stir occasionally to prevent sticking.
- Let the reduction cool completely.
- In a large bowl, beat the softened cream cheese with an electric mixer until smooth and creamy.
- Gradually add the granulated sugar and brown sugar, beating until well combined.
- Add the flour, cinnamon, nutmeg, cloves, and salt. Beat until just combined. Do not overmix.
- Gradually add the cooled apple cider reduction, mixing until smooth.
- Add the eggs and egg yolks one at a time, beating gently after each addition.
- Stir in the sour cream and vanilla extract. Be careful not to overmix the batter; overmixing incorporates air, which can cause the cheesecake to puff up and crack.
- Sauté the apple slices with butter, brown sugar and cinnamon in a pan over medium heat until softened and caramelized.
- Arrange the apples on top of the cheesecake filling.
- Pour the cheesecake filling over the cooled crust.
- Place the springform pan inside a large roasting pan.
- Carefully pour hot water into the roasting pan until it reaches about halfway up the sides of the springform pan.
- Bake in the preheated oven for 65-75 minutes, or until the edges of the cheesecake are set but the center still has a slight jiggle.
- Turn off the oven and crack the oven door slightly.
- Let the cheesecake cool in the oven for 1 hour. This gradual cooling helps prevent cracking.
- Remove the cheesecake from the water bath and let it cool completely at room temperature.
- Then, cover it with plastic wrap and refrigerate for at least 6 hours, or preferably overnight, before serving.
- Before serving, run a thin knife around the edge of the springform pan to loosen the cheesecake.
- Carefully remove the sides of the pan. Serve chilled. Enjoy!


