
The Alchemist’s Kitchen: Unveiling the Science Behind Apple Crisp Perfection
At its heart, an apple crisp is a simple balance of sweet, tart fruit and a buttery, crumbly topping. But this simplicity belies a complex interplay of chemical reactions. The apples, primarily composed of water and carbohydrates (mostly sugars and pectin), soften and release their juices during baking. Pectin, a natural gelling agent, is crucial for maintaining the apples’ structural integrity. Too little pectin, or too much water released too quickly, and you end up with a soggy mess. The topping, traditionally a mixture of flour, butter, sugar, and sometimes oats, undergoes its own transformation in the oven’s heat. The butter melts, coating the flour and sugar, creating a tender, crumbly texture. The Maillard reaction, a chemical reaction between amino acids and reducing sugars, is responsible for the browning and characteristic nutty flavor of the crisp topping. Getting the proportions of these ingredients just right is key to achieving the ideal balance of crispness and tenderness. Furthermore, the type of fat used significantly impacts the final texture. Butter, with its higher water content and milk solids, contributes to a richer flavor and more tender crumb compared to shortening or oil.The Grand Apple Crisp Codex: My Definitive Recipe

Ingredients:
#### For the Apple Filling:- 6 medium apples (such as Honeycrisp, Granny Smith, or a combination), peeled, cored, and sliced
- 1/4 cup granulated sugar
- 2 tablespoons all-purpose flour
- 1 teaspoon ground cinnamon
- 1/4 teaspoon ground nutmeg
- 1 tablespoon lemon juice
- 1 tablespoon butter, cut into small pieces
- 1 cup all-purpose flour
- 1 cup rolled oats (not instant)
- 1 cup packed light brown sugar
- 1/2 teaspoon baking powder
- 1/4 teaspoon salt
- 1/2 cup (1 stick) cold unsalted butter, cut into small cubes
- 1/2 cup chopped pecans or walnuts (optional)
Instructions:
1. Prepare the Apples: Preheat oven to 375°F (190°C). In a large bowl, combine sliced apples, granulated sugar, flour, cinnamon, nutmeg, and lemon juice. Toss to coat evenly. 2. Assemble the Filling: Transfer the apple mixture to a 9-inch square baking dish or pie plate. Dot the top of the apples with the butter pieces. 3. Make the Crisp Topping: In a separate bowl, whisk together flour, oats, brown sugar, baking powder, and salt. Add the cold butter cubes and use a pastry blender or your fingertips to cut the butter into the dry ingredients until the mixture resembles coarse crumbs. Stir in the nuts (if using). 4. Top it Off: Sprinkle the crisp topping evenly over the apple filling. 5. Bake to Golden Perfection: Bake for 35-40 minutes, or until the topping is golden brown and the apple filling is bubbly and tender. If the topping starts to brown too quickly, tent the dish loosely with aluminum foil. 6. Cool and Serve: Let the crisp cool slightly before serving. Serve warm, plain or with a scoop of vanilla ice cream or a dollop of whipped cream. This also pairs well with some Apple Cinnamon CookiesRecipe Notes:
- Apple Variety: Using a combination of sweet and tart apples provides the best flavor complexity.
- Sugar Adjustment: Adjust the amount of sugar in the filling based on the tartness of your apples.
- Nut-Free Option: Omit the nuts or substitute with sunflower seeds for a nut-free version.
- Make-Ahead: The apple filling and crisp topping can be prepared separately and stored in the refrigerator for up to 24 hours before assembling and baking.
The Crisp Chronicles: My Apple Crisp Odyssey
My journey to apple crisp mastery was paved with good intentions and, frankly, some pretty awful results.The Soggy Bottom Blues
My first few attempts were a disaster. The apple filling was always watery, the topping somehow managed to be both soggy and dry, and the whole thing lacked that comforting, spiced aroma I craved. Like many of you, I initially thought that more is more when it comes to apples. I loaded up the baking dish, only to find that the sheer volume of fruit released an overwhelming amount of liquid during baking.The Flour Power Revelation
Then, I had an “Aha!” moment while researching fruit pie fillings. The secret, I discovered, was to use a small amount of flour (or cornstarch) to thicken the apple juices. This prevents the filling from becoming overly watery and helps maintain the structure of the apples. Experimenting with different amounts of flour, I found that 2 tablespoons was the sweet spot for my recipe.The Butter Breakdown
The topping also proved to be a source of frustration. I tried using melted butter, which resulted in a greasy, dense topping. I realized that cold butter, cut into small cubes and worked into the dry ingredients, was the key to creating those coveted crumbly textures. The cold butter creates pockets of air that expand during baking, resulting in a light and airy crisp. The technique is the same one I use when I make an Apple Fritter.The Spice is Right
Finally, the spicing. Too much cinnamon can overpower the delicate apple flavor, while too little results in a bland, uninteresting crisp. I experimented with different combinations of cinnamon, nutmeg, and ginger, eventually settling on a blend that perfectly complements the sweetness of the apples. And sometimes, for a playful variation, I think about incorporating these techniques to make some Apple Fritter Waffle Donuts.Decoding the Crisp: A Foolproof Method
After countless hours spent tinkering in the kitchen, I’ve distilled the process down to a simple, foolproof method. Follow these steps, and you’ll be well on your way to apple crisp perfection.- Choose the Right Apples: Opt for a combination of sweet and tart varieties for the best flavor complexity. Honeycrisp, Granny Smith, and Fuji are all excellent choices.
- Thicken the Filling: Toss the apple slices with a small amount of flour (or cornstarch) to absorb excess moisture and prevent a soggy bottom.
- Use Cold Butter: Cut cold butter into the dry ingredients for the topping to create a crumbly, tender texture. Avoid using melted butter.
- Don’t Overbake: Bake the crisp until the topping is golden brown and the apple filling is bubbly. Overbaking can result in a dry, tough topping.
- Cool Slightly Before Serving: Let the crisp cool for at least 15 minutes before serving to allow the filling to thicken slightly.
Why is it important to use cold butter when making the crisp topping?
Cold butter, cut into small cubes and worked into the dry ingredients, is key to creating those coveted crumbly textures. The cold butter creates pockets of air that expand during baking, resulting in a light and airy crisp.
What is the purpose of adding flour to the apple filling?
The secret is to use a small amount of flour to thicken the apple juices. This prevents the filling from becoming overly watery and helps maintain the structure of the apples.
What types of apples are recommended for the best flavor in an apple crisp?
Opt for a combination of sweet and tart varieties for the best flavor complexity. Honeycrisp, Granny Smith, and Fuji are all excellent choices.
How can I prevent the apple crisp topping from browning too quickly?
If the topping starts to brown too quickly, tent the dish loosely with aluminum foil during baking.
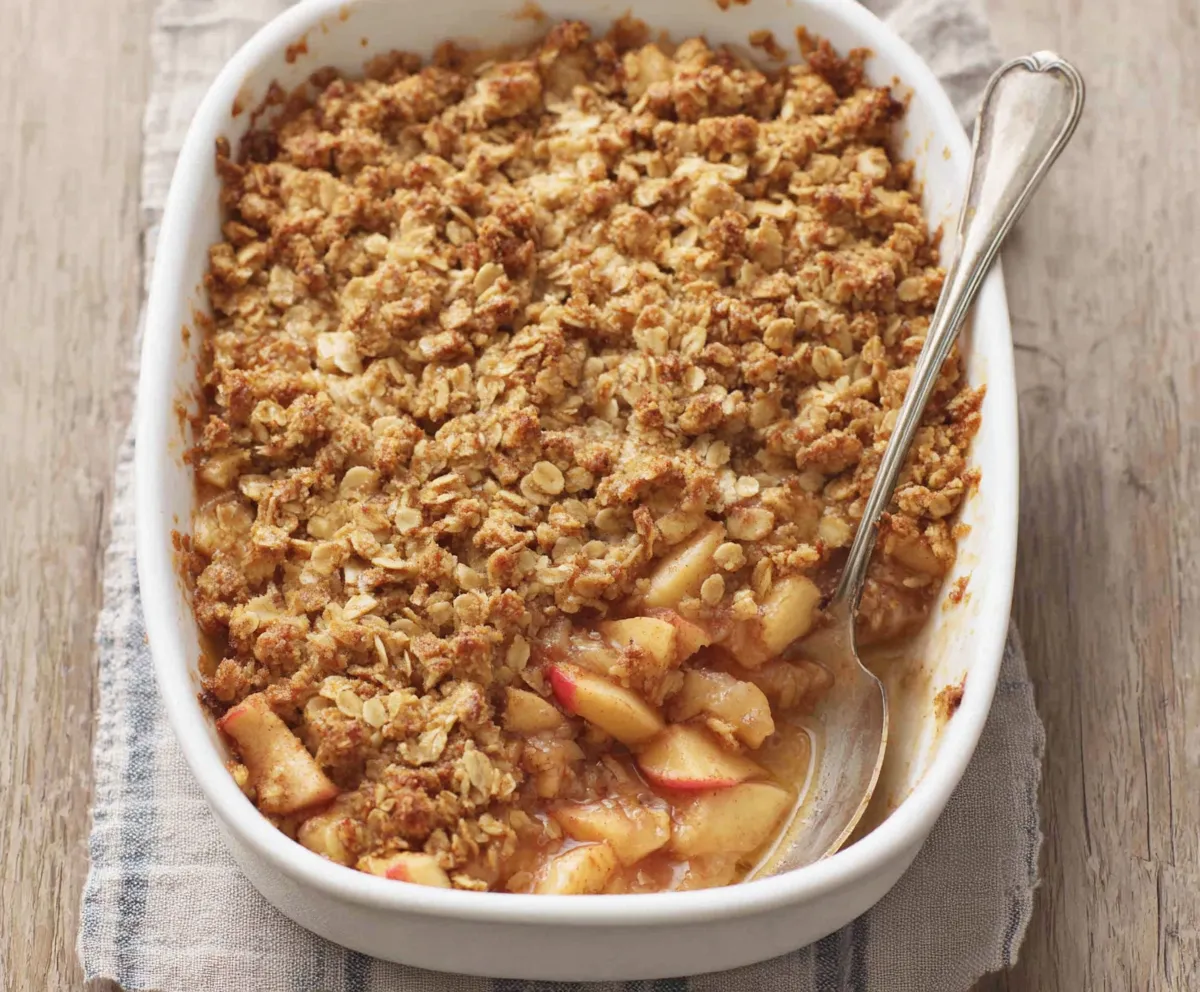
Best Apple Crisp Recipe
This apple crisp recipe delivers a symphony of textures and flavors, avoiding the mushy disappointment of lesser recipes. Combining sweet and tart apples with a buttery, crumbly topping, this recipe is designed for consistent perfection.
Ingredients
Equipment
Method
- Preheat oven to 375°F (190°C).
- In a large bowl, combine sliced apples, granulated sugar, flour, cinnamon, nutmeg, and lemon juice. Toss to coat evenly.
- Transfer the apple mixture to a 9-inch square baking dish or pie plate. Dot the top of the apples with the butter pieces.
- In a separate bowl, whisk together flour, oats, brown sugar, baking powder, and salt.
- Add the cold butter cubes and use a pastry blender or your fingertips to cut the butter into the dry ingredients until the mixture resembles coarse crumbs. Stir in the nuts (if using).
- Sprinkle the crisp topping evenly over the apple filling.
- Bake for 35-40 minutes, or until the topping is golden brown and the apple filling is bubbly and tender. If the topping starts to brown too quickly, tent the dish loosely with aluminum foil.
- Let the crisp cool slightly before serving. Serve warm, plain or with a scoop of vanilla ice cream or a dollop of whipped cream.
Notes
Using a combination of sweet and tart apples provides the best flavor complexity. Adjust the amount of sugar in the filling based on the tartness of your apples. Omit the nuts or substitute with sunflower seeds for a nut-free version. The apple filling and crisp topping can be prepared separately and stored in the refrigerator for up to 24 hours before assembling and baking.


