
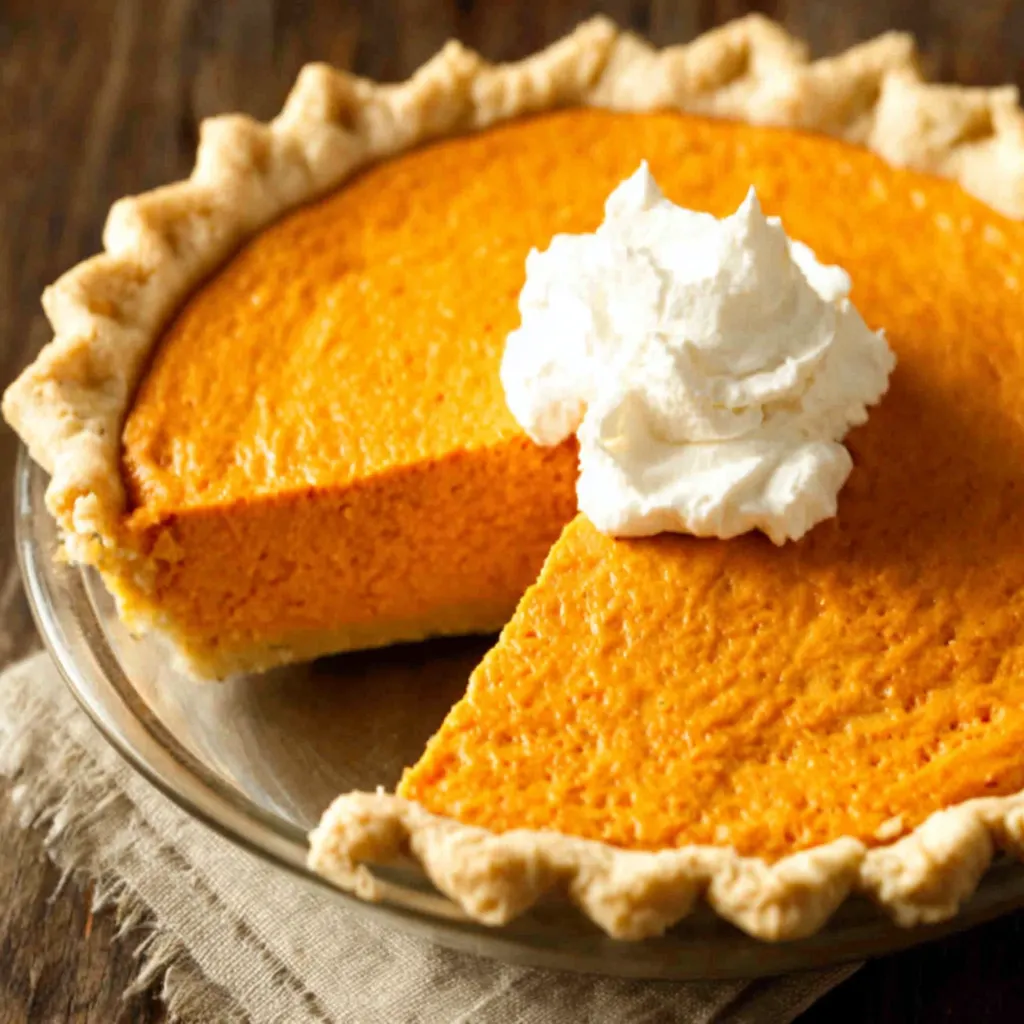
Is there a more iconic autumnal dessert than pumpkin pie? The answer, unequivocally, is likely no, but achieving pumpkin pie perfection is more complex than simply throwing some canned pumpkin and spices into a crust.
The Alchemic Equation: Pumpkin Pie Science Unveiled
At its core, pumpkin pie is a custard, which means understanding custard science is crucial. The magic lies in the proteins in the eggs coagulating and forming a network that traps the liquid and pumpkin puree, creating that signature creamy texture. Overbaking causes the proteins to tighten too much, resulting in a cracked, dry pie. Underbaking, on the other hand, leaves you with a soupy mess. The key is to find that sweet spot where the custard is just set, with a slight wobble at the center.
Then comes the pumpkin itself. Canned pumpkin puree is essentially pre-cooked squash, mostly butternut, which provides the flavor and moisture base. The spices – cinnamon, ginger, nutmeg, cloves – contribute warmth and depth, but too much can overwhelm the delicate pumpkin flavor. Finally, the crust acts as a vessel and textural counterpoint. A flaky, buttery crust is the ideal complement to the smooth, rich filling.
The Ultimate Pumpkin Pie Recipe

Ingredients:
- For the Crust:
- 1 1/4 cups all-purpose flour
- 1/2 teaspoon salt
- 1/2 cup (1 stick) cold unsalted butter, cut into cubes
- 1/4 cup cold vegetable shortening, cut into cubes
- 4-6 tablespoons ice water
- For the Filling:
- 1 (15-ounce) can pumpkin puree (not pumpkin pie filling)
- 1 (12-ounce) can evaporated milk
- 3 large eggs
- 3/4 cup granulated sugar
- 1/2 cup packed light brown sugar
- 2 teaspoons pumpkin pie spice
- 1/2 teaspoon salt
- 1 teaspoon vanilla extract
Instructions:
- Make the Crust: In a large bowl, whisk together the flour and salt. Cut in the butter and shortening using a pastry blender or your fingers until the mixture resembles coarse crumbs. Gradually add the ice water, one tablespoon at a time, mixing until the dough just comes together. Form the dough into a disc, wrap in plastic wrap, and chill for at least 30 minutes.
- Prebake the Crust: On a lightly floured surface, roll out the dough into a 12-inch circle. Transfer to a 9-inch pie plate. Trim and crimp the edges. Prick the bottom of the crust with a fork. Line the crust with parchment paper and fill with pie weights or dried beans. Bake in a preheated oven at 375°F (190°C) for 15 minutes. Remove the parchment paper and pie weights and bake for another 5-10 minutes, or until lightly golden brown. Let cool completely.
- Make the Filling: In a large bowl, whisk together the pumpkin puree, evaporated milk, eggs, granulated sugar, brown sugar, pumpkin pie spice, salt, and vanilla extract until smooth.
- Bake the Pie: Pour the filling into the prebaked crust. Bake in a preheated oven at 350°F (175°C) for 50-60 minutes, or until the filling is set around the edges but still slightly wobbly in the center.
- Cool and Chill: Let the pie cool completely on a wire rack. Then, cover and chill in the refrigerator for at least 4 hours before serving.
From Pie Fails to Pumpkin Glory: My Baking Odyssey
The Soggy Bottom Blues
My first few attempts were a disaster, let’s be honest. The crust was either a rock-hard mess or, worse, a soggy, underbaked disappointment. Like many of you, I initially thought simply pressing the dough into the pie plate would suffice. Wrong! The key, I discovered, is pre-baking the crust, also known as blind baking. This step ensures a crisp, sturdy foundation that can withstand the moisture of the pumpkin filling. I also learned that docking the crust (pricking it with a fork) and using pie weights are essential to prevent it from puffing up during baking. Now, I sometimes wonder if I should have made Pumpkin S’mores Cookie Perfection instead!
Spice Overload Debacle
Then, there was the spice incident. I went overboard with the pumpkin pie spice, resulting in a pie that tasted more like a potpourri candle than a delectable dessert. The ginger and cloves were particularly aggressive, completely masking the subtle sweetness of the pumpkin. That’s when I realized the importance of balance. Less is often more, especially when it comes to spices. I meticulously measured each spice, reducing the overall quantity until I achieved that perfect harmony of warmth and pumpkin flavor. A little vanilla extract also works wonders in enhancing the other flavors. Perhaps I should have tried baking Pumpkin Cinnamon Roll Magic instead, but I wasn’t giving up on the pie!
The Crack Heard ‘Round the Kitchen
Ah, the dreaded crack! The bane of every pumpkin pie baker’s existence. My initial pies consistently emerged from the oven with a fissure running across the surface, a visual testament to overbaking. The texture was also dry and grainy, far from the creamy smoothness I craved. Then, I had an “Aha!” moment: low and slow is the way to go. By reducing the oven temperature and extending the baking time, I allowed the custard to set gently and evenly, minimizing the risk of cracking. I also learned the importance of checking for doneness. The pie should be set around the edges but still have a slight wobble in the center. It will continue to firm up as it cools. At one point, I was thinking of trying a Pumpkin Chocolate Muffins, but I knew I had to persevere. Maybe even some Pumpkin Spice Dream Cocktail would help to calm me down during this stressful process.
The Pumpkin Pie Perfection Protocol: A Foolproof Method
- Master the Crust: Pre-bake your pie crust, ensuring it’s crisp and golden brown before adding the filling. Dock the crust and use pie weights to prevent puffing.
- Spice Wisely: Measure your spices carefully, and don’t be afraid to err on the side of less. You can always add more next time, but you can’t take it away!
- Low and Slow Baking: Bake your pie at a lower temperature (350°F/175°C) for a longer period. This will prevent cracking and ensure a creamy texture.
- The Wobble Test: The pie is done when the edges are set but the center still has a slight wobble. It will continue to firm up as it cools.
- Cool Completely: Let the pie cool completely on a wire rack before refrigerating. This will prevent condensation from forming on the surface.
- Chill Before Serving: Chill the pie in the refrigerator for at least 4 hours before serving. This will allow the flavors to meld and the texture to set.
With a little patience, attention to detail, and a dash of culinary curiosity, pumpkin pie perfection is within reach. Happy baking!
Why is pre-baking the crust important for pumpkin pie?
Pre-baking the crust, also known as blind baking, ensures a crisp, sturdy foundation that can withstand the moisture of the pumpkin filling, preventing a soggy bottom.
How do I prevent my pumpkin pie from cracking?
Bake the pie at a lower temperature (350°F/175°C) for a longer period. This allows the custard to set gently and evenly, minimizing the risk of cracking. Also, ensure the pie is done when the edges are set but the center still has a slight wobble.
What is the best way to tell if my pumpkin pie is done?
The pie is done when the edges are set but the center still has a slight wobble. It will continue to firm up as it cools.
What is the role of spices in pumpkin pie, and how much should I use?
Spices like cinnamon, ginger, nutmeg, and cloves contribute warmth and depth to the pie. However, too much can overwhelm the delicate pumpkin flavor. It’s best to measure spices carefully and err on the side of less; you can always add more next time.
Perfect Pumpkin Pie
Ingredients
Equipment
Method
- Make the Crust: In a large bowl, whisk together the flour and salt. Cut in the butter and shortening using a pastry blender or your fingers until the mixture resembles coarse crumbs. Gradually add the ice water, one tablespoon at a time, mixing until the dough just comes together. Form the dough into a disc, wrap in plastic wrap, and chill for at least 30 minutes.
- Prebake the Crust: On a lightly floured surface, roll out the dough into a 12-inch circle. Transfer to a 9-inch pie plate. Trim and crimp the edges. Prick the bottom of the crust with a fork. Line the crust with parchment paper and fill with pie weights or dried beans. Bake in a preheated oven at 375°F (190°C) for 15 minutes. Remove the parchment paper and pie weights and bake for another 5-10 minutes, or until lightly golden brown. Let cool completely.
- Make the Filling: In a large bowl, whisk together the pumpkin puree, evaporated milk, eggs, granulated sugar, brown sugar, pumpkin pie spice, salt, and vanilla extract until smooth.
- Bake the Pie: Pour the filling into the prebaked crust. Bake in a preheated oven at 350°F (175°C) for 50-60 minutes, or until the filling is set around the edges but still slightly wobbly in the center.
- Cool and Chill: Let the pie cool completely on a wire rack. Then, cover and chill in the refrigerator for at least 4 hours before serving.


