
Making your own sourdough discard bagels is the ultimate way to transform leftover starter into a chewy, golden-brown breakfast masterpiece that rivals any artisan bakery without the need for a long, overnight fermentation.
You know that feeling when you look at your sourdough discard and feel a tiny pang of guilt for even thinking about throwing it away? I’ve been there more times than I can count, and that’s exactly why this recipe is such a game-changer for your kitchen routine.
By using your discard, you’re not just being resourceful; you’re adding a complex, tangy depth of flavor that a standard yeast bagel simply cannot touch. We are going to walk through this together, from the first mix to the final golden toast, ensuring you get that perfect “New York” chew every single time.
Recipe Highlights
- Incredible Flavor Depth: The sourdough discard provides a fermented tang that complements both sweet and savory toppings perfectly.
- Satisfying Texture: Thanks to the high-protein flour and the traditional boiling step, these bagels have a dense, chewy interior and a shiny, crisp crust.
- Time Efficiency: Unlike traditional sourdough loaves, these rely on a little boost from commercial yeast, meaning you can have fresh bagels on the table in just a few hours.
Gather Your Supplies
Before we roll up our sleeves, let’s talk about what is going into our dough, because the quality of your ingredients dictates the quality of your bite. We want a dough that is strong and elastic, capable of holding its shape through a vigorous boil and a hot bake.
You likely have most of these items in your pantry already, especially if you’ve been on a baking spree making things like Cinnamon Swirl Bread lately. Let’s make sure we have the heavy hitters ready to go.
- Bread Flour: (Provides the high protein content necessary for that iconic chewy bagel structure).
- Sourdough Discard: (Adds the signature tang and helps break down the flour for better digestion).
- Warm Water: (Hydrates the flour and activates the commercial yeast).
- Instant Yeast: (Ensures a reliable, quick rise so you don’t have to wait 24 hours).
- Honey or Barley Malt Syrup: (Feeds the yeast and provides a subtle sweetness to the dough).
- Salt: (Tightens the gluten structure and enhances all the other flavors).
- Baking Soda: (Added to the boiling water to create the alkaline environment needed for a dark, shiny crust).
Easy Substitutions
Sometimes the pantry is a little bare, but that shouldn’t stop your bagel journey. Here are a few ways you can pivot if you’re missing an item or two.
- Flour: If you don’t have bread flour, you can use all-purpose flour, though the bagels will be slightly softer and less chewy.
- Sweetener: Maple syrup or granulated sugar can replace honey if you want a vegan-friendly option or just prefer the taste.
- Yeast: Active dry yeast can be used instead of instant yeast; just be sure to bloom it in the warm water for 5-10 minutes first.
- Boiling Liquid: If you don’t have barley malt syrup for the water bath, a tablespoon of honey or brown sugar works wonders for browning.
- Discard: If your discard is very old and very sour, use a little less and add a splash more water to balance the acidity.
Flavor Twists

The beauty of a plain bagel is that it is a blank canvas, but sometimes we want a little more excitement in our morning routine. Customizing your dough or toppings is where the real fun begins.
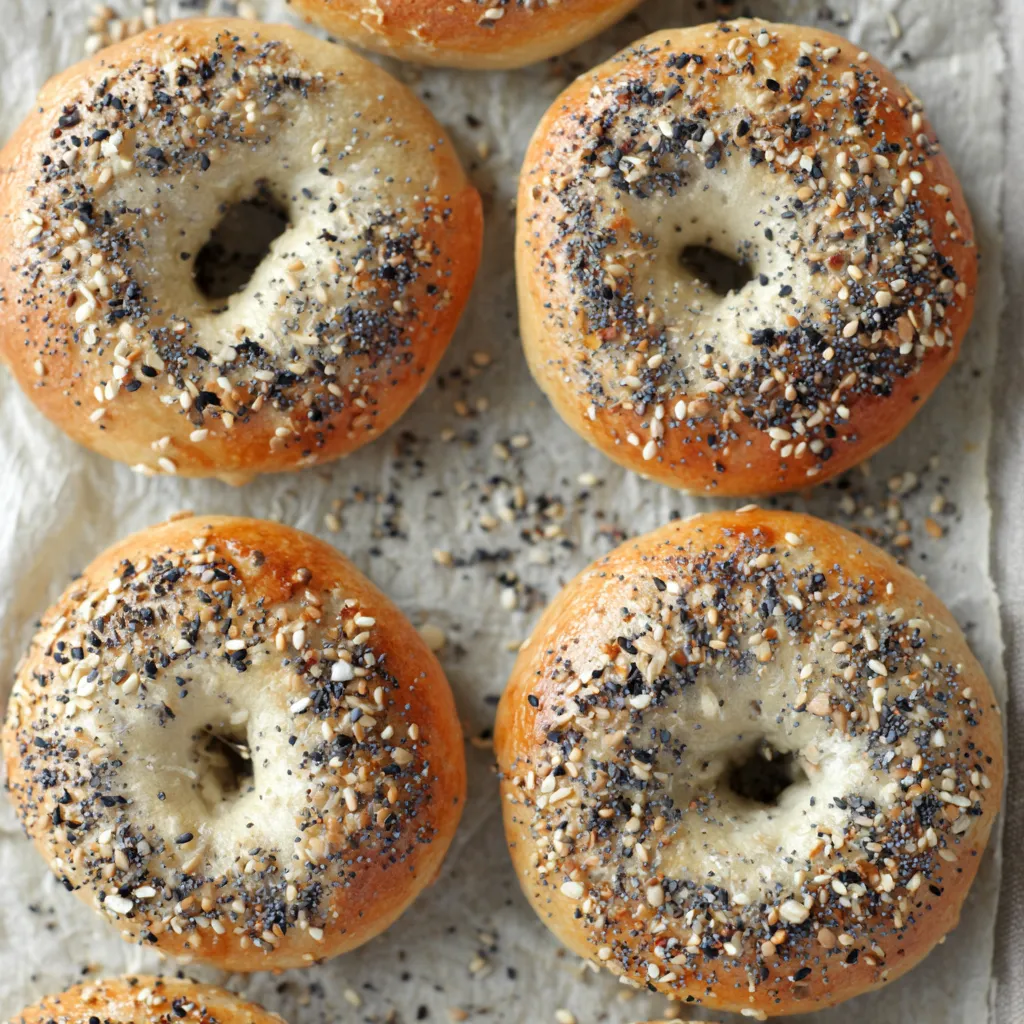
You could go the savory route by mixing in dried herbs or topping them with a heavy coating of everything bagel seasoning. If you have a sweet tooth similar to when you crave Strawberry Cinnamon Rolls, try adding cinnamon and raisins directly into the dough.
For a spicy kick, diced jalapeños and shredded sharp cheddar cheese can be pressed into the tops right after the boiling stage. You can even use the base of this dough recipe to experiment with different shapes, much like the versatility found in Breakfast Pizza crusts.
The Method
Now, let’s get down to the actual craft of bagel making. Don’t be intimidated by the boiling step; it is actually the most satisfying part of the process and what makes a bagel a “bagel” rather than just a round piece of bread.
Preparing the Dough
Start by whisking your warm water, honey, and yeast together in the bowl of a stand mixer. Once that is combined, add in your sourdough discard and give it a good stir to break up the starter.
Add the bread flour and salt, then attach the dough hook and mix on low speed until a shaggy dough forms. Increase the speed to medium and let the mixer work its magic for about 8 to 10 minutes.
You are looking for a dough that is quite stiff but smooth and elastic. It should mostly clear the sides of the bowl, though it might stick slightly at the very bottom.
The First Rise
Place your dough in a lightly greased bowl and cover it with a damp cloth or plastic wrap. Let it rest in a warm, draft-free spot for about 60 to 90 minutes.
The dough should roughly double in size during this time. While you wait, you can start thinking about your toppings or perhaps prep some other treats like Cinnamon Sugar Donut Bread if you’re in a full-blown baking mood.
Shaping the Bagels
Gently punch down the risen dough and turn it out onto a very lightly floured surface. Divide the dough into 8 equal pieces for large bagels, or 10 to 12 pieces if you prefer smaller, “mini” versions.
Roll each piece into a smooth ball by tensioning the dough against the counter. To create the hole, simply poke your thumb through the center and gently stretch the ring until the hole is about two inches wide.
Place the shaped bagels on a parchment-lined baking sheet, cover them again, and let them rest for another 20 to 30 minutes while you prepare the water bath.
The Boiling Process
Bring a large pot of water to a rolling boil and add your baking soda and a tablespoon of honey or malt syrup. This alkaline bath is crucial for the Maillard reaction, which gives bagels their deep color and distinct skin.
Carefully drop 2 or 3 bagels into the water at a time, making sure they aren’t crowded. Boil them for about 45 to 60 seconds per side; the longer you boil them, the chewier the crust will be.
Use a slotted spoon to remove the bagels and place them back onto the parchment-lined sheet. If you are adding toppings like seeds or salt, do it immediately while they are still wet and tacky.
Baking to Perfection
Preheat your oven to 425°F (218°C) while the bagels are resting from their bath. Slide the tray into the oven and bake for 20 to 25 minutes.
You want them to be a deep, rich golden brown. If you tap the bottom of a bagel, it should sound hollow, indicating that the interior is fully set and light.
Key Tips for Success
Pairing Ideas
Once your kitchen is filled with that intoxicating aroma of toasted grain and yeast—a smell that always reminds me of baking Dollywood Cinnamon Bread—it is time to serve.
A classic schmear of cream cheese is never a bad idea, but you can elevate your breakfast by creating a full bagel board. Think smoked salmon, capers, thinly sliced red onions, and fresh dill for a sophisticated brunch vibe.
If you have leftovers (though that’s rare!), these bagels make an incredible base for a sandwich. Use them instead of traditional crusts for a quick lunch, much like you would prepare a Homemade Pizza with all your favorite toppings.
For a sweet treat, toast a plain bagel
What is the benefit of using sourdough discard in this bagel recipe?
Sourdough discard adds a complex, tangy depth of flavor that standard yeast alone cannot provide, while also being a resourceful way to use leftover starter.
Can I use all-purpose flour if I don’t have bread flour?
Yes, all-purpose flour can be used as a substitute, though the resulting bagels will be slightly softer and less chewy than those made with high-protein bread flour.
Why is it necessary to boil the bagels before baking them?
Boiling the bagels in an alkaline water bath with baking soda is essential for developing the signature chewy texture and creating the dark, shiny crust through the Maillard reaction.
How can I tell if my bagels have proofed enough after shaping?
You can perform a ‘float test’ by dropping one bagel into a bowl of room temperature water. If it floats, it is ready for the boiling step; if it sinks, it needs another 10 minutes of rest.
Best Homemade Sourdough Discard Bagels
Ingredients
Equipment
Method
- In the bowl of your stand mixer, whisk together the warm water, honey, and instant yeast until combined.
- Add the sourdough discard to the yeast mixture and stir well to break up the starter.
- Add the bread flour and salt to the bowl. Attach the dough hook and mix on low speed until a shaggy dough forms.
- Increase the mixer speed to medium and knead for 8 to 10 minutes. The dough should be stiff, smooth, and elastic, clearing the sides of the bowl.
- Transfer the dough to a lightly greased bowl, cover with a damp cloth or plastic wrap, and let it rise in a warm spot for 60 to 90 minutes until doubled in size.
- Gently punch down the dough and turn it out onto a very lightly floured surface. Divide into 8 equal portions.
- Roll each piece into a tight, smooth ball. Poke your thumb through the center of a ball and gently stretch the ring until the hole is approximately 2 inches wide.
- Place the shaped bagels onto a baking sheet lined with parchment paper. Cover and let them rest for 20 to 30 minutes.
- While the bagels rest, preheat your oven to 425°F (218°C) and bring a large pot of water to a rolling boil.
- Add the baking soda and the second tablespoon of honey (or malt syrup) to the boiling water.
- Carefully drop 2-3 bagels into the boiling water at a time. Boil for 45 to 60 seconds per side, then remove with a slotted spoon and place back on the parchment-lined tray.
- Immediately sprinkle your chosen toppings onto the bagels while they are still wet and tacky from the boil.
- Bake for 20 to 25 minutes, or until the bagels are a deep, rich golden brown and sound hollow when tapped on the bottom.
- Transfer to a wire rack to cool completely before slicing and serving.


