
Why You’ll Love This Recipe

- Seriously Addictive Flavor: We’re talking savory, slightly smoky, and perfectly balanced. It’s a flavor explosion!
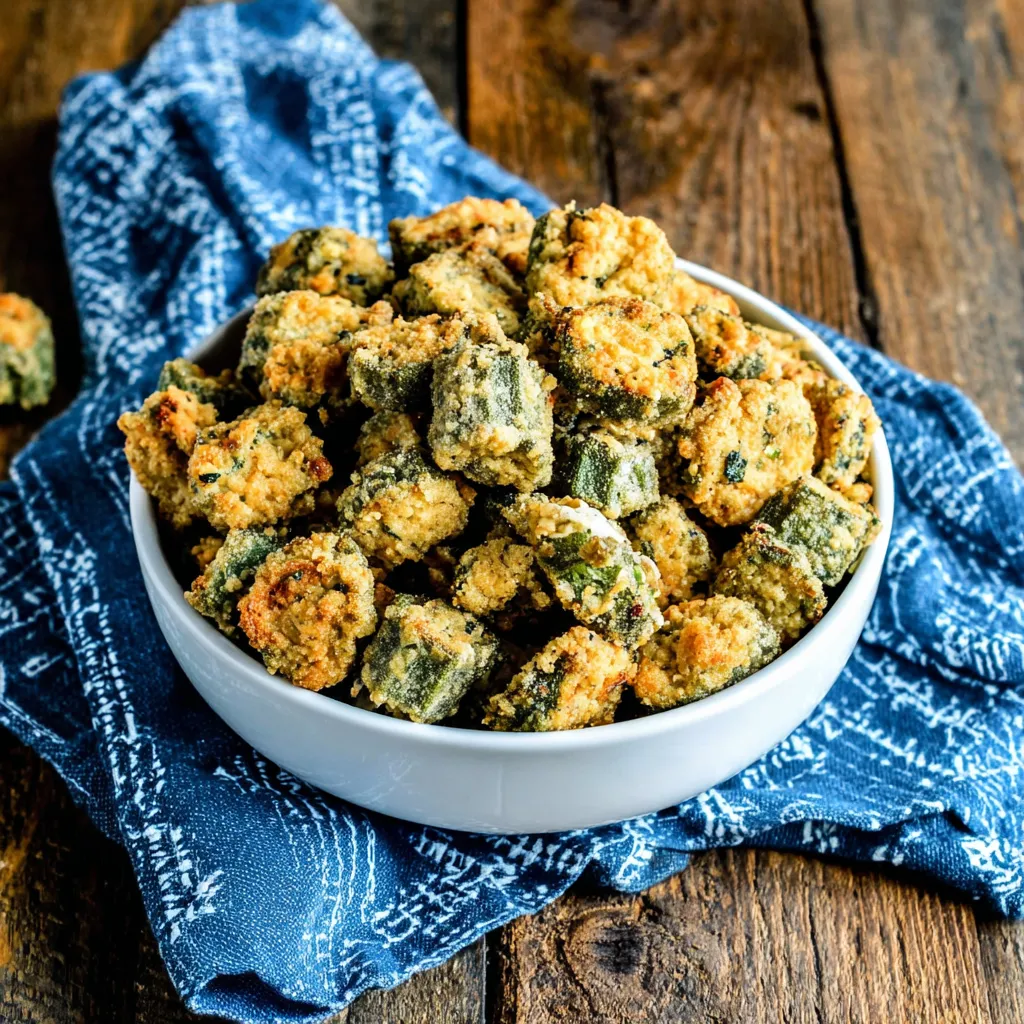
- Unbelievably Crunchy: Forget the slimy okra of your nightmares. This is all about that satisfying crunch.
- Guilt-Free Snacking: Oven-baked instead of fried? Yes, please! You can indulge without the heavy feeling.
- Quick and Easy: From prep to plate in under 30 minutes? Perfect for busy weeknights or a last-minute snack attack.
- Versatile: It’s amazing as a snack, a side dish, or even a topping for salads and bowls.
The Ingredients – Know Your Okra!
Fresh Okra: The Star of the Show
Obviously, okra is the main event! Look for small to medium-sized pods that are bright green and firm. Avoid any that are bruised, discolored, or feel soft. Smaller okra is generally more tender and less likely to be tough or stringy. I learned this the hard way after a few batches with older, larger pods that were…less than ideal. If you can find it at a farmer’s market, even better! Fresh, local okra will always have the best flavor and texture.
Cornmeal: The Secret to Crunch
Don’t skimp on the cornmeal! It’s what gives our okra that irresistible crispy coating. I prefer a medium-grind cornmeal for the best texture – not too coarse, not too fine. You can experiment with different types of cornmeal, like stone-ground, for a slightly nuttier flavor. Just make sure it’s fresh; old cornmeal can taste stale.
All-Purpose Flour: The Binding Agent
A little bit of flour helps the cornmeal adhere to the okra. You can use all-purpose flour, but you can also substitute with gluten-free all-purpose flour if needed. I’ve tried using almond flour, and while it works, the texture isn’t quite as crispy. Rice flour is another good gluten-free option.
Spices: The Flavor Boosters
Here’s where you can really get creative! I use a combination of:
- Smoked Paprika: Adds a smoky depth that complements the okra perfectly.
- Garlic Powder: Because everything’s better with garlic!
- Onion Powder: Adds a subtle sweetness and savory note.
- Cayenne Pepper: Just a pinch for a little kick. Adjust to your spice preference.
- Salt and Black Pepper: To taste, of course!
Feel free to experiment with other spices like chili powder, cumin, or even a little bit of dried oregano. The possibilities are endless!
Olive Oil: For Crispy Perfection
A good quality olive oil is key for achieving that golden-brown, crispy texture. Don’t be afraid to be generous with it – we want the okra to be well-coated. You can also use avocado oil or another high-heat oil if you prefer.
Step-by-Step Instructions: Let’s Get Cooking!
- Preheat Your Oven: Preheat your oven to 400°F (200°C). This high temperature is crucial for getting that crispy texture. My secret tip: Make sure your oven is *actually* at 400°F. Use an oven thermometer to double-check. I’ve found that some ovens can be off by as much as 25 degrees!
- Prep the Okra: Wash the okra thoroughly and pat it completely dry. This is super important! Any excess moisture will prevent the okra from getting crispy. Trim off the stem end and cut the okra into ½-inch thick rounds. My secret tip: I like to let the okra sit out for about 15 minutes after washing and drying to allow any remaining surface moisture to evaporate. It makes a big difference!
- Combine the Dry Ingredients: In a large bowl, whisk together the cornmeal, flour, smoked paprika, garlic powder, onion powder, cayenne pepper, salt, and black pepper. Make sure everything is well combined. My secret tip: I often double the spice mixture and store the extra in an airtight container. That way, I can whip up a batch of oven-fried okra in no time!
- Coat the Okra: Add the okra to the bowl with the dry ingredients and toss until it’s evenly coated. Make sure every piece of okra is covered in that delicious, spicy mixture. My secret tip: I find it easiest to use my hands for this step. Just make sure your hands are clean and dry!
- Drizzle with Oil: Drizzle the olive oil over the okra and toss again to coat. You want the okra to be lightly coated with oil, but not swimming in it. My secret tip: I use a spray bottle to evenly distribute the oil. It helps to prevent the okra from getting too greasy.
- Arrange on a Baking Sheet: Spread the okra in a single layer on a baking sheet lined with parchment paper. Make sure the okra pieces aren’t touching each other. This is crucial for even cooking and crisping. My secret tip: Don’t overcrowd the baking sheet! If necessary, use two baking sheets. Overcrowding will steam the okra instead of roasting it.
- Bake to Perfection: Bake for 20-25 minutes, flipping halfway through, until the okra is golden brown and crispy. Keep an eye on it towards the end to prevent burning. My secret tip: I like to broil the okra for the last minute or two to get it extra crispy. Just be careful not to burn it!
- Cool and Serve: Remove the okra from the oven and let it cool slightly on the baking sheet before serving. This will allow it to crisp up even more. My secret tip: Sprinkle with a little extra salt immediately after removing from the oven for maximum flavor.
My “Secret” Tips for Success
- Dry, Dry, Dry: I can’t stress this enough! The drier the okra, the crispier it will be. Pat it dry with paper towels and let it air dry for a few minutes before coating.
- Don’t Overcrowd: Give the okra plenty of space on the baking sheet to allow for even cooking and crisping.
- High Heat is Your Friend: A hot oven is essential for achieving that crispy texture.
- Flip it Good: Flipping the okra halfway through baking ensures that it cooks evenly on all sides.
- Broil for Extra Crisp: A quick broil at the end of baking will take your okra to the next level. Just watch it carefully to prevent burning.
Creative Variations
- Spicy Okra: Add more cayenne pepper or a pinch of red pepper flakes for extra heat.
- Cheesy Okra: Sprinkle with grated Parmesan cheese during the last few minutes of baking.
- Lemon-Pepper Okra: Add lemon zest and freshly ground black pepper to the spice mixture.
- Ranch Okra: Mix a packet of ranch dressing mix into the dry ingredients.
- BBQ Okra: Use BBQ seasoning instead of the smoked paprika, garlic powder, and onion powder.
Serving Suggestions
This Crunchy Oven-Fried Okra is incredibly versatile! Here are a few of my favorite ways to enjoy it:
- As a Snack: Straight from the oven, dipped in ranch dressing or your favorite dipping sauce.
- As a Side Dish: Alongside grilled chicken, fish, or steak.
- On Salads: Adds a delicious crunch and savory flavor to any salad.
- In Bowls: A perfect topping for grain bowls, veggie bowls, or even Cucumber Snack Bowl.
- With Dips: Try it with a creamy dill dip, a spicy sriracha mayo, or even a simple yogurt sauce.
Sometimes, I’ll even make a big batch and enjoy it as a healthier alternative to potato chips while watching a movie. It’s also fantastic crumbled over a bowl of chili for added texture and flavor. If you’re feeling adventurous, you could try making Cornmeal Okra Chips for an even thinner, crispier snack!
And if you’re looking for a more traditional preparation, you can always try Southern Fried Okra. But trust me, this oven-fried version is just as delicious and much healthier!
The Heartfelt Conclusion
This recipe isn’t just about making a snack; it’s about transforming a vegetable I used to dislike into something I genuinely crave. It’s about proving that healthy food can be incredibly delicious and satisfying. It’s about creating a connection to my Southern roots while putting a modern, healthier spin on a classic dish. I hope you enjoy making this Crunchy Oven-Fried Okra as much as I do. It’s more than just a recipe to me; it’s a little piece of my heart that I’m sharing with you. Happy cooking!
Crunchy Oven-Fried Okra
Ingredients
Equipment
Method
- Preheat oven to 400°F (200°C). Use an oven thermometer to confirm accuracy.
- Wash and pat dry the okra thoroughly. Slice into 1/2-inch thick rounds and allow to air dry briefly.
- In a bowl, combine cornmeal, flour, smoked paprika, garlic powder, onion powder, cayenne, salt, and pepper. Mix well.
- Add okra to the bowl and toss until evenly coated with the spice mixture.
- Drizzle olive oil over the coated okra and toss again to lightly coat with oil.
- Spread okra in a single layer on a parchment-lined baking sheet, ensuring no pieces touch.
- Bake for 20–25 minutes, flipping halfway through. Broil for the final 1–2 minutes for extra crispiness if desired.
- Let okra cool slightly on the baking sheet, then serve immediately. Sprinkle with extra salt if desired.


