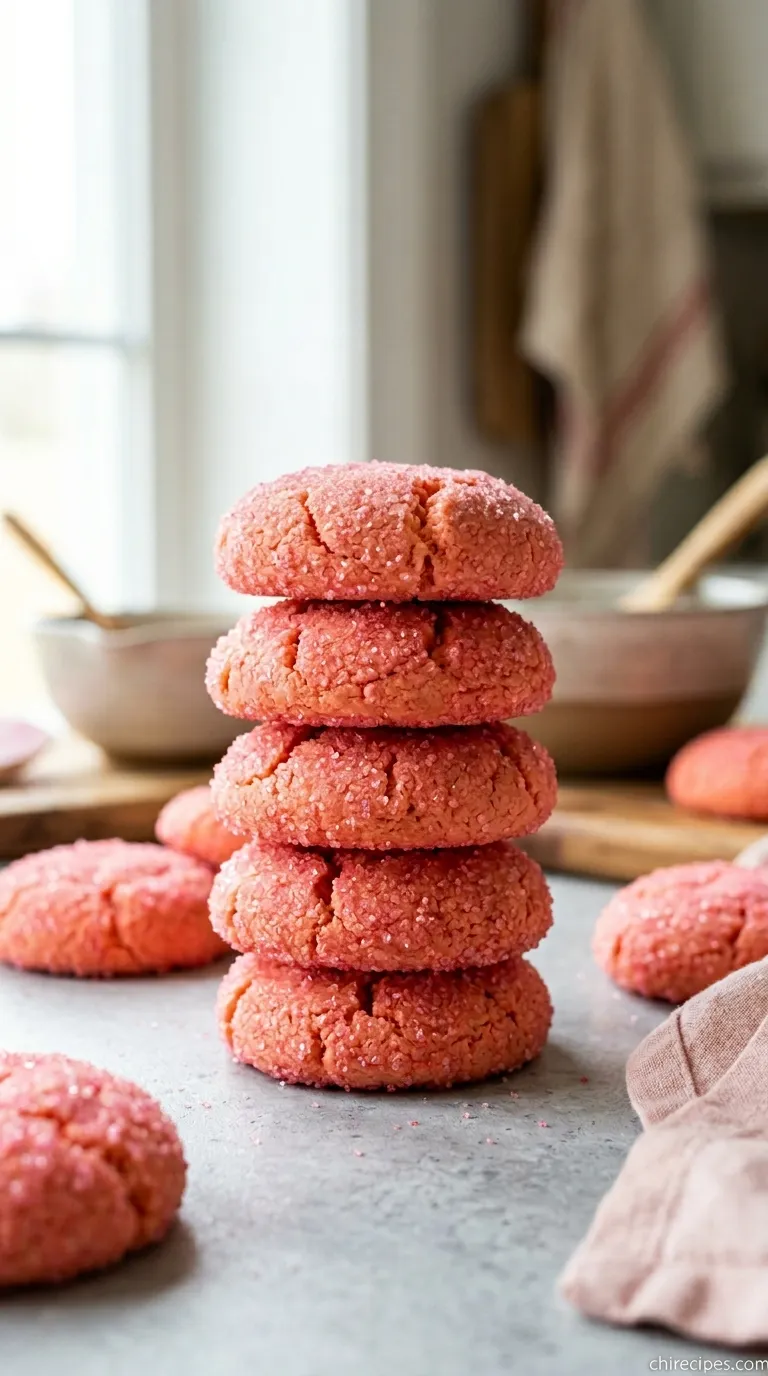
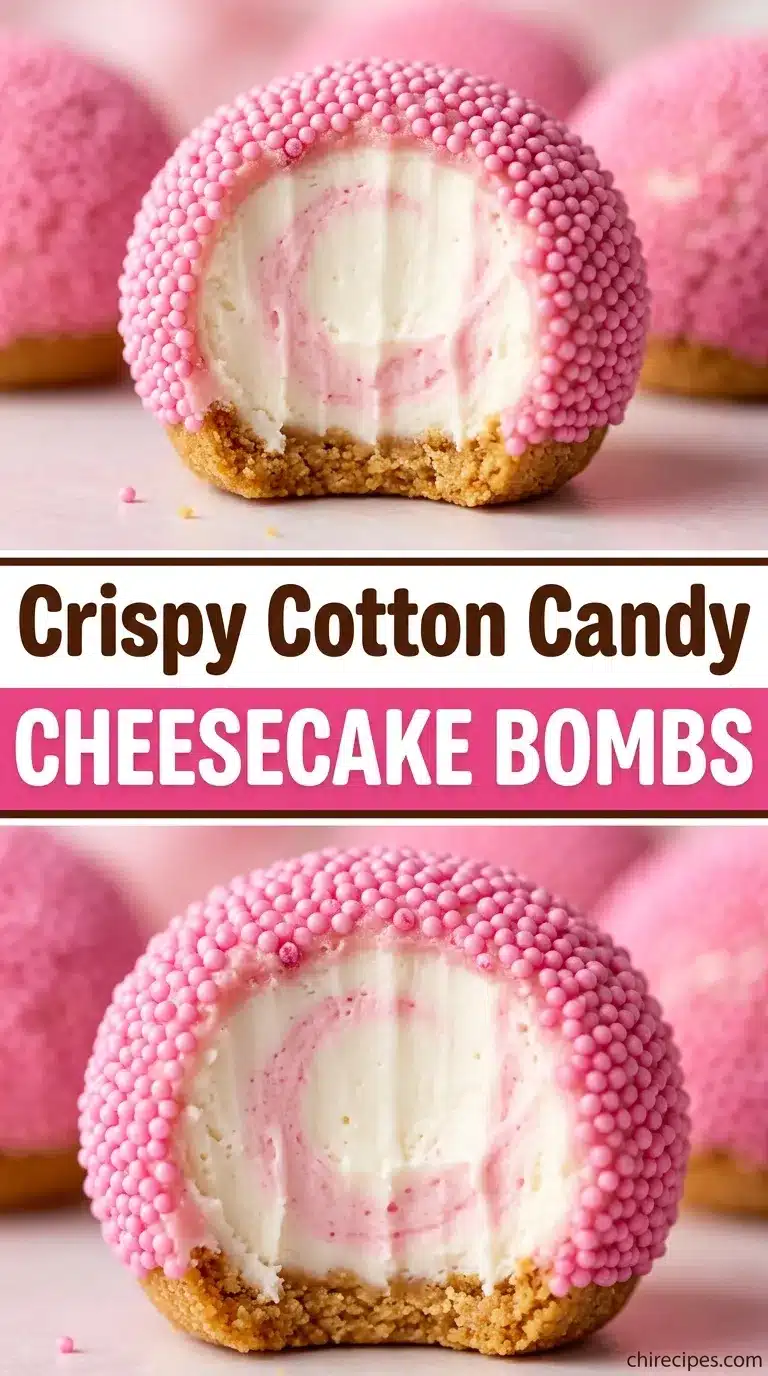
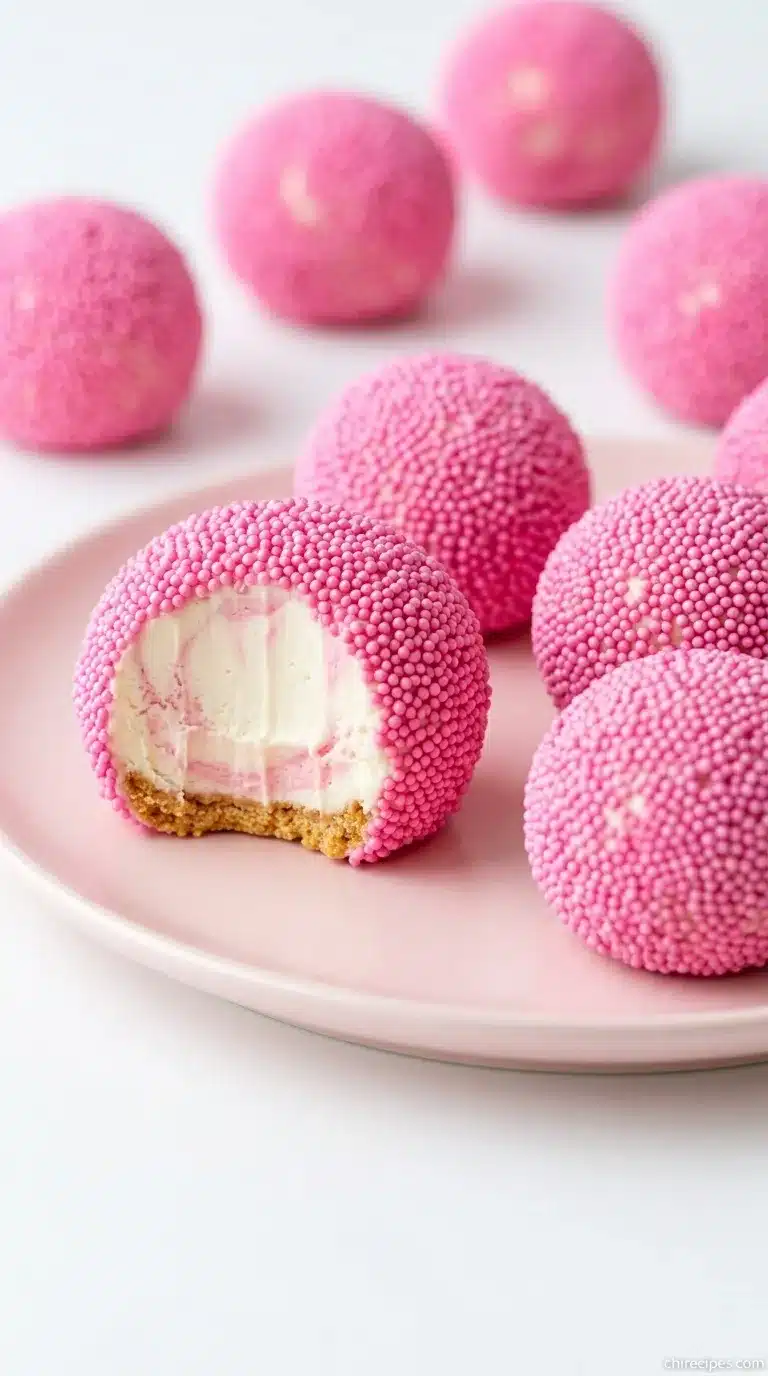
Whimsy has a flavor, and it tastes exactly like spun sugar melting on your tongue, a fleeting memory of carnival lights and summer nights. We’ve captured that ethereal, sugary cloud and transformed it into something you can hold, a decadent treat that bridges the gap between childhood fantasy and grown-up indulgence. These Cotton Candy Cheesecake Bombs are not just a dessert; they are a bite-sized trip to the fairground, a whimsical escape neatly packaged in a sweet, crunchy shell.
This recipe delivers a cloud-like, creamy cheesecake filling infused with the unmistakable taste of cotton candy, all wrapped in a crisp white chocolate coating. They are completely no-bake, meaning your oven can take the day off. The result is a stunning, pastel-hued confection that looks as magical as it tastes, ready to be the star of any party or a secret, happy-making snack just for you.
What Makes This Special
- No-Bake Magic: This entire recipe comes together without ever turning on your oven. It’s the perfect, stress-free dessert for warm days or when you just need a simple, impressive treat.
- Authentic Fairground Flavor: Using concentrated cotton candy flavoring gives these bombs a genuine, nostalgic taste that’s sweet, a little fruity, and utterly delightful, not just a sugary guess.
- Perfectly Portioned: Each bomb is a single, satisfying serving of rich cheesecake. They are ideal for parties, dessert tables, and portion control (if you can stop at one!).
Gather Your Supplies
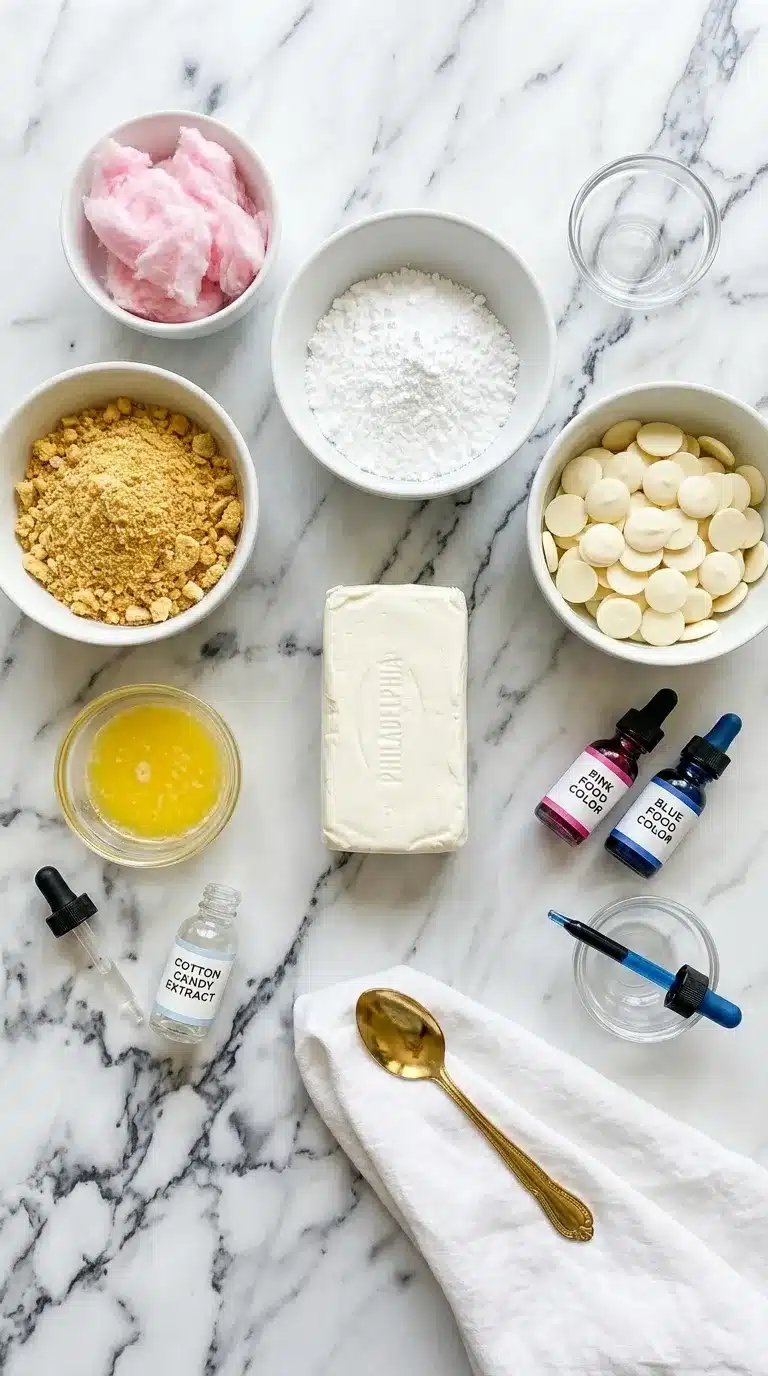
The ingredients for these little bites of heaven are surprisingly simple and easy to find. We’re focusing on creating a creamy, tangy cheesecake base and then infusing it with that signature cotton candy flavor. Here’s what you’ll need to grab.
- Golden Oreos or Vanilla Wafers: (This forms the crunchy, sweet base of our cheesecake filling, adding texture and a buttery flavor that complements the cotton candy).
- Unsalted Butter: (Acts as the binder for our cookie crumbs, turning them into a cohesive, delicious part of the filling).
- Cream Cheese: (The star of any cheesecake! Use full-fat, block-style cream cheese at room temperature for the smoothest, creamiest, and most luscious texture).
- Powdered Sugar: (Sweetens the filling while dissolving completely, ensuring a silky-smooth consistency without any graininess).
- Cotton Candy Flavoring: (This is the secret weapon! A few drops of a good quality concentrate transform the cheesecake from plain to pure carnival magic).
- Pink and Blue Food Coloring: (Gel food coloring works best for vibrant, pastel shades without adding extra liquid to the filling).
- White Chocolate Melting Wafers: (The perfect candy shell. Melting wafers are designed for dipping, setting up firm and glossy for a professional finish).
- Coconut Oil or Vegetable Shortening: (A tiny amount mixed into the melted chocolate makes it smoother and easier to work with for a flawless coating).
- Sprinkles or Edible Glitter: (Optional, but highly recommended for adding that final touch of sparkle and fun!).
Pantry Alternatives
Don’t have everything on the list? No problem at all! This recipe is wonderfully flexible. Here are a few simple swaps you can make in a pinch.
- For the Cookie Base: If you don’t have Golden Oreos, you can use shortbread cookies, digestive biscuits, or even graham crackers for a slightly different, but equally delicious, flavor profile.
- For the White Chocolate: High-quality white chocolate chips or a chopped white chocolate bar can be used instead of melting wafers. Just be sure to melt them gently and add the coconut oil for a smoother consistency. Almond bark is another great alternative.
- For the Flavoring: While cotton candy is the star, you could experiment with other extracts like strawberry, raspberry, or even bubblegum for a different kind of nostalgic treat.
- Cream Cheese: While full-fat block cream cheese is highly recommended for structure, you can use a lower-fat version (Neufchâtel), but the filling may be slightly softer. Avoid whipped cream cheese, as it will not set up properly.
Fun Variations to Try
Once you’ve mastered the classic recipe, you can start playing around and making it your own! These bombs are a fantastic canvas for your creativity.
Sprinkle Surprise Center
For a fun burst of color and crunch, press a small divot into the center of each cheesecake ball before freezing. Fill it with a pinch of nonpareils or rainbow sprinkles, then pinch the cheesecake filling closed around it. When you bite into the bomb, you’ll get a delightful sprinkle surprise!
Fruity Cotton Candy Swirl
Give your bombs a fruity twist by adding a berry element. After mixing the cheesecake filling, gently swirl in a tablespoon of seedless raspberry or strawberry jam. Don’t overmix! You want to see beautiful ribbons of fruit. This adds a lovely tartness that cuts through the sweetness. If you love no-bake fruit desserts, you absolutely have to try these No-bake Strawberry Shortcake Bites next.
Change the Coating
While white chocolate is classic, you don’t have to stop there. Try dipping half the bombs in white chocolate and the other half in milk or dark chocolate for a beautiful contrast on a dessert platter. You could also color your white chocolate with different pastel shades for a rainbow effect.
How to Make Cotton Candy Cheesecake Bombs
Alright, let’s get to the fun part! This process is simple and satisfying. Just follow along, and you’ll have these magical treats ready in no time.
Step 1: Prepare the Cookie Base
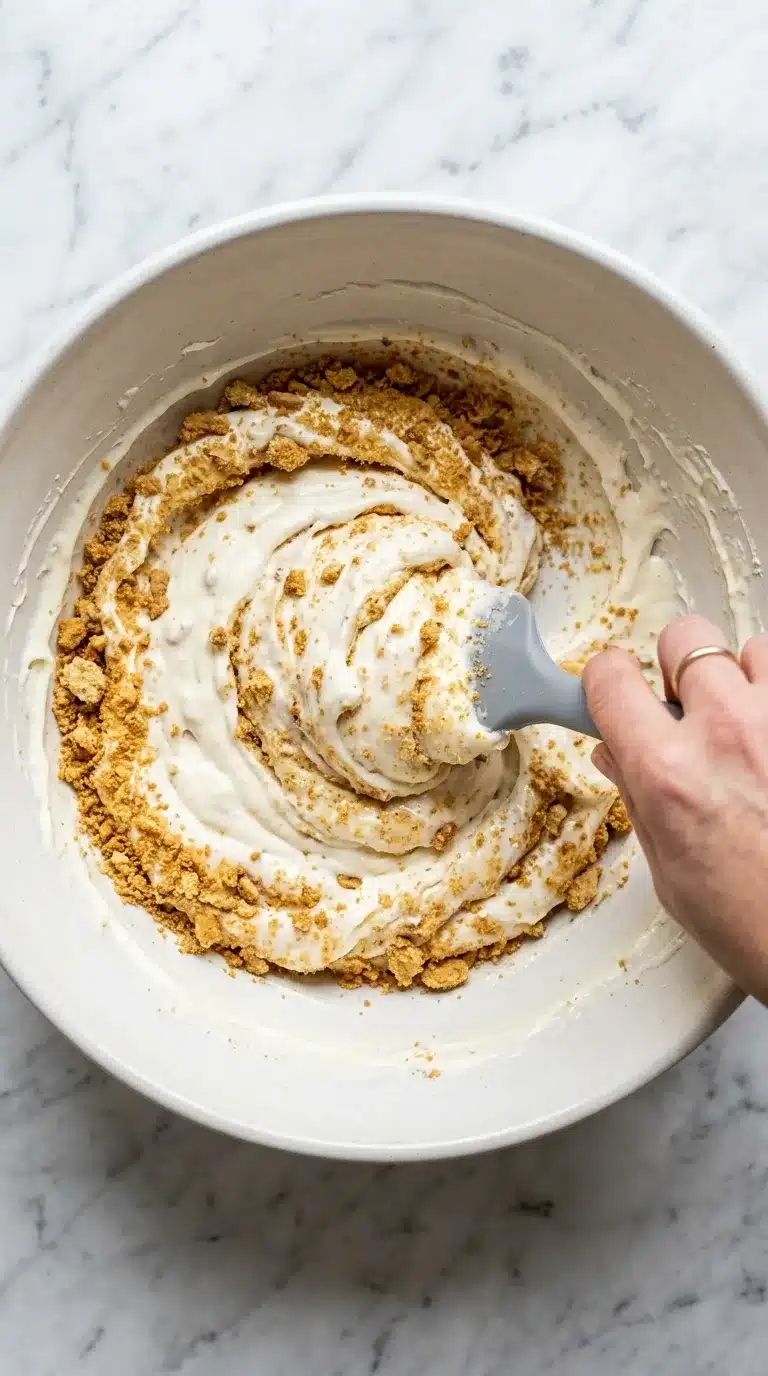
First, we need to create the foundation of our cheesecake filling. Place your Golden Oreos or vanilla wafers into a food processor and pulse until you have fine crumbs. If you don’t have a food processor, you can place them in a zip-top bag and crush them with a rolling pin—a great way to get out a little frustration! In a medium bowl, mix the cookie crumbs with the melted butter until the mixture resembles wet sand.
Step 2: Mix the Cheesecake Filling
In a large bowl, using a hand mixer or a stand mixer with the paddle attachment, beat the room temperature cream cheese on medium speed until it’s completely smooth and free of lumps. This is a crucial step for a silky texture! Scrape down the sides of the bowl, then add the powdered sugar and beat again until well combined. Finally, add the cotton candy flavoring and mix one last time until it’s fully incorporated.
Step 3: Combine and Color
Gently fold the buttered cookie crumbs into the cream cheese mixture until just combined. You don’t want to overmix here. Now for the fun part! Divide the mixture evenly into two separate bowls. Add a few drops of pink gel food coloring to one bowl and a few drops of blue to the other. Stir each until you achieve a beautiful, soft pastel color.
Step 4: Chill the Filling
Cover both bowls with plastic wrap and place them in the refrigerator to chill for at least 1-2 hours. This step is essential! Chilling the filling makes it firm enough to handle and roll into perfect little balls. Don’t skip it, or you’ll have a sticky mess.
Step 5: Roll and Freeze the Bombs
Line a baking sheet with parchment paper. Once the filling is firm, use a small cookie scoop (about 1 tablespoon) to portion out the cheesecake. Take a scoop of the pink filling and a scoop of the blue filling and gently roll them together in your hands to create a marbled ball. Place the finished balls on the prepared baking sheet. Repeat until all the filling is used. Place the baking sheet in the freezer for at least 30-60 minutes. They need to be very firm, almost frozen, before dipping. This is the secret to a clean dip! For another amazing cheesecake ball recipe, check out these seasonal Pumpkin Cheesecake Balls.
Step 6: Melt and Dip
When the cheesecake balls are almost done freezing, prepare your coating. Place the white chocolate melting wafers and coconut oil in a microwave-safe bowl. Microwave in 30-second intervals, stirring in between, until the chocolate is completely melted and smooth. Be careful not to overheat it.
Working quickly, take a few cheesecake balls from the freezer at a time (leave the rest in there to stay cold). Using two forks or a dipping tool, dip one ball at a time into the melted white chocolate, ensuring it’s fully coated. Lift it out, letting any excess chocolate drip back into the bowl.
Step 7: Decorate and Set
Place the dipped bomb back on the parchment-lined baking sheet. Immediately, while the chocolate is still wet, add your sprinkles, edible glitter, or a little tuft of actual cotton candy on top. The chocolate will set quickly because the centers are frozen. Repeat with the remaining balls. Once all the bombs are dipped and decorated, place them back in the refrigerator for about 15 minutes to set completely.
Expert Tips for Success
- Room Temperature is Key: For the smoothest, lump-free cheesecake filling, your cream cheese absolutely must be at room temperature. Set it on the counter for at least an hour before you begin.
- Don’t Skip the Freeze: Freezing the cheesecake balls before dipping is non-negotiable. A frozen center prevents the ball from melting or falling apart in the warm chocolate, ensuring a clean, easy dipping process.
- Use Oil-Based Food Coloring: If you want to color your white chocolate shell, you must use an oil-based or candy-specific food coloring. Regular water-based gel coloring will cause the chocolate to seize and become unusable.
- Work in Small Batches: Keep the majority of your cheesecake balls in the freezer while you dip. Working with only 3-4 at a time ensures they stay frozen and firm, making the dipping process much less stressful.
Serving Suggestions
These Cotton Candy Cheesecake Bombs are the life of the party! Their whimsical appearance and delicious flavor make them a hit with both kids and adults. They are perfect for birthday parties, baby showers, bake sales, or simply as a fun weekend project.
Arrange them on a pretty platter or cake stand for a stunning presentation. The pastel colors are beautiful on their own, but they look even better with a little extra flair. For a truly show-stopping dessert table, create a spread of various bite-sized treats. Imagine these colorful bombs sitting next to the rich, dark allure of Chocolate Covered Cherry Brownie Bombs and the fresh, vibrant look of Creamy Cheesecake Deviled Strawberries. The combination of colors and flavors would be absolutely incredible!
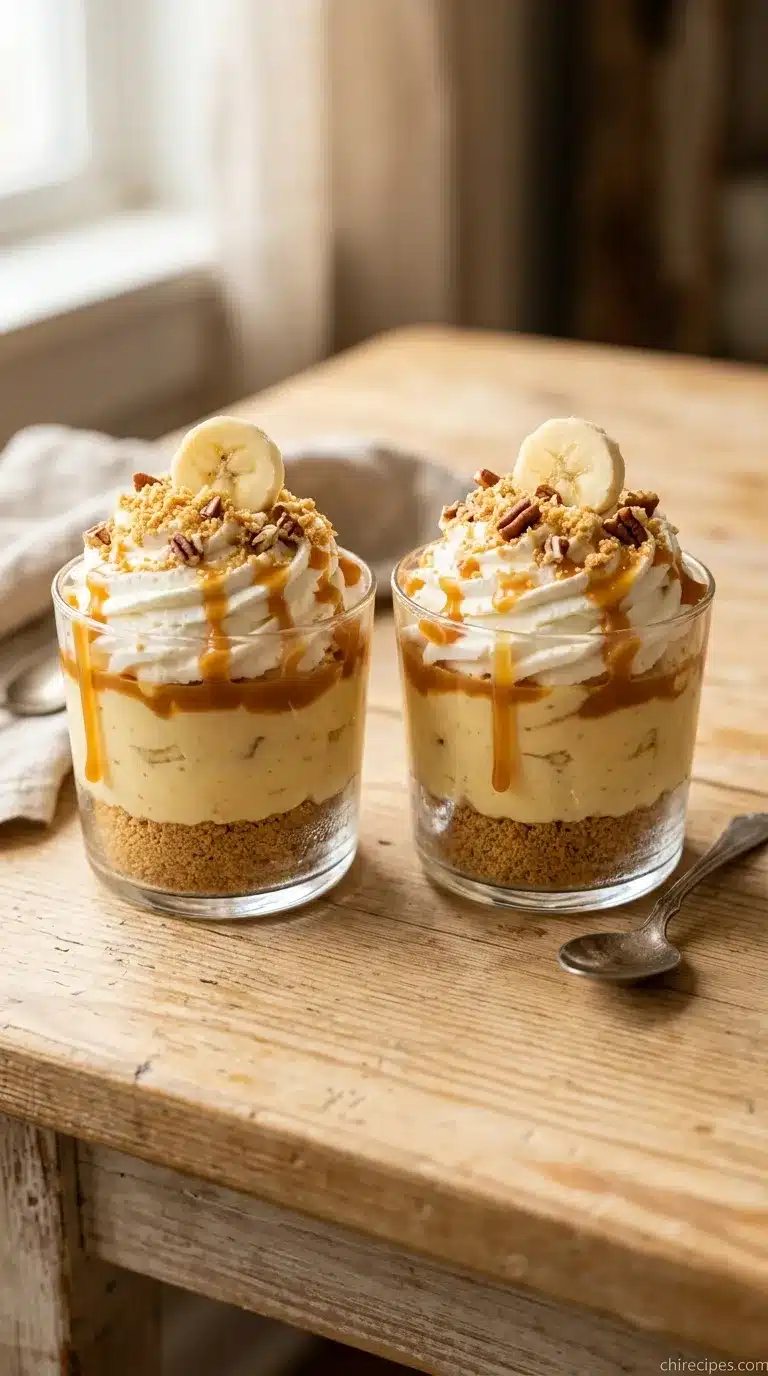
If you’re a true cheesecake aficionado, you could even serve these as part of a “cheesecake flight” alongside other mini cheesecake desserts. Think about including some decadent Mini Banana Pudding Cheesecakes or even slices of a classic like this Red Velvet Cheesecake. It’s a fun way to offer variety and let everyone find their favorite.
These bombs should be stored in an airtight container in the refrigerator and will keep for up to a week. You can also freeze them for up to a month, making them a fantastic make-ahead dessert. Just let them sit at room temperature for about 10-15 minutes before serving.
If you tried this recipe and loved it, please leave a 5-star rating below. It helps us so much
Why do I need to freeze the cheesecake balls before dipping them in chocolate?
Freezing the cheesecake balls is a non-negotiable step because a very firm, frozen center prevents the ball from melting or falling apart in the warm chocolate. This is the secret to ensuring a clean, easy dipping process and a flawless coating.
Can I use a different type of cookie for the base instead of Golden Oreos?
Yes, absolutely. If you don’t have Golden Oreos or vanilla wafers, you can easily substitute them with shortbread cookies, digestive biscuits, or graham crackers for a delicious, crunchy base.
How should I store these cheesecake bombs and how long will they last?
The cheesecake bombs should be stored in an airtight container in the refrigerator, where they will stay fresh for up to one week. You can also freeze them for up to a month, making them a great make-ahead dessert.
Is this recipe completely no-bake?
Yes, this is a completely no-bake recipe. The entire dessert comes together without ever needing to turn on your oven, making it a perfect stress-free treat for any occasion.
Fairground Cotton Candy Cheesecake Bombs
Ingredients
Equipment
Method
- In a food processor, pulse the Golden Oreos until they form fine crumbs. Alternatively, place them in a zip-top bag and crush with a rolling pin. In a medium bowl, mix crumbs with melted butter until the mixture resembles wet sand.
- In a large bowl using a hand or stand mixer, beat the room temperature cream cheese until completely smooth. Add the powdered sugar and beat until combined. Mix in the cotton candy flavoring.
- Gently fold the buttered cookie crumbs into the cream cheese mixture until just combined. Divide the mixture evenly into two separate bowls. Add pink food coloring to one and blue to the other, stirring to achieve pastel colors.
- Cover both bowls with plastic wrap and refrigerate for at least 1-2 hours, or until the filling is firm enough to handle.
- Line a baking sheet with parchment paper. Use a small cookie scoop to take a portion of pink and a portion of blue filling. Gently roll them together in your hands to create a marbled ball. Place on the baking sheet and repeat. Freeze the balls for at least 30-60 minutes until very firm.
- Place white chocolate melting wafers and coconut oil in a microwave-safe bowl. Microwave in 30-second intervals, stirring between each, until fully melted and smooth.
- Working with a few frozen cheesecake balls at a time, use two forks or a dipping tool to dip each ball into the melted white chocolate, coating it completely. Let the excess chocolate drip off.
- Place the dipped bomb back on the parchment paper. Immediately decorate with sprinkles or glitter while the chocolate is still wet. Repeat for all balls. Refrigerate for 15 minutes to allow the chocolate shell to set completely.