My oven gets a well-deserved break when these bars are on the menu, and honestly, I think it’s a little jealous. There’s a special kind of kitchen magic that happens without any preheating, a simple, stovetop-and-fridge alchemy that transforms a handful of pantry staples into something truly spectacular. This isn’t just a recipe; it’s a solution for sudden sweet cravings, a guaranteed hit for bake sales, and the perfect back-pocket treat for when life gets a little too hectic for a full-blown baking project.
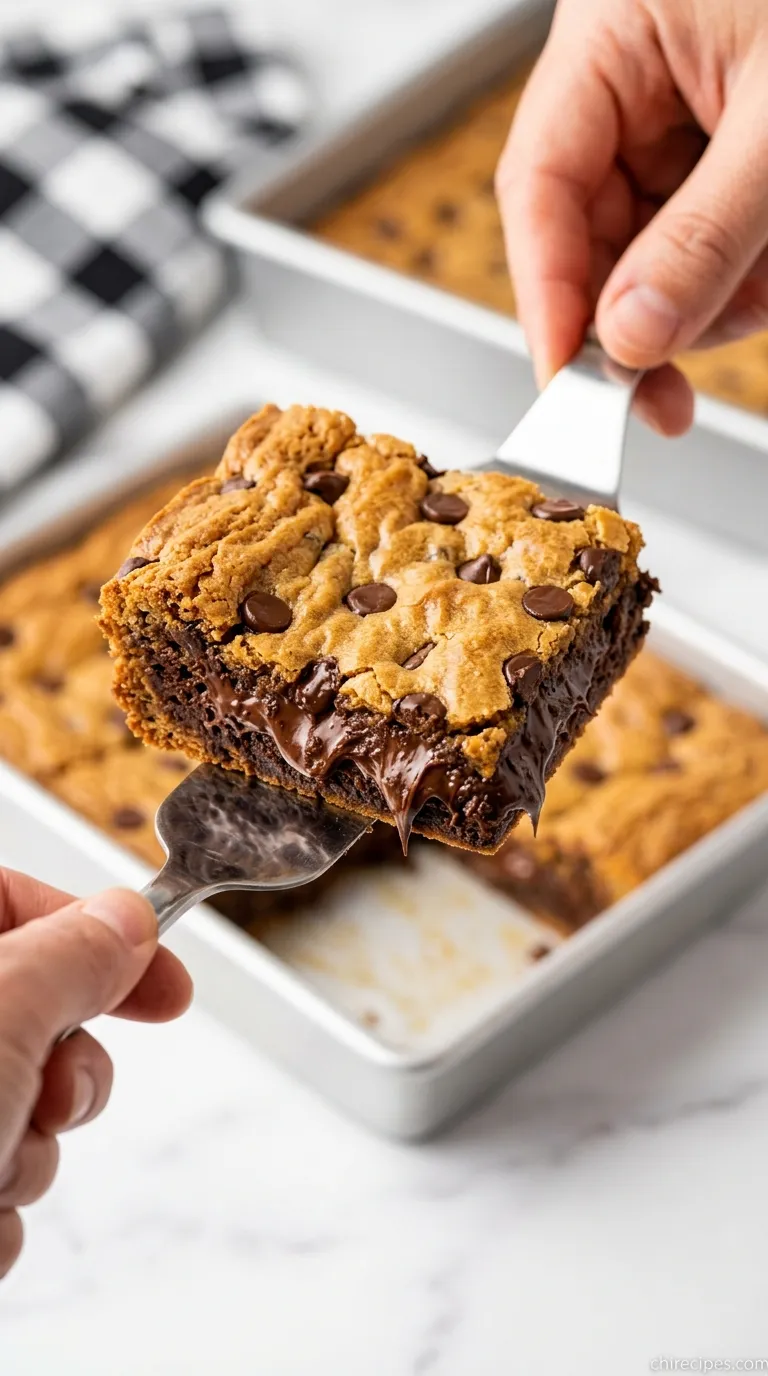
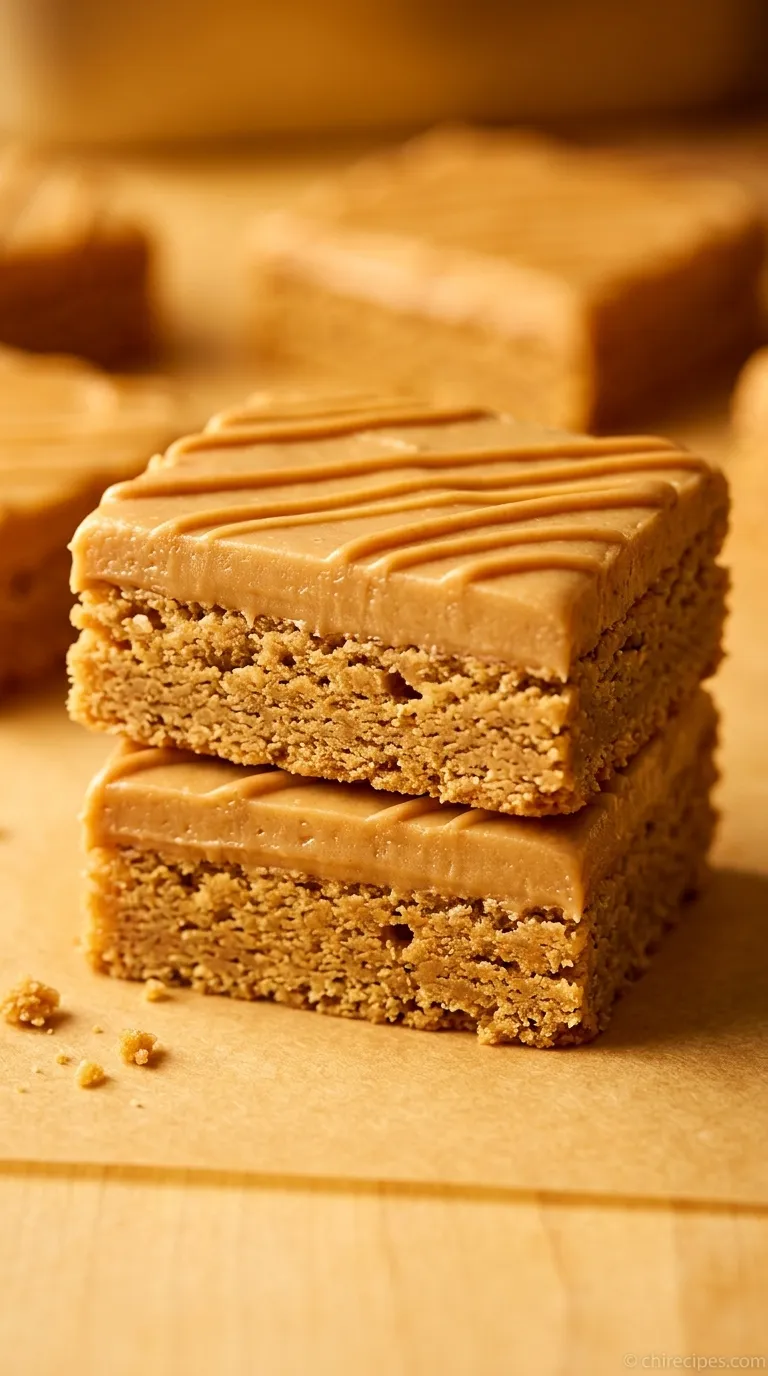
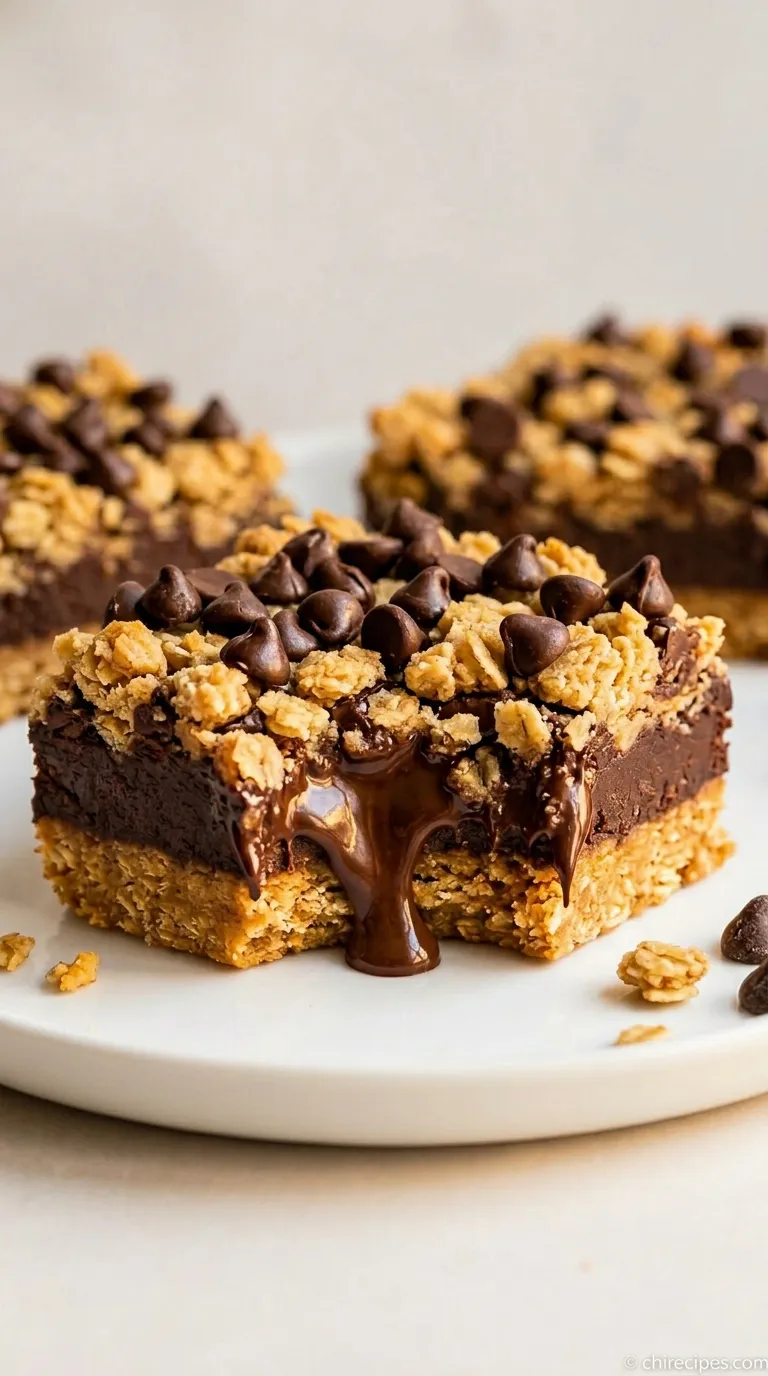
What you’re creating is a masterpiece of texture and taste. Imagine a dense, chewy, and deeply satisfying oatmeal base, infused with the rich, nutty flavor of peanut butter in every single bite. This hearty foundation is then crowned with a thick, glossy layer of melted chocolate that snaps perfectly when you bite into it, giving way to the softer layer below. They are substantial, comforting, and deliver that iconic chocolate-peanut butter punch we all know and adore.
The Chocolate Peanut Butter Oatmeal Bars Difference
- Perfect Texture Contrast: This recipe is engineered for the ultimate textural experience. The oatmeal base is boiled for precisely one minute, creating a perfectly chewy, dense foundation that doesn’t crumble, while the simple melted chocolate topping provides a smooth, snappy contrast.
- No-Bake Simplicity: The entire process happens on the stovetop and in the fridge. This eliminates the guesswork of baking times and oven temperatures, making it a foolproof recipe for beginners and a quick, reliable option for experienced cooks.
- Pantry-Powered Flavor: It relies on common, high-impact ingredients you likely already have. The flavor comes from quality peanut butter, rich chocolate, and hearty oats, proving you don’t need complicated components to create an unforgettable treat.
The Building Blocks
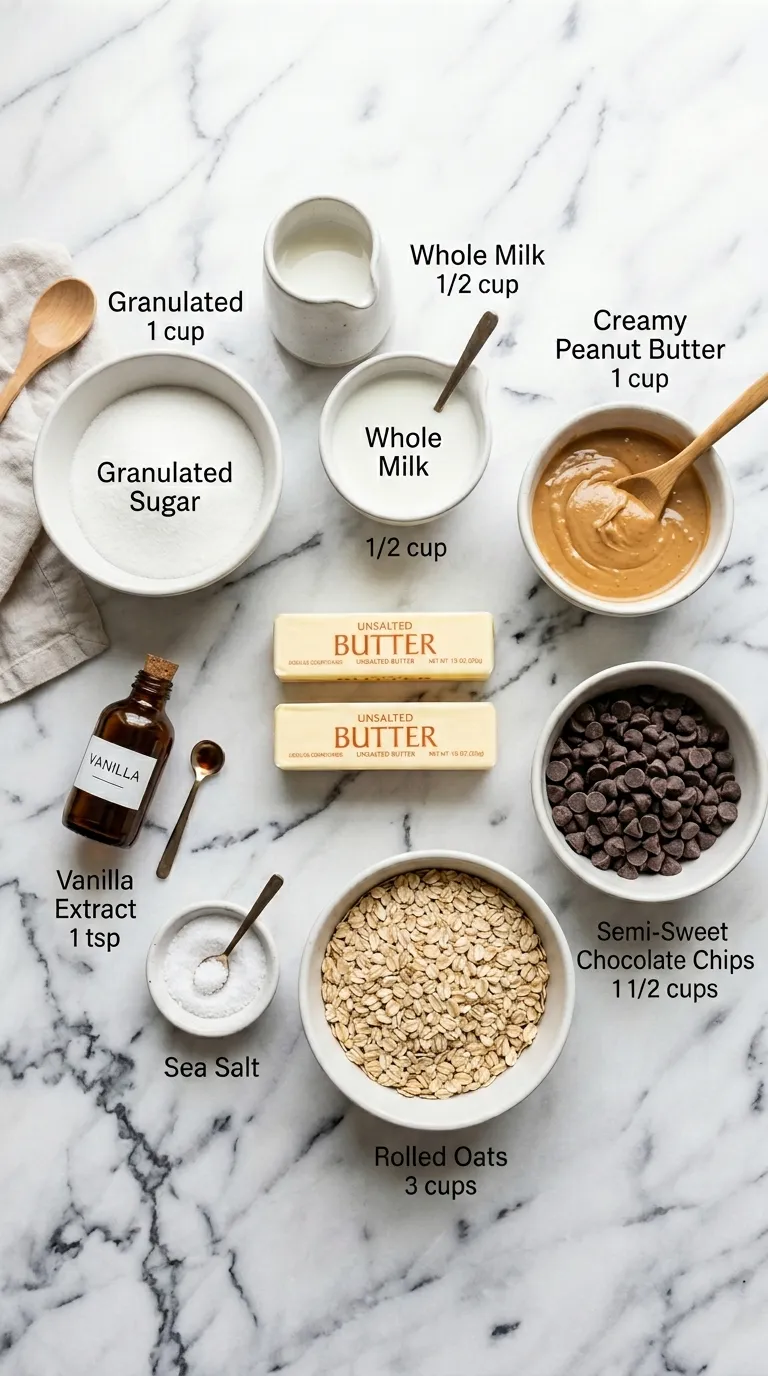
Here’s what you’ll need to gather:
- Unsalted Butter: (This is the foundation of our base, providing richness and helping everything bind together. Using unsalted gives you full control over the saltiness).
- Granulated Sugar: (Provides the necessary sweetness and structure. When boiled with the butter and milk, it creates the syrupy binder for the oats).
- Milk: (Adds moisture and richness to the sugar mixture, ensuring the base isn’t dry. Whole milk works best, but 2% is also fine).
- Creamy Peanut Butter: (The star of the show! Use a standard commercial creamy peanut butter like Jif or Skippy for the best, most consistent results. Natural peanut butters can separate and make the bars oily).
- Vanilla Extract: (A non-negotiable for adding warmth and depth, elevating the flavor from just sweet to truly delicious).
- Salt: (Crucial for balancing the sweetness of the sugar and chocolate. It makes the peanut butter flavor pop).
- Old-Fashioned Rolled Oats: (This is essential for the texture. Quick oats will turn to mush, and steel-cut oats won’t soften enough. Rolled oats provide that signature chew).
- Semi-Sweet Chocolate Chips: (The perfect topping. Semi-sweet provides a wonderful balance to the sweet base. You can also use milk chocolate if you prefer a sweeter bar).
- Vegetable Oil or Coconut Oil: (Just a teaspoon mixed with the chocolate chips ensures a glossy finish and makes the chocolate easier to spread and slice).
Swaps & Alternatives
Don’t have everything on hand? No problem. This recipe is wonderfully flexible.- For a Gluten-Free Version: Simply ensure you are using certified gluten-free rolled oats. The rest of the ingredients are naturally gluten-free.
- Dairy-Free/Vegan Option: Swap the unsalted butter for a high-quality vegan butter stick and use your favorite plant-based milk (almond or oat work well). Be sure to use dairy-free chocolate chips.
- Different Nut Butters: While classic peanut butter is the intended flavor, you can absolutely experiment. Creamy almond butter or cashew butter would be delicious alternatives.
- Sweetener Swaps: This specific recipe relies on the crystallization of granulated sugar for its structure. While you could experiment with liquid sweeteners like maple syrup or honey, it will significantly change the final texture, likely resulting in a softer, gooier bar.
Chef’s Twists
While these bars are phenomenal as is, they also serve as a perfect canvas for your culinary creativity. Think of this base recipe as your starting point for endless delicious variations.For a salty, crunchy kick, try pressing a layer of mini pretzels onto the oatmeal base before you pour over the chocolate. The combination of salty, crunchy, sweet, and chewy is absolutely divine. This is a great way to add complexity, much like you’d find in a batch of Reese’s Mini Cup Peanut Butter Cookies.
Another fantastic addition is a sprinkle of flaky sea salt over the top of the melted chocolate just before it sets. This not only looks beautiful but also provides little bursts of salt that cut through the richness and make the chocolate and peanut butter flavors sing.
If you want to add another layer of flavor, consider adding a half cup of shredded coconut or mini M&Ms into the oatmeal mixture. For a more sophisticated twist, a teaspoon of espresso powder dissolved into the melting chocolate will deepen its flavor profile immensely.
How to Make Chocolate Peanut Butter Oatmeal Bars
1. Prepare the Pan
First things first, get your vessel ready. Take a 9×13 inch baking pan and line it with parchment paper, leaving a bit of overhang on the two long sides. This overhang will act as “handles,” making it incredibly easy to lift the entire block of bars out of the pan for clean, perfect slicing later. Set it aside.2. Create the Oatmeal Base
In a medium saucepan, combine the unsalted butter, granulated sugar, and milk. Place it over medium heat, stirring occasionally until the butter is melted and the sugar has dissolved. Bring the mixture to a full, rolling boil.Once it’s boiling, set a timer for exactly one minute. Let it boil, stirring continuously, for that full 60 seconds. This step is crucial; it cooks the sugar to the right stage to ensure your bars set up properly and aren’t a sticky mess.
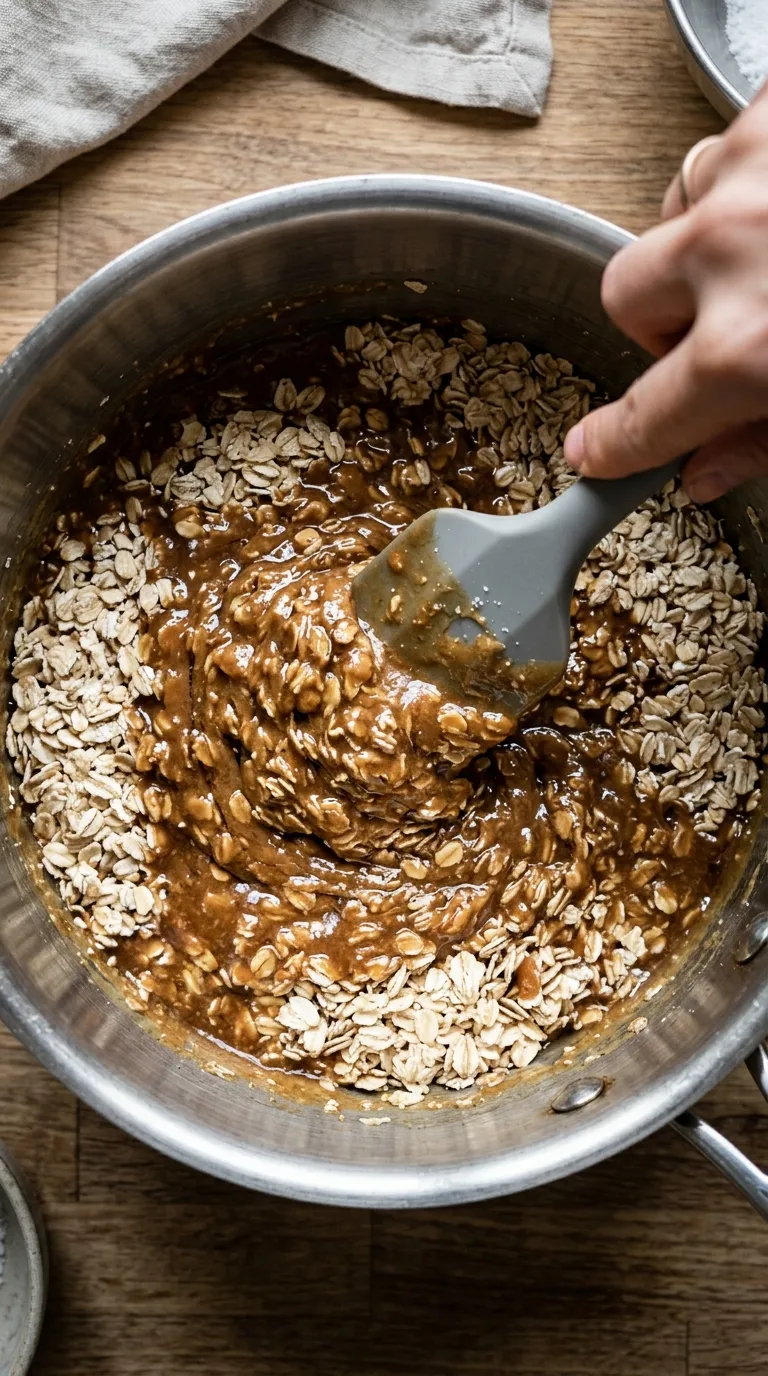
3. Mix in the Good Stuff
Immediately remove the saucepan from the heat. Stir in the creamy peanut butter, vanilla extract, and salt until the peanut butter is completely melted and the mixture is smooth and uniform.Finally, pour in the old-fashioned rolled oats. Use a spatula to fold and stir everything together until every single oat is coated in that glorious peanut butter mixture. Work quickly here, as the mixture will start to set as it cools.
4. Press the Base into the Pan
Pour the oatmeal mixture into your prepared 9×13 inch pan. Using the back of your spatula or your hands (I like to place a piece of wax paper on top to prevent sticking), press the mixture down firmly and evenly across the entire bottom of the pan. A flat, compact base is key to bars that hold their shape.5. Melt the Chocolate Topping
In a microwave-safe bowl, combine the semi-sweet chocolate chips and the teaspoon of vegetable or coconut oil. Microwave in 30-second intervals, stirring well after each one, until the chocolate is almost completely melted.Remove the bowl from the microwave and continue stirring. The residual heat will melt the remaining chips, leaving you with a perfectly smooth, glossy chocolate. This gentle melting method prevents the chocolate from seizing. This technique is also perfect for making the coating on treats like Chocolate Peanut Butter Valentine Hearts.
6. Spread and Chill
Pour the melted chocolate over the oatmeal base in the pan. Use an offset spatula or the back of a spoon to spread it into a smooth, even layer that covers the base from edge to edge.Now for the patient part. Place the pan in the refrigerator and let it chill for at least 2 to 3 hours, or until the chocolate is completely firm and the bars are set. This chilling time is non-negotiable for clean cuts. Once firm, use the parchment paper handles to lift the bars out, place them on a cutting board, and slice into squares.
Avoid These Pitfalls
- Not Boiling for a Full Minute: Under-boiling the sugar mixture is the number one reason for bars that are too soft and don’t set properly. Use a timer and let it achieve a full, rolling boil for 60 seconds.
- Using the Wrong Oats: Quick-cook or instant oats will break down and create a pasty, mushy texture. Steel-cut oats will remain hard and uncooked. Old-fashioned rolled oats are the only way to get that perfect, chewy bite.
- Not Pressing the Base Firmly: A loosely packed base will lead to crumbly bars that fall apart when you try to cut or eat them. Really apply some pressure and compact that layer evenly in the pan.
Serving Ideas
These bars are a self-contained delight, perfect on their own as a snack, dessert, or even a quick grab-and-go breakfast. They are hearty enough to feel substantial, making them a great alternative to your usual morning routine. If you’re into meal-prepping breakfasts, you could make a batch of these alongside some Chocolate Strawberry Overnight Oats for a week of delicious options.Serve them chilled, straight from the refrigerator, for the best texture and a satisfying snap from the chocolate layer. A cold glass of milk is their absolute best friend, providing a creamy counterpoint to the rich chocolate and peanut butter.
For a more decadent dessert presentation, try crumbling a bar over a scoop of vanilla bean ice cream and adding a drizzle of caramel sauce. The contrast of the cold, creamy ice cream with the chewy, chocolatey bar pieces is out of this world. They also pack beautifully, making them ideal for lunchboxes, picnics, and road trips. Unlike other bar recipes, such as Apple Snickerdoodle Bars which are best warm, these shine when they are cool and firm.
Love this recipe? Pin it to your favorite board on Pinterest to save it for later
Why are my no-bake oatmeal bars too soft and not setting up properly?
The most common reason for bars that are too soft is under-boiling the sugar mixture. It is crucial to bring the butter, sugar, and milk to a full, rolling boil and maintain it for exactly one minute. This step ensures the sugar cooks to the correct stage, allowing the bars to firm up properly as they chill.
Can I use quick oats or steel-cut oats instead of old-fashioned rolled oats?
No, it is essential to use old-fashioned rolled oats for this recipe. Quick oats will break down too much and create a mushy, pasty texture, while steel-cut oats will not soften enough and will remain hard. Old-fashioned rolled oats provide the perfect chewy texture that is key to these bars.
Is it possible to make these chocolate peanut butter oatmeal bars vegan or gluten-free?
Yes, you can easily adapt this recipe. For a gluten-free version, ensure you use certified gluten-free rolled oats. To make them vegan and dairy-free, swap the butter for a high-quality vegan butter stick, use a plant-based milk like almond or oat milk, and use dairy-free chocolate chips.
Can I use natural peanut butter in this recipe?
It is recommended to use a standard commercial creamy peanut butter like Jif or Skippy for the best results. The article advises that natural peanut butters can separate and cause the bars to become oily, affecting the final texture.
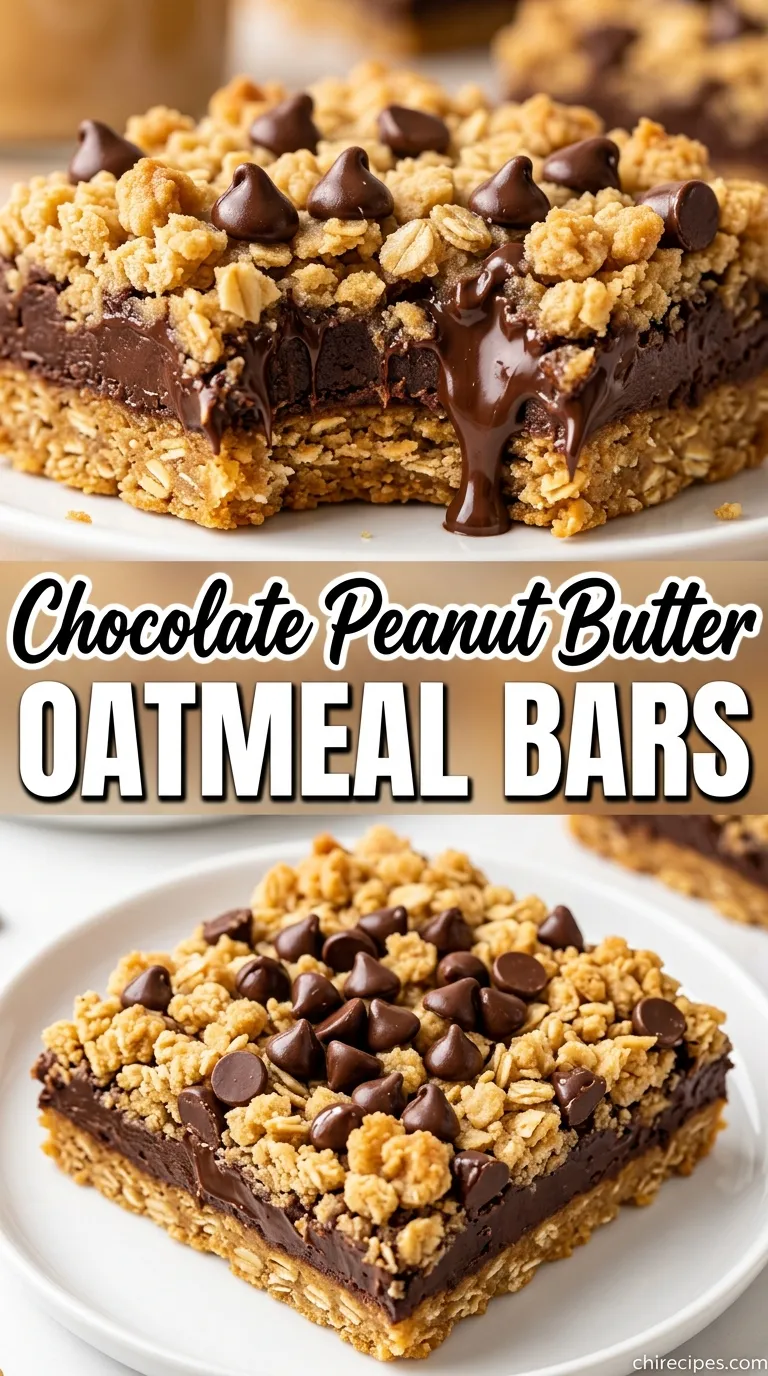
Hearty Chocolate Peanut Butter Oatmeal Bars
Ingredients
Equipment
Method
- Line a 9×13 inch baking pan with parchment paper, leaving an overhang on the long sides to act as handles. Set aside.
- In a medium saucepan, combine the unsalted butter, granulated sugar, and milk over medium heat. Stir until the butter melts and sugar dissolves.
- Bring the mixture to a full, rolling boil. Set a timer and boil for exactly one minute, stirring continuously.
- Immediately remove the pan from the heat. Stir in the creamy peanut butter, vanilla extract, and salt until completely smooth.
- Add the old-fashioned rolled oats and stir with a spatula until every oat is fully coated.
- Quickly pour the oatmeal mixture into the prepared pan. Press down firmly and evenly to create a compact base.
- In a microwave-safe bowl, combine the chocolate chips and oil. Microwave in 30-second intervals, stirring between each, until smooth.
- Pour the melted chocolate over the oatmeal base and spread into an even layer.
- Refrigerate for at least 2-3 hours, or until the chocolate is completely firm.
- Use the parchment handles to lift the bars out of the pan. Place on a cutting board and slice into squares to serve.