
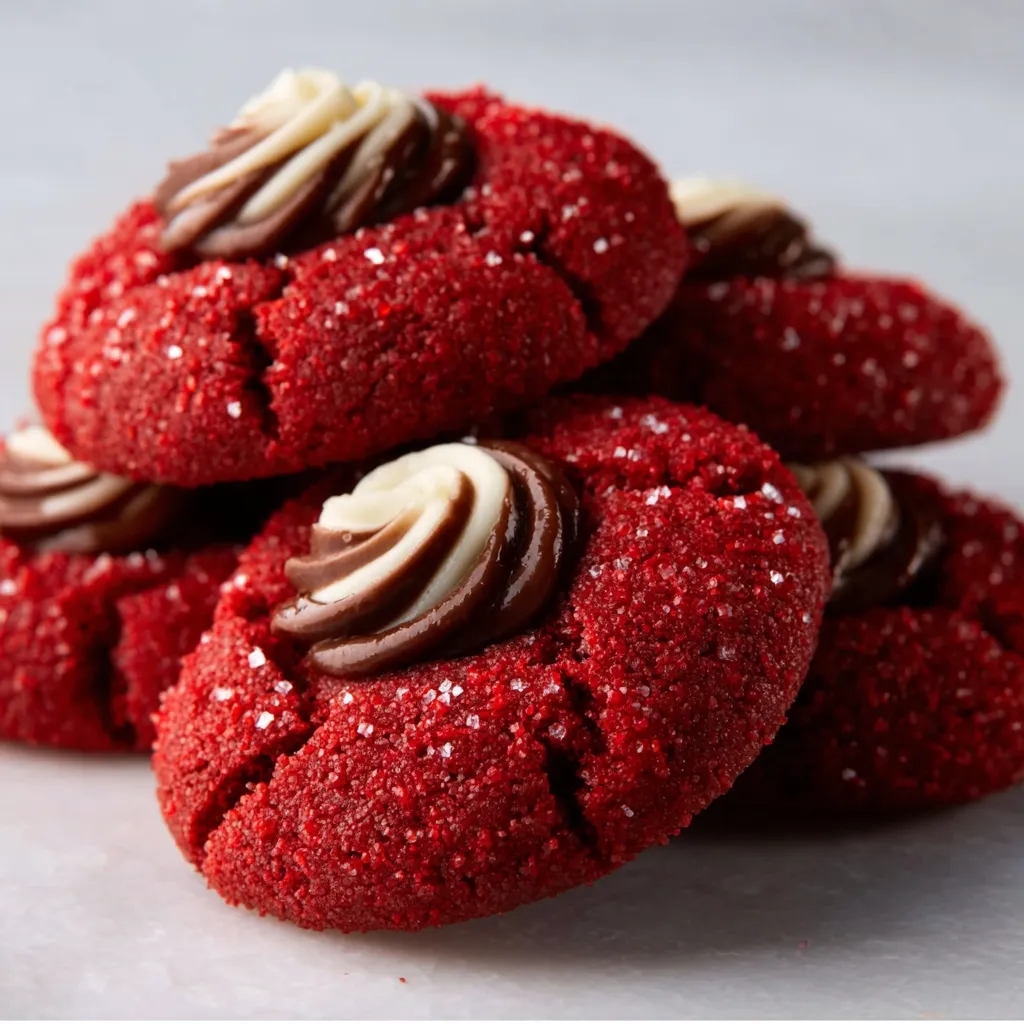
Imagine biting into a soft, chewy red velvet cookie with a sweet Hershey’s Kiss nestled perfectly in the center – the creamy chocolate melting in your mouth alongside the subtly tangy red velvet. These Hershey Red Velvet Blossoms Cookies are not only a visual delight but a taste sensation that’s surprisingly easy to achieve. I promise, you’ll be amazed how quickly you can whip up these festive and delicious treats!
The Dream Team: Ingredients You’ll Need
For the Red Velvet Cookies:
- All-purpose flour: 1 1/2 cups
- Unsweetened cocoa powder: 2 tablespoons
- Baking soda: 1/2 teaspoon
- Salt: 1/4 teaspoon
- Unsalted butter, softened: 1/2 cup (1 stick)
- Granulated sugar: 3/4 cup
- Brown sugar, packed: 1/4 cup
- Large egg: 1
- Vanilla extract: 1 teaspoon
- Buttermilk: 1/2 cup
- Red food coloring: 1 teaspoon (gel is best)
For the Finishing Touch:
- Granulated sugar, for rolling: About 1/2 cup
- Hershey’s Kisses, unwrapped: About 36 (or more, if you like!)
Gear Up: Essential Equipment

- Baking sheets
- Parchment paper or silicone baking mats
- Mixing bowls
- Electric mixer (handheld or stand mixer)
- Measuring cups and spoons
- Cookie scoop (optional, but helpful for uniform cookies)
Let’s Get Baking: Step-by-Step Instructions
Step 1: Prep Work
- Preheat your oven to 350°F (175°C).
- Line baking sheets with parchment paper or silicone baking mats. This prevents sticking and makes cleanup a breeze!
- Unwrap all those Hershey’s Kisses. Trust me, you’ll thank yourself later. No one wants to be unwrapping chocolates with hot cookies waiting!
Step 2: Dry Ingredients Unite
- In a medium bowl, whisk together the flour, cocoa powder, baking soda, and salt. Whisking ensures everything is evenly distributed and prevents clumps.
Step 3: Creaming is Key
- In a large bowl, cream together the softened butter, granulated sugar, and brown sugar until light and fluffy. This usually takes about 3-5 minutes with an electric mixer. Don’t rush this step – it’s crucial for the cookies’ texture.
Step 4: Wet Ingredients Join the Party
- Beat in the egg and vanilla extract until well combined.
- In a small bowl, whisk together the buttermilk and red food coloring.
Step 5: Combining Wet and Dry
- Gradually add the dry ingredients to the wet ingredients, alternating with the buttermilk mixture, beginning and ending with the dry ingredients. Beat until just combined. Be careful not to overmix – overmixing can lead to tough cookies.
Step 6: Shaping and Coating
- Use a cookie scoop or spoon to drop rounded tablespoons of dough into the granulated sugar. Roll the dough balls in the sugar to coat completely.
- Place the sugared dough balls onto the prepared baking sheets, leaving about 2 inches between each cookie.
Step 7: Bake to Perfection
- Bake for 8-10 minutes, or until the edges are set and the centers are still slightly soft.
Step 8: The Grand Finale: Adding the Kisses
- Remove the baking sheets from the oven and immediately press a Hershey’s Kiss into the center of each cookie. Don’t wait too long, or the cookies will start to firm up and the Kisses won’t adhere properly.
Step 9: Cool and Enjoy!
- Let the cookies cool on the baking sheets for a few minutes before transferring them to a wire rack to cool completely. This prevents them from breaking.
Troubleshooting Tips & Tricks
- Cookies spreading too much? Make sure your butter isn’t *too* soft. It should be softened but still cool to the touch. You can also chill the dough for 30 minutes before baking.
- Cookies are dry? Avoid overbaking! These cookies are best when they’re slightly soft in the center.
- Hershey’s Kisses melting too much? Make sure your oven temperature is accurate and don’t overbake the cookies. If it’s a particularly warm day, you can chill the Hershey’s Kisses in the refrigerator before using them.
- Can I use a different kind of Kiss? Absolutely! While the classic Hershey’s Kiss is iconic, feel free to experiment with different flavors or varieties. Dark chocolate, caramel-filled, or even the candy cane-flavored Kisses would be delicious.
Variations to Spice Things Up
- Add Chocolate Chips: Stir in 1/2 cup of mini chocolate chips to the dough for an extra chocolatey kick.
- Cream Cheese Frosting Drizzle: Drizzle a simple cream cheese frosting over the cooled cookies for added richness.
- Sprinkle Magic: Add festive sprinkles to the tops of the cookies before baking for a pop of color.
- Peppermint Extract: Add 1/4 teaspoon of peppermint extract to the dough for a holiday twist.
Making it Ahead & Storage Secrets
- Make Ahead: You can make the dough ahead of time and store it in the refrigerator for up to 2 days. Let it come to room temperature slightly before scooping and baking.
- Freezing Dough: For longer storage, freeze the dough balls on a baking sheet until solid, then transfer them to a freezer-safe bag or container. Bake from frozen, adding a few extra minutes to the baking time.
- Storing Baked Cookies: Store the cooled cookies in an airtight container at room temperature for up to 3 days.
Level Up Your Baking Game
Once you’ve mastered these Hershey Red Velvet Blossoms Cookies, why not try some other delightful cookie recipes? Perhaps some Sugar Cookie Bars for a crowd, or get that cozy feeling with Cinnamon Roll Cookie Magic. If you’re an apple fan, you HAVE to try Caramel Apple Cookies or the ultra-gooey version, Gooey Caramel Apple Cookies. And for another twist on red velvet, try this amazing Red Velvet Strawberry Cheesecake, or if you love tangy flavors, how about some Lemon Raspberry Cookies?
The Sweet Conclusion
There you have it – a simple yet stunning recipe for Hershey Red Velvet Blossoms Cookies that’s sure to impress. They’re perfect for holidays, parties, or just a little sweet treat any day of the week. So go ahead, preheat that oven, and get ready to create some cookie magic! Happy baking!
What can I do if my Hershey Red Velvet Blossom cookies are spreading too much during baking?
Make sure your butter isn’t too soft; it should be softened but still cool to the touch. You can also chill the dough for 30 minutes before baking.
Can I freeze the dough for these cookies?
Yes, you can freeze the dough balls on a baking sheet until solid, then transfer them to a freezer-safe bag or container. Bake from frozen, adding a few extra minutes to the baking time.
What is the best way to store the baked Hershey Red Velvet Blossom cookies?
Store the cooled cookies in an airtight container at room temperature for up to 3 days.
What is the ideal oven temperature for baking these cookies?
Preheat your oven to 350°F (175°C).
Hershey Red Velvet Blossoms Cookies
Ingredients
Equipment
Method
- Preheat oven to 350°F (175°C).
- Line baking sheets with parchment paper or silicone baking mats.
- Unwrap all Hershey’s Kisses.
- In a medium bowl, whisk together the flour, cocoa powder, baking soda, and salt.
- In a large bowl, cream together the softened butter, granulated sugar, and brown sugar until light and fluffy (3-5 minutes).
- Beat in the egg and vanilla extract until well combined.
- In a small bowl, whisk together the buttermilk and red food coloring.
- Gradually add the dry ingredients to the wet ingredients, alternating with the buttermilk mixture, beginning and ending with the dry ingredients. Beat until just combined.
- Use a cookie scoop or spoon to drop rounded tablespoons of dough into the granulated sugar. Roll the dough balls in the sugar to coat completely.
- Place the sugared dough balls onto the prepared baking sheets, leaving about 2 inches between each cookie.
- Bake for 8-10 minutes, or until the edges are set and the centers are still slightly soft.
- Remove the baking sheets from the oven and immediately press a Hershey’s Kiss into the center of each cookie.
- Let the cookies cool on the baking sheets for a few minutes before transferring them to a wire rack to cool completely.


