Color has a way of making promises, and the vibrant, unapologetic pink of a Mexican panadería cookie promises pure, unadulterated joy. It’s the kind of cookie that catches your eye from across the bakery, a cheerful beacon nestled among the conchas and cuernos. This recipe is my love letter to that specific feeling—the crackle of the sugary crust giving way to a texture that’s part soft cookie, part tender cake, a perfect little pillow of sweetness that tastes like childhood visits to the corner bakery.
We’re not just making a cookie here; we’re recreating a core memory. This recipe delivers that authentic, melt-in-your-mouth texture and a delicate flavor profile of vanilla and cinnamon that is both simple and profoundly comforting. Get ready to fill your kitchen with the scent of nostalgia and create a batch of *polvorones rosas* so perfect, they’ll transport you straight to the heart of Mexico with a single bite.
The Mexican Pink Cookies Difference
- Authentic Panadería Texture: This recipe uses vegetable shortening, the traditional fat that creates a uniquely tender, cake-like crumb that doesn’t spread too much, giving you those classic domed cookies.
- Simple, Foolproof Technique: There are no complicated steps here. A straightforward creaming method ensures a light, airy dough that’s easy for even beginner bakers to master.
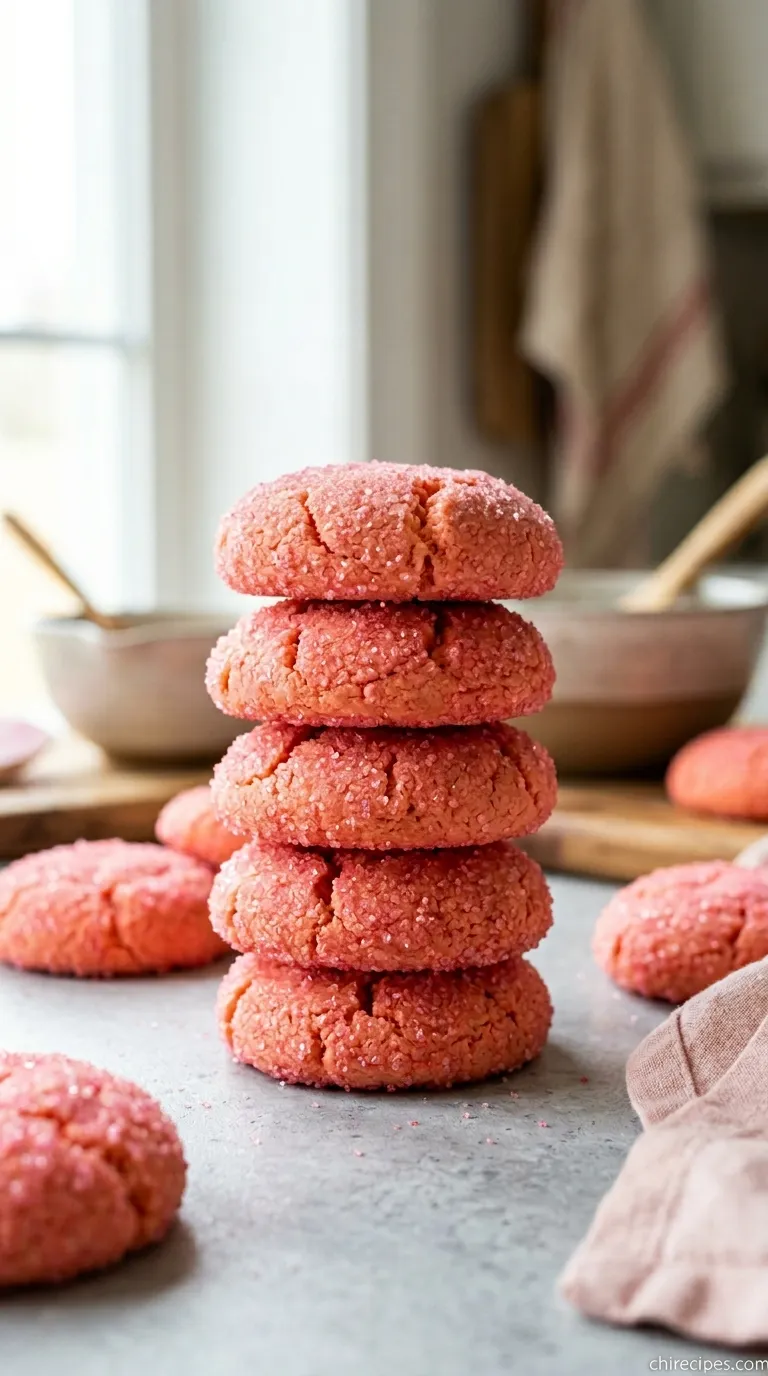
- Vibrant and Delicious Results: We achieve that iconic, eye-catching pink and a crunchy, sparkling sugar topping that provides the perfect textural contrast to the soft cookie beneath.
Key Ingredients for Success
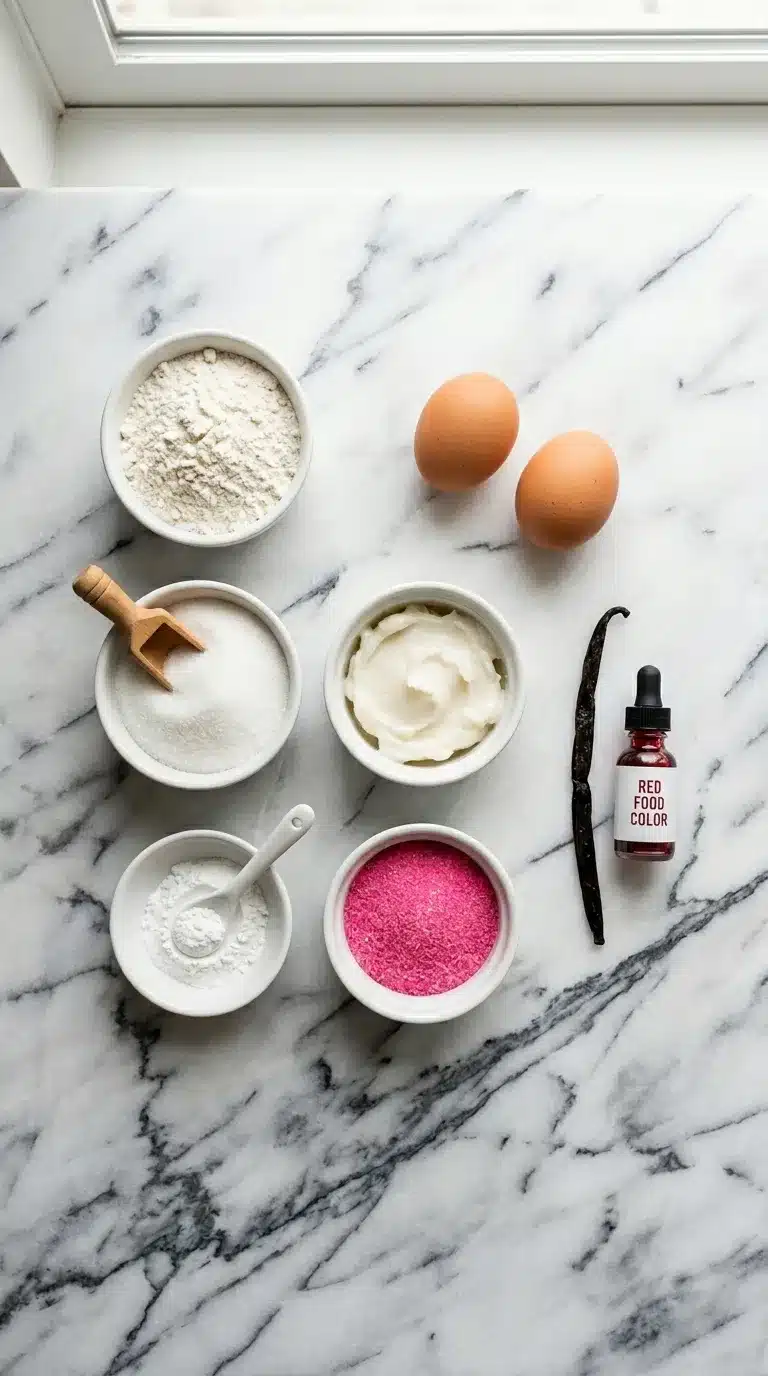
- All-Purpose Flour: (The foundation of our cookie, providing the structure for that soft, cakey interior.)
- Baking Powder: (This is the magic ingredient that gives the cookies their signature lift and light, airy texture.)
- Salt: (Just a pinch to balance the sweetness and enhance all the other flavors.)
- Ground Cinnamon: (A subtle hint of warmth that is classic in many Mexican pastries and adds a layer of complexity.)
- Vegetable Shortening: (The non-negotiable secret to the authentic texture. It creates a much more tender and less greasy cookie than butter.)
- Granulated Sugar: (Provides the sweetness and helps create that light, creamed texture with the shortening.)
- Large Eggs: (Used at room temperature to bind the dough and add richness and moisture.)
- Pure Vanilla Extract: (The primary flavor note that makes these cookies so comforting and delicious.)
- Red or Pink Food Coloring: (Gel food coloring works best for achieving a vibrant hue without adding excess liquid.)
- Pink Sanding Sugar or Sprinkles: (This is for the signature crunchy, sparkling topping. Do not skip this!)
Swaps & Alternatives
While the classic recipe is perfect as is, sometimes you need to work with what you have. Here are a few reliable substitutions.- Butter for Shortening: You can use unsalted butter in a pinch, but be aware the texture will change. The cookies will be flatter and crisper rather than soft and cakey. Ensure the butter is at room temperature.
- Almond Extract: For a different flavor profile, you can substitute half of the vanilla extract with almond extract for a nutty, cherry-like note.
- Different Colors: Don’t feel limited to pink! These cookies are often seen in yellow or green at bakeries. Feel free to use different food coloring and matching sanding sugars.
- Gluten-Free Flour: A good quality 1-to-1 gluten-free baking flour blend (that includes xanthan gum) can be substituted for the all-purpose flour.
Flavor Boosts
Ready to put your own signature spin on this classic? These simple additions can elevate your pink cookies from wonderful to unforgettable.First, consider adding citrus zest. The zest of one lime or half an orange, creamed in with the shortening and sugar, adds a bright, fresh note that cuts through the sweetness beautifully and complements the cinnamon.
For a more complex flavor, try browning half of the fat if you decide to use butter. Brown butter will add a nutty, toasty depth that is absolutely irresistible. Just be sure to let it cool and solidify before creaming it with the sugar.
Another fun twist is to play with the topping. Instead of just pink sugar, try a mix of colors. This is especially great for holidays, much like how you can adapt Rainbow Jello Sugar Cookies for any occasion.
Finally, for a truly unique cookie, consider a small pinch of ancho chili powder or cayenne mixed in with your dry ingredients. It won’t make the cookies spicy, but it will add a subtle, smoky warmth on the finish that is surprisingly delicious.
Step-by-Step Instructions
1. Prepare Your Pans and Dry Ingredients
First things first, let’s get organized. Preheat your oven to 350°F (175°C) and line two large baking sheets with parchment paper. This prevents sticking and makes cleanup a breeze. In a medium bowl, whisk together the all-purpose flour, baking powder, salt, and ground cinnamon. Whisking helps to aerate the flour and distribute the leavening evenly, which is key for a uniform texture. Set this bowl aside for now.2. Cream the Shortening and Sugar
In the bowl of a stand mixer fitted with the paddle attachment, or in a large bowl with a hand mixer, beat the vegetable shortening and granulated sugar on medium-high speed. You’ll want to continue beating for a good 3-4 minutes, until the mixture is very light, pale, and fluffy. Don’t rush this step! This process incorporates air into the dough, which is essential for creating that light, cake-like crumb.3. Incorporate the Wet Ingredients
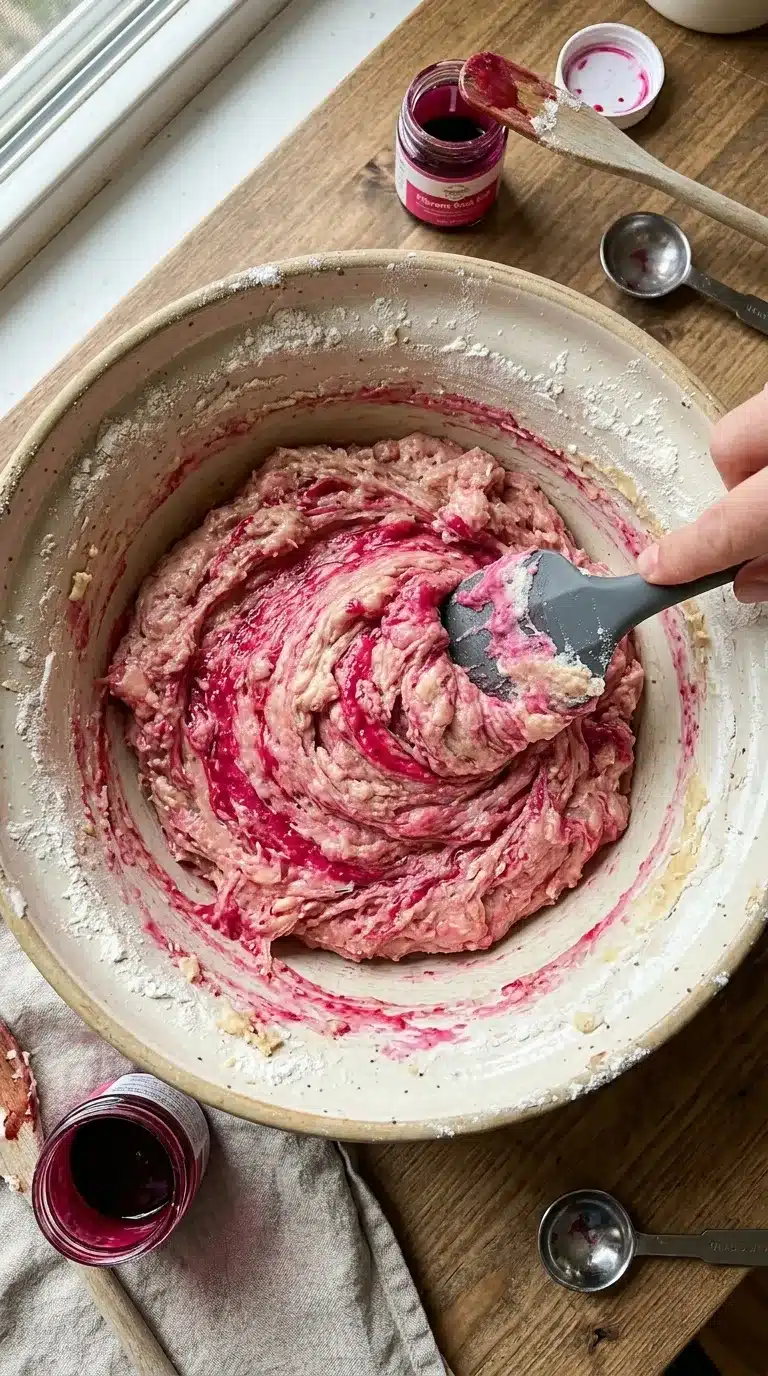
With the mixer on low speed, add the eggs one at a time, making sure each one is fully incorporated before adding the next. Scrape down the sides of the bowl as needed to ensure everything is evenly mixed. Once the eggs are in, add the vanilla extract and a few drops of red or pink food coloring. Mix until the color is uniform. Start with less coloring than you think you need; you can always add more to reach that perfect, vibrant pink.4. Combine Wet and Dry Mixtures
Turn the mixer down to its lowest speed and gradually add the dry ingredient mixture to the wet ingredients in three additions. Mix only until the flour is just barely combined. It’s so important not to overmix here, as that can develop the gluten and result in tough cookies. A few streaks of flour remaining are perfectly fine. This gentle handling is what keeps the cookies tender, a similar principle to making delicate Sugar Cookie Bars.5. Chill the Dough (Optional but Recommended)
While you can bake these right away, I highly recommend chilling the dough for at least 30 minutes. Cover the bowl with plastic wrap and place it in the refrigerator. Chilling solidifies the fat, which helps the cookies hold their domed shape and prevents them from spreading too much in the oven. It also allows the flour to hydrate fully, resulting in a more flavorful and tender cookie.6. Shape and Top the Cookies
Pour your pink sanding sugar or sprinkles into a shallow bowl. Using a medium cookie scoop (about 1.5 tablespoons), portion out the chilled dough and roll it into smooth balls between your palms. Gently flatten each ball into a thick disk, about 1/2-inch thick. Press the top of each disk firmly into the sanding sugar, ensuring it’s generously coated. Place the cookies on your prepared baking sheets, leaving about 2 inches of space between them.7. Bake to Perfection
Bake the cookies for 12-15 minutes. The exact time will depend on your oven. You’ll know they’re done when they are puffed up and the edges are set. The tops should look dry, but they should not be browned at all. The key to their soft texture is to pull them from the oven before they get any color on the bottom. They will continue to cook slightly on the hot pan.8. Cool and Enjoy
Let the cookies cool on the baking sheet for about 5 minutes. This allows them to firm up enough to be moved without breaking. After 5 minutes, transfer them to a wire rack to cool completely. This step is crucial for stopping the cooking process and ensuring the bottoms don’t become soggy. Once cool, they are ready to be devoured!Avoid These Pitfalls
- Overmixing the Dough: Once you add the flour, mix only until it’s just combined. Overworking the dough develops gluten and will make your soft, cakey cookies tough and dense.
- Using Melted or Oily Shortening: Your shortening must be at room temperature—solid but soft. If it’s melted or oily, it won’t cream properly with the sugar, and your cookies will spread into thin, greasy crisps.
- Overbaking: These cookies should be pale and soft. Pull them from the oven the moment the edges are set and the tops look dry. A golden-brown bottom means you’ve gone too far and lost the signature tender texture.
Perfect Pairings
These cookies are a delight on their own, but they truly shine when paired with the right beverage. A tall, cold glass of milk is the classic, can’t-be-beat companion. For a more traditional Mexican experience, serve them alongside a warm mug of *champurrado* (a thick, chocolate-based atole) or a simple café con leche.They also make a fantastic dessert to cap off a festive meal. Imagine serving a beautiful platter of these pink cookies after a dinner of savory Birria Tacos and a side of creamy Queso Rice. It’s the perfect sweet note to end a flavorful feast.
For a special occasion, you could even arrange them on a dessert board with other festive treats. They would look beautiful next to a batch of Valentine Cream Cheese Sugar Cut Out Cookies, creating a lovely contrast in shapes and textures.
First time making Mexican Pink Cookies? I hope this guide made it easy. Let me know how it turned out
What gives Mexican pink cookies their unique soft, cake-like texture?
The authentic soft, cake-like texture comes from using vegetable shortening. Unlike butter, shortening creates a uniquely tender crumb and helps the cookies maintain their classic domed shape by preventing them from spreading too much during baking.
Can I substitute butter for vegetable shortening in this recipe?
Yes, you can use room temperature unsalted butter as a substitute, but be aware that it will change the cookie’s texture. Using butter will result in cookies that are flatter and crisper, rather than having the traditional soft and cakey consistency.
What are the most common mistakes to avoid when making these cookies?
To ensure the best results, avoid three main pitfalls: 1) Overmixing the dough after adding flour, which makes the cookies tough. 2) Using melted or oily shortening, which causes them to become greasy and spread too thin. 3) Overbaking, as they should be pulled from the oven while still pale to maintain their signature soft texture.

Mexican Pink Cookies (Polvorones Rosas)
Ingredients
Equipment
Method
- Preheat your oven to 350°F (175°C) and line two large baking sheets with parchment paper. In a medium bowl, whisk together the all-purpose flour, baking powder, salt, and ground cinnamon. Set aside.
- In the bowl of a stand mixer with the paddle attachment, or in a large bowl with a hand mixer, beat the vegetable shortening and granulated sugar on medium-high speed for 3-4 minutes until the mixture is very light, pale, and fluffy.
- With the mixer on low speed, add the eggs one at a time, mixing well after each addition. Scrape down the sides of the bowl. Mix in the vanilla extract and a few drops of pink food coloring until the color is uniform.
- Turn the mixer to its lowest speed and gradually add the dry ingredient mixture in three parts, mixing only until just combined. Do not overmix; a few streaks of flour are okay.
- Cover the bowl with plastic wrap and chill the dough in the refrigerator for at least 30 minutes. This step is optional but highly recommended to prevent spreading.
- Pour the pink sanding sugar into a shallow bowl. Use a medium cookie scoop (about 1.5 tablespoons) to portion the dough. Roll each portion into a ball, then gently flatten into a thick disk, about 1/2-inch thick.
- Press the top of each dough disk firmly into the sanding sugar to coat it generously. Place the cookies on the prepared baking sheets, leaving about 2 inches of space between them.
- Bake for 12-15 minutes, until the cookies are puffed and the edges are set. The tops should look dry but not browned. Avoid overbaking to keep them soft.
- Let the cookies cool on the baking sheet for 5 minutes before transferring them to a wire rack to cool completely.