
The Dream Team: What You’ll Need
For the Peanut Butter Cookies:
- 1/2 cup (1 stick) unsalted butter, softened
- 1/2 cup creamy peanut butter
- 1/2 cup granulated sugar
- 1/2 cup packed brown sugar
- 1 large egg
- 1 teaspoon vanilla extract
- 1 1/2 cups all-purpose flour
- 3/4 teaspoon baking soda
- 1/2 teaspoon baking powder
- 1/4 teaspoon salt
For the Chocolate Kisses:
- Approximately 36 Hershey’s Kisses, unwrapped
Let’s Get Baking: Step-by-Step Instructions

-
Creaming the Dream
In a large bowl (or the bowl of your stand mixer), cream together the softened butter, peanut butter, granulated sugar, and brown sugar until light and fluffy. This step is crucial! Don’t rush it. The mixture should be pale and aerated, which will contribute to a tender cookie. We’re aiming for about 3-5 minutes on medium speed. If you’re using a hand mixer, just be prepared for a little arm workout! But hey, you’ll burn a few extra calories before you even eat the cookies. 😉
-
Egg-cellent Addition
Beat in the egg and vanilla extract until well combined. Make sure you scrape down the sides of the bowl to ensure everything is incorporated evenly.
-
Dry Ingredients, Assemble!
In a separate bowl, whisk together the flour, baking soda, baking powder, and salt. This helps to distribute the leavening agents evenly throughout the flour. Slowly add the dry ingredients to the wet ingredients, mixing until just combined. Be careful not to overmix! Overmixing develops the gluten in the flour, which can lead to tough cookies. Stop mixing when you no longer see streaks of flour.
-
Chill Out, Cookies
Cover the dough and chill in the refrigerator for at least 30 minutes. This step is important! Chilling the dough prevents the cookies from spreading too thin in the oven and also allows the flavors to meld together. Trust me, it’s worth the wait. If you’re short on time, you can chill it for as little as 15 minutes, but the longer, the better.
-
Preheat and Prep
Preheat your oven to 375°F (190°C). Line baking sheets with parchment paper or silicone baking mats. This will prevent the cookies from sticking and make cleanup a breeze.
-
Roll and Ready
Roll the dough into 1-inch balls and place them on the prepared baking sheets, about 2 inches apart. You can use a small cookie scoop for uniform size, which will ensure even baking.
-
Fork It Over
Using a fork, flatten each cookie in a criss-cross pattern. This not only gives the cookies their signature look but also helps them bake evenly. Dip the fork in sugar between cookies to prevent sticking (optional, but recommended!).
-
Bake to Perfection
Bake for 8-10 minutes, or until the edges are lightly golden brown. Keep a close eye on them! Every oven is different, so baking times may vary slightly. The cookies should still be slightly soft in the center.
-
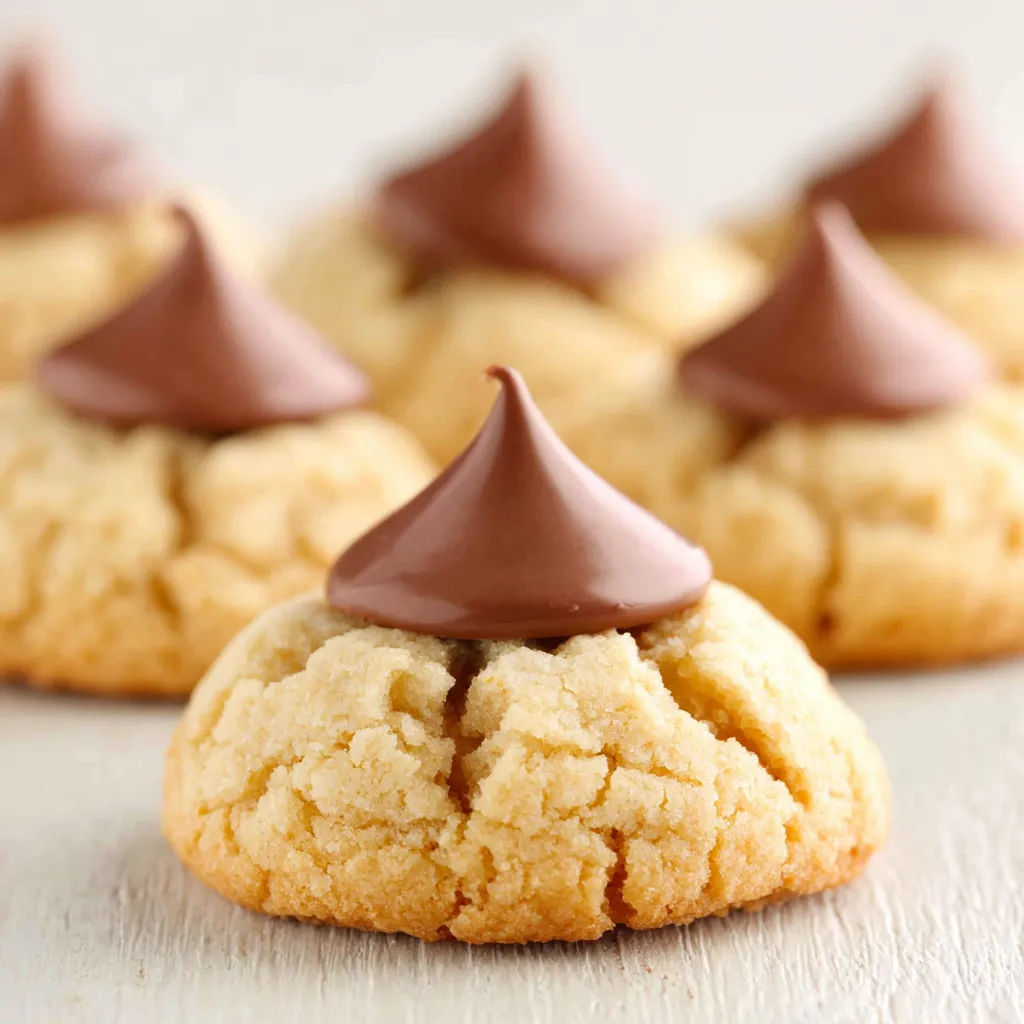
Kiss Time!
Remove the baking sheets from the oven and immediately press a Hershey’s Kiss into the center of each cookie. The heat from the cookies will slightly melt the chocolate, helping it adhere. Work quickly so the cookies don’t cool down too much.
-
Cool and Enjoy
Let the cookies cool on the baking sheets for a few minutes before transferring them to a wire rack to cool completely. This will prevent them from breaking apart. Now, the hardest part: resist the urge to eat them all at once! (Okay, maybe you can have one… or two…). These are also amazing with Pecan Pie Cookie Bites!
Troubleshooting Tips for Perfect Kisses
- Cookies Spreading Too Thin? If your cookies are spreading too much, make sure your butter isn’t too soft and that you chilled the dough sufficiently. Adding a tablespoon or two of flour can also help.
- Kisses Not Sticking? Make sure you’re pressing the Kisses into the cookies immediately after they come out of the oven. If they’ve cooled too much, pop them back in the oven for a minute or two to soften them up slightly.
- Dry Cookies? Overbaking is the most common cause of dry cookies. Keep a close eye on them and remove them from the oven when the edges are just lightly golden brown.
- Peanut Butter Not Cooperating? Sometimes, natural peanut butter can be a bit oily. Make sure to stir it well before measuring, and consider using a commercial brand for more consistent results.
Variations to Keep Things Interesting
- Chocolate Peanut Butter: Add 1/4 cup of cocoa powder to the dry ingredients for a richer, chocolatey flavor.
- Nutty Delight: Roll the dough balls in chopped peanuts before baking for added crunch and flavor.
- Sprinkle Magic: Add some colorful sprinkles to the tops of the cookies before baking for a festive touch.
- Different Kisses: Experiment with different flavors of Hershey’s Kisses, such as caramel-filled or dark chocolate.
- Espresso Kick: Add a teaspoon of instant espresso powder to the dry ingredients to enhance the peanut butter flavor.
Serving Suggestions: Beyond the Cookie Jar
These Peanut Butter Kiss Cookies are perfect on their own, but here are a few ideas to elevate your cookie experience:
- Ice Cream Sandwiches: Use the cookies as the “bread” for ice cream sandwiches. Peanut butter ice cream would be divine!
- Cookie Crumbles: Crumble the cookies over yogurt, ice cream, or even pancakes for a peanut butter-chocolatey topping.
- Gift Giving: Package the cookies in a cute tin or box for a thoughtful homemade gift.
- Party Platter: Add these cookies to a dessert platter alongside other treats like Peanut Butter Bites, Sugar Cookie Bars and Pecan Pie Crescent Rolls for variety.
- Milk and Cookies: Classic for a reason! Enjoy these cookies with a cold glass of milk (or almond milk, if you prefer).
Storing Your Little Bites of Happiness
To keep your Peanut Butter Kiss Cookies fresh and delicious, store them in an airtight container at room temperature. They’ll stay good for about 3-5 days. If you want to store them for longer, you can freeze them for up to 2 months. Just make sure they’re completely cool before freezing, and thaw them at room temperature before serving. Consider making Peanut Butter Fudge and storing it with these for the ultimate snack selection!
Why This Recipe Works: The Science of Cookie Perfection
This recipe is carefully balanced to create the perfect texture and flavor. The combination of butter and peanut butter provides richness and tenderness, while the granulated and brown sugars contribute to sweetness and moisture. The baking soda and baking powder work together to give the cookies a light and airy texture, and the chilling step prevents them from spreading too thin. Each ingredient plays a crucial role in creating a truly irresistible Peanut Butter Kiss Cookie.
I hope you enjoy making these Peanut Butter Kiss Cookies as much as I do! They’re a guaranteed crowd-pleaser and a fun way to spend an afternoon in the kitchen. Happy baking, my friend!
Why is chilling the cookie dough important for this Peanut Butter Kiss Cookie recipe?
Chilling the dough prevents the cookies from spreading too thin in the oven and allows the flavors to meld together, resulting in a better texture and taste.
My Peanut Butter Kiss Cookies are spreading too thin. What can I do to fix this?
If your cookies are spreading too much, make sure your butter isn’t too soft and that you chilled the dough sufficiently. Adding a tablespoon or two of flour can also help.
How should I store these Peanut Butter Kiss Cookies to keep them fresh?
To keep your Peanut Butter Kiss Cookies fresh, store them in an airtight container at room temperature for about 3-5 days. For longer storage, you can freeze them for up to 2 months after they are completely cooled.
What are some variations I can try to change up the flavor of these cookies?
You can try adding 1/4 cup of cocoa powder for a chocolate peanut butter flavor, rolling the dough in chopped peanuts for a nutty delight, adding sprinkles for a festive touch, using different flavors of Hershey’s Kisses, or adding a teaspoon of instant espresso powder to enhance the peanut butter flavor.
Peanut Butter Kiss Cookies Ultimate
Ingredients
Equipment
Method
- In a large bowl (or the bowl of your stand mixer), cream together the softened butter, peanut butter, granulated sugar, and brown sugar until light and fluffy, about 3-5 minutes on medium speed.
- Beat in the egg and vanilla extract until well combined. Scrape down the sides of the bowl.
- In a separate bowl, whisk together the flour, baking soda, baking powder, and salt.
- Slowly add the dry ingredients to the wet ingredients, mixing until just combined. Be careful not to overmix.
- Cover the dough and chill in the refrigerator for at least 30 minutes.
- Preheat your oven to 375°F (190°C). Line baking sheets with parchment paper or silicone baking mats.
- Roll the dough into 1-inch balls and place them on the prepared baking sheets, about 2 inches apart.
- Using a fork, flatten each cookie in a criss-cross pattern. Dip the fork in sugar between cookies to prevent sticking (optional).
- Bake for 8-10 minutes, or until the edges are lightly golden brown. The cookies should still be slightly soft in the center.
- Remove the baking sheets from the oven and immediately press a Hershey’s Kiss into the center of each cookie.
- Let the cookies cool on the baking sheets for a few minutes before transferring them to a wire rack to cool completely.


