
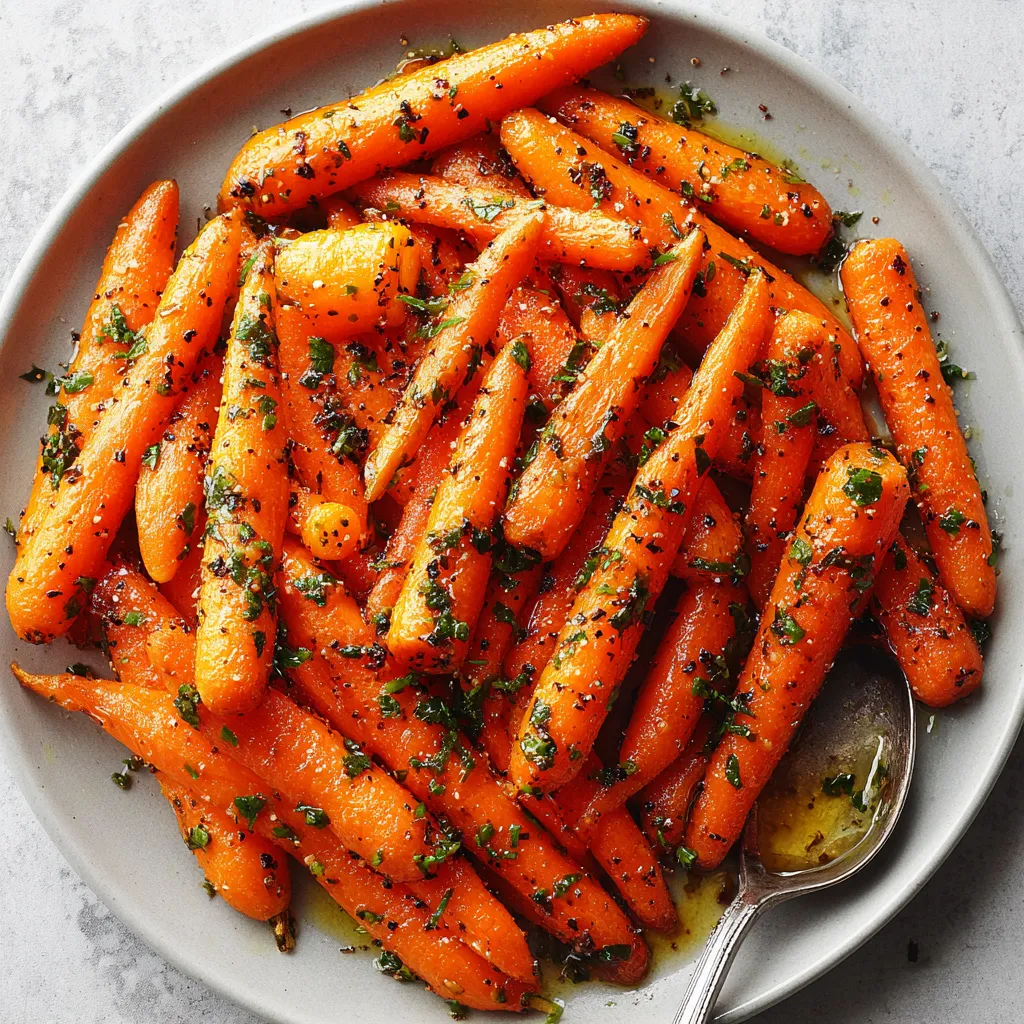
Imagine tender, slightly sweet carrots, glistening with a buttery glaze that’s just begging to be drizzled over everything else on your plate. These Glazed Carrots are the ultimate simple side dish, perfect for elevating any meal from ordinary to extraordinary. I promise, even the pickiest eaters will be asking for seconds!
Ingredients
What You’ll Need:
- Carrots: 1 pound, peeled and sliced (about 1/4 inch thick)
- Butter: 2 tablespoons, unsalted
- Brown Sugar: 2 tablespoons, packed
- Honey: 1 tablespoon
- Water: 1/4 cup
- Salt: 1/4 teaspoon
- Black Pepper: Pinch, to taste
- Fresh Parsley: (optional) chopped, for garnish
Gather Your Tools

Before we dive into the cooking process, let’s make sure you have everything you need at hand. A little prep goes a long way in making cooking a breeze!
- Cutting board
- Sharp knife
- Large skillet or sauté pan with a lid
- Measuring spoons and cups
- Spatula or wooden spoon
Step-by-Step Instructions
Getting Started:
- Prepare the Carrots: Wash, peel, and slice the carrots into approximately 1/4-inch thick rounds. Consistency in thickness will ensure even cooking.
Cooking the Carrots:
- Melt the Butter: In your large skillet, melt the butter over medium heat. Make sure it’s melted but not browned.
- Add Carrots and Water: Add the sliced carrots and water to the skillet. Stir to combine.
- Simmer: Cover the skillet with a lid and let the carrots simmer for about 8-10 minutes, or until they are tender-crisp. You want them to be cooked through but still have a bit of a bite.
- Check for Doneness: Pierce a carrot with a fork. It should be easily pierced but not mushy. If the water has evaporated before the carrots are tender, add a tablespoon or two more, and continue simmering.
Making the Glaze:
- Add Glaze Ingredients: Remove the lid. Add the brown sugar, honey, salt, and pepper to the skillet.
- Stir and Glaze: Stir everything together until the brown sugar is dissolved and the carrots are evenly coated with the glaze.
- Simmer and Reduce: Continue to cook, uncovered, for another 3-5 minutes, or until the glaze has thickened and is sticky. Be careful not to burn the glaze – reduce the heat if necessary. Stir frequently to prevent sticking.
Finishing Touches:
- Taste and Adjust: Give the Glazed Carrots a taste and adjust the seasoning as needed. You might want a pinch more salt or a drizzle more honey, depending on your preference.
- Garnish (Optional): Sprinkle with fresh, chopped parsley for a pop of color and freshness.
- Serve: Serve the Glazed Carrots immediately while they are warm and glistening.
Tips for the Best Glazed Carrots
Let’s talk about some insider tips that will take your Glazed Carrots to the next level!
- Even Slicing is Key: Consistent carrot slices ensure even cooking. Uneven slices can lead to some carrots being perfectly cooked while others are still crunchy.
- Don’t Overcook: Overcooked carrots become mushy and lose their appeal. Aim for tender-crisp perfection.
- Adjust the Sweetness: If you prefer a less sweet glaze, reduce the amount of brown sugar or honey. You can also add a squeeze of lemon juice for a bit of tartness to balance the sweetness.
- Spice It Up: Add a pinch of ground ginger, cinnamon, or nutmeg to the glaze for a warm, spiced flavor.
- Use Fresh Carrots: While you can use baby carrots in a pinch, freshly peeled and sliced carrots will give you the best flavor and texture.
Variations on a Theme
Want to mix things up? Here are a few variations to make these Glazed Carrots your own:
- Maple Glazed Carrots: Substitute maple syrup for honey in the glaze for a richer, more complex flavor.
- Ginger Glazed Carrots: Add 1 teaspoon of grated fresh ginger to the glaze for a warm, spicy kick.
- Balsamic Glazed Carrots: Add 1 tablespoon of balsamic vinegar to the glaze for a tangy, sophisticated twist.
- Herb-Infused Carrots: Toss the cooked carrots with fresh herbs like thyme or rosemary for an earthy aroma.
- Spicy Glazed Carrots: Add a pinch of red pepper flakes to the glaze for a touch of heat.
Serving Suggestions
Glazed Carrots are incredibly versatile and pair well with a variety of dishes. Here are some ideas to get you started:
- Holiday Feasts: They are a classic side dish for Thanksgiving or Christmas dinner, complementing dishes like roast turkey, ham, and mashed potatoes. Don’t forget the Cranberry Saucee!
- Weeknight Dinners: Serve them alongside roasted chicken, pork chops, or grilled fish for a simple yet satisfying meal.
- Vegetarian Mains: Pair them with lentil loaf, stuffed bell peppers, or a hearty grain bowl for a complete vegetarian meal.
- Potlucks and Parties: Glazed Carrots are a crowd-pleasing side dish that’s easy to transport and always a hit.
Consider serving alongside a classic Green Bean Bake or a more traditional Green Bean Casserole. For something different, try a Green Bean Potato Casserole. You can also explore simple Green Beans recipes to complement your Glazed Carrots.
Make-Ahead Tips and Storage
Want to get a head start on dinner? Here’s how to prep and store your Glazed Carrots:
- Prep Ahead: You can peel and slice the carrots up to 2 days in advance. Store them in an airtight container in the refrigerator.
- Make Ahead: You can cook the Glazed Carrots completely and store them in an airtight container in the refrigerator for up to 3 days. Reheat them gently in a skillet over medium heat or in the microwave.
- Storage: Leftover Glazed Carrots should be stored in an airtight container in the refrigerator for up to 3 days.
- Reheating: Reheat them gently in a skillet over medium heat, adding a splash of water if needed to prevent them from drying out. You can also reheat them in the microwave, but be careful not to overcook them.
Troubleshooting Common Issues
Sometimes things don’t go exactly as planned in the kitchen. Here are some common issues you might encounter and how to fix them:
- Carrots are Still Crunchy: If the carrots are still crunchy after the simmering time, add a tablespoon or two more water and continue to simmer until they are tender.
- Glaze is Too Thin: If the glaze is too thin, continue to cook it, uncovered, over medium heat until it thickens to your desired consistency. Be careful not to burn it.
- Glaze is Too Thick: If the glaze is too thick, add a tablespoon or two of water and stir until it thins out.
- Carrots are Too Sweet: If the carrots are too sweet, add a squeeze of lemon juice or a pinch of salt to balance the sweetness.
Why I Love This Recipe
Honestly, this Glazed Carrots recipe is one of my go-to side dishes because it’s just so easy and reliable. It’s a fantastic way to get those veggies in, and the glaze makes them feel like a treat. Plus, it’s always a crowd-pleaser, even with the kids! I love how versatile it is – you can easily customize the flavors to suit your taste or the occasion. Whether it’s a holiday feast or a simple weeknight dinner, these Glazed Carrots always deliver.
Final Thoughts
So, there you have it – a simple, foolproof recipe for Glazed Carrots that’s sure to impress. I truly believe anyone can make this, and I hope you give it a try. Enjoy the process, experiment with flavors, and most importantly, savor the delicious results. Happy cooking!
How can I prevent my glazed carrots from becoming mushy?
Avoid overcooking the carrots. Aim for a tender-crisp texture. Consistent carrot slices will also ensure even cooking, preventing some from becoming mushy while others are still crunchy.
What are some variations I can make to the glazed carrots recipe?
You can try Maple Glazed Carrots (substituting maple syrup for honey), Ginger Glazed Carrots (adding grated ginger), Balsamic Glazed Carrots (adding balsamic vinegar), Herb-Infused Carrots (tossing with fresh herbs), or Spicy Glazed Carrots (adding red pepper flakes).
Can I prepare the glazed carrots ahead of time?
Yes, you can peel and slice the carrots up to 2 days in advance and store them in an airtight container in the refrigerator. You can also cook the Glazed Carrots completely and store them in the refrigerator for up to 3 days, reheating them gently before serving.
What can I do if the glaze is too thin or too thick?
If the glaze is too thin, continue to cook it, uncovered, over medium heat until it thickens. If the glaze is too thick, add a tablespoon or two of water and stir until it thins out.
Easy Glazed Carrots
Ingredients
Equipment
Method
- Wash, peel, and slice the carrots into approximately 1/4-inch thick rounds.
- In a large skillet, melt the butter over medium heat.
- Add the sliced carrots and water to the skillet. Stir to combine.
- Cover the skillet with a lid and let the carrots simmer for about 8-10 minutes, or until they are tender-crisp.
- Pierce a carrot with a fork to check for doneness. If the water has evaporated before the carrots are tender, add a tablespoon or two more, and continue simmering.
- Remove the lid.
- Add the brown sugar, honey, salt, and pepper to the skillet.
- Stir everything together until the brown sugar is dissolved and the carrots are evenly coated with the glaze.
- Continue to cook, uncovered, for another 3-5 minutes, or until the glaze has thickened and is sticky. Stir frequently to prevent sticking.
- Taste and adjust the seasoning as needed.
- Sprinkle with fresh, chopped parsley for garnish (optional).
- Serve the Glazed Carrots immediately while they are warm and glistening.


