Ingredients
Equipment
Method
- Preheat your oven to 375°F (190°C). Grease and lightly flour a 9x13 inch baking pan.
- In a large bowl, whisk together the flour, sugar, and salt.
- Add the cold, cubed butter to the flour mixture. Use a pastry blender or your fingers to cut the butter into the flour until the mixture resembles coarse crumbs. You can also use a food processor for this step. Just pulse until the mixture is crumbly. Keep the butter cold for the best texture.
- Beat in the vanilla extract and egg until just combined. The dough will be crumbly and may seem a little dry, and that’s okay!
- Press about half of the crumb mixture evenly into the prepared baking pan. Use the bottom of a measuring cup or your fingers to create a firm, even crust.
- In a bowl, combine the cherry pie filling with cornstarch (if using) and almond extract (if using). Stir gently to combine.
- Spread the cherry pie filling evenly over the crust in the pan. Make sure to get the filling edge to edge.
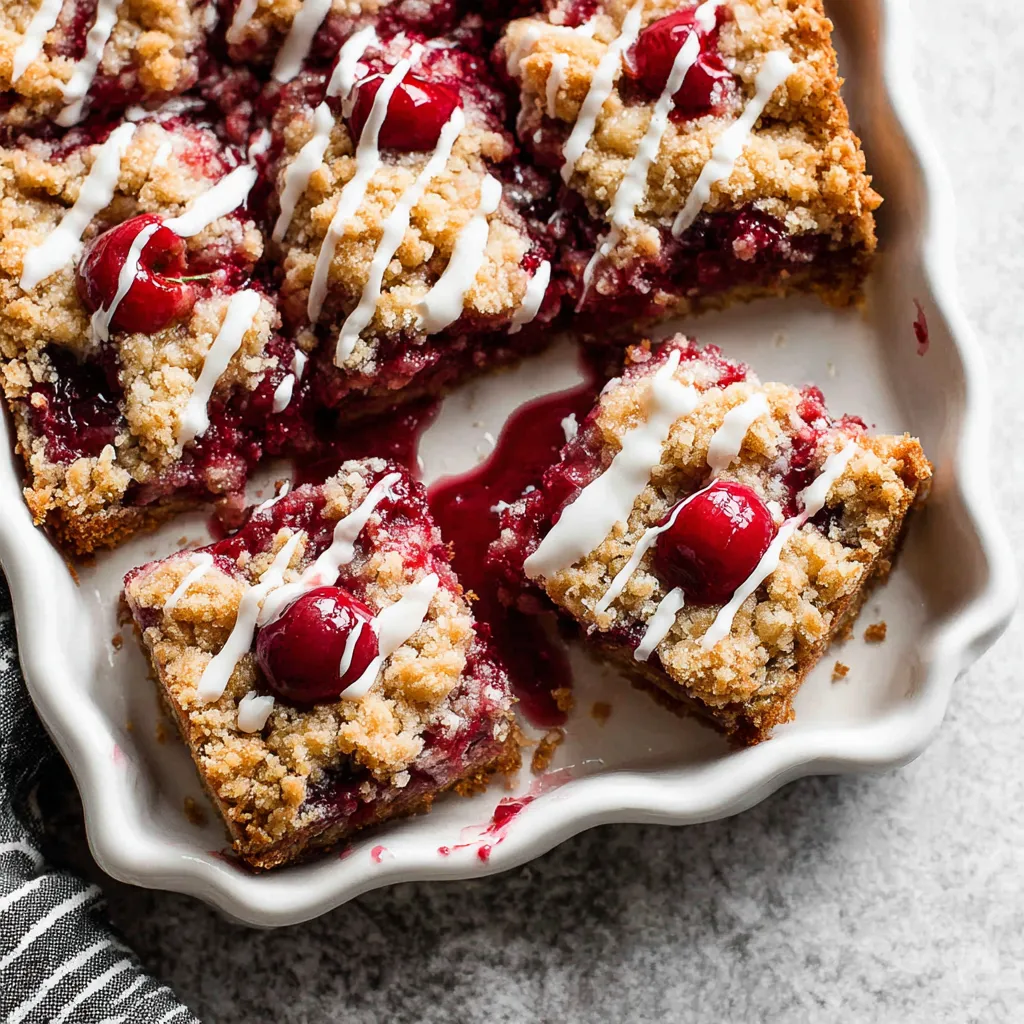
- Crumble the remaining dough evenly over the cherry pie filling. Don’t worry about completely covering the filling – some exposed cherries are perfectly fine!
- Bake for 30-35 minutes, or until the crust is golden brown and the filling is bubbly.
- Let the bars cool completely in the pan before cutting into squares. I usually put them in the refrigerator to cool down faster.
- Once cooled, cut the bars into squares and serve. These are delicious on their own, but you can also top them with a scoop of vanilla ice cream or a dollop of whipped cream.
Notes
For best results, use cold butter and avoid overmixing the dough. Lining the baking pan with parchment paper makes removal and cleanup easier. These bars can be stored in an airtight container at room temperature for up to 3 days or frozen for up to 2 months. Consider adding a pinch of cinnamon or nutmeg to the crust for a warm, spiced flavor. You can easily substitute other fruit pie fillings, like apple or blueberry, based on your preference.
