Ingredients
Equipment
Method
- In a medium bowl, whisk together the all-purpose flour, baking soda, and salt. This step evenly distributes the ingredients. Set aside.
- In the bowl of a stand mixer with the paddle attachment, or in a large bowl with a hand mixer, beat the softened butter, creamy peanut butter, granulated sugar, and brown sugar on medium-high speed for 2-3 minutes until light and fluffy.
- Scrape down the sides of the bowl. Add the egg and vanilla extract and beat until just combined. On low speed, gradually add the dry ingredient mixture and mix only until the last streaks of flour have disappeared. Do not overmix.
- Scrape the dough onto a piece of plastic wrap, form it into a flattened disk, and wrap it tightly. Refrigerate for at least one hour or up to two days. This chilling step is crucial for preventing the cookies from spreading.
- Preheat your oven to 375°F (190°C) and line two baking sheets with parchment paper. For each cookie, roll two small, equal-sized balls of dough (about ½ inch each). Place them side-by-side on the baking sheet and gently press them together to form a peanut shape.
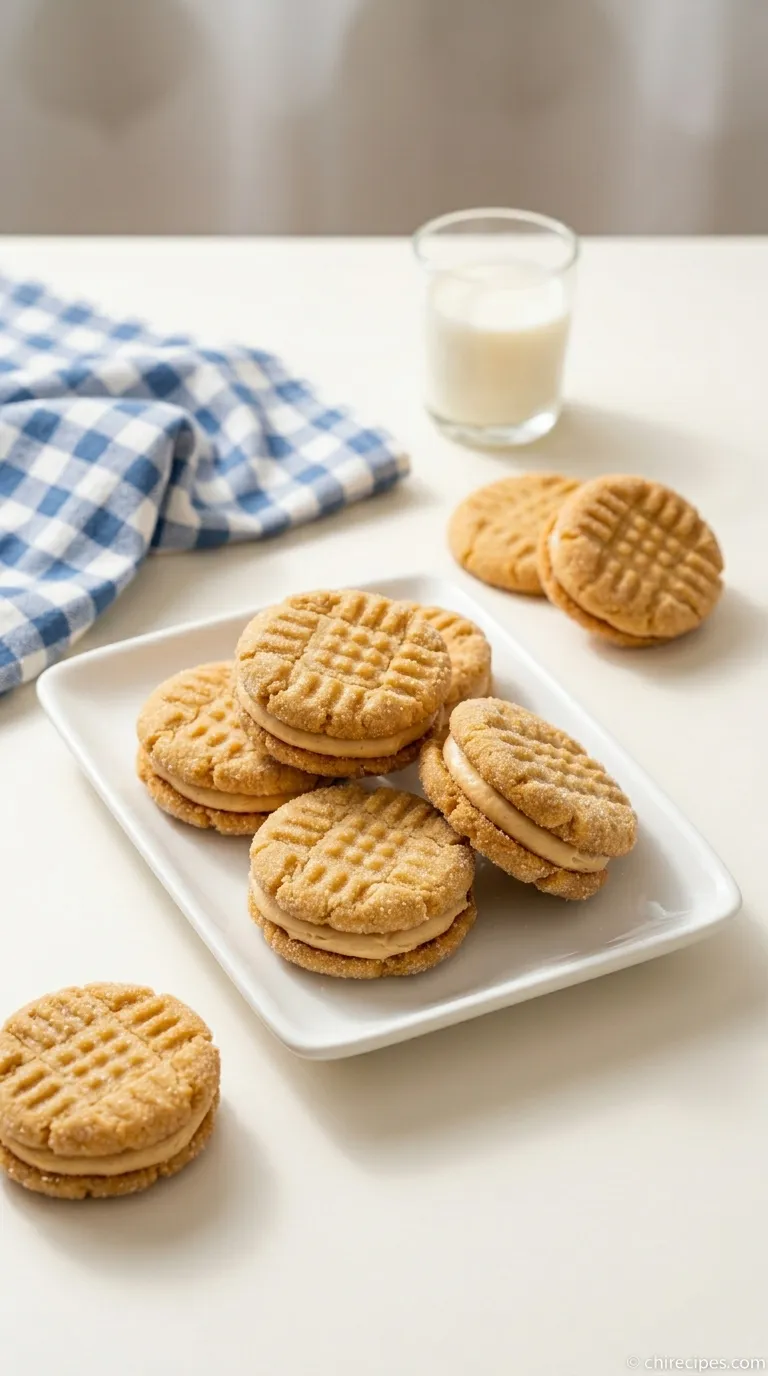
- Using the tines of a fork, gently press a crosshatch pattern onto the surface of each cookie, flattening it slightly.
- Bake for 9-11 minutes, until the edges are lightly golden brown. Let the cookies rest on the baking sheet for 5 minutes before transferring them to a wire rack to cool completely.
- While the cookies cool, prepare the filling. In a small bowl, combine the creamy peanut butter, powdered sugar, and salt. Stir with a spatula until completely smooth. If it's too stiff, add a teaspoon of milk or cream to make it more spreadable.
- Once the cookies are completely cool, spread a small amount of filling onto the flat side of one cookie and gently press another cookie on top to create a sandwich. Repeat with the remaining cookies.
Notes
Tips for Success:
- Chilling the dough is non-negotiable for achieving the classic peanut shape and preventing spread.
- Use a commercial, no-stir creamy peanut butter for the best, most consistent texture in both the dough and filling.
- Ensure your dough balls are uniform in size for even baking and perfectly matched pairs.
- Always allow cookies to cool completely before filling to prevent the filling from melting. Variations & Substitutions:
- Chocolate-Dipped: Dip half of each assembled cookie in melted semi-sweet chocolate and let set on parchment paper.
- Crunchy Twist: Use crunchy peanut butter in the cookie dough, but stick with creamy for the filling.
- PB&J Style: Omit the peanut butter filling and sandwich the cookies with a thick strawberry or raspberry jam instead.
- Gluten-Free: Substitute a quality 1-to-1 gluten-free baking flour blend containing xanthan gum. Storage:
- Store the finished cookies in an airtight container at room temperature for up to 5 days.