Ingredients
Equipment
Method
- Prepare the herbed butter: In a medium bowl, combine the softened butter, minced garlic, chopped parsley, chives, dill, lemon juice, salt, and pepper. Mix well until everything is evenly distributed.
- Shape the butter: Place the herbed butter mixture onto a sheet of plastic wrap. Form it into a log shape, about 1-inch in diameter. Wrap tightly and refrigerate for at least 30 minutes, or until firm.
- Prepare the chicken: Place a chicken breast on a cutting board. Cover it with plastic wrap and pound it with a meat mallet until it's about 1/4-inch thick. Repeat with the remaining chicken breasts.
- Season the chicken: Season both sides of each chicken cutlet with salt and pepper.
- Assemble the Kiev: Unwrap the chilled herbed butter and cut it into 4 equal portions. Place one portion of butter in the center of each chicken cutlet.
- Wrap the butter: Carefully fold the sides of the chicken cutlet over the butter, then roll it up tightly, ensuring the butter is completely sealed inside. Use toothpicks to secure the seams if needed.
- Prepare the breading station: Set up three shallow dishes. In the first, place the all-purpose flour. In the second, whisk the eggs with a tablespoon of water. In the third, place the panko breadcrumbs.
- Bread the chicken: Dredge each chicken Kiev in the flour, shaking off any excess. Then, dip it into the egg mixture, ensuring it's fully coated. Finally, coat it thoroughly with the panko breadcrumbs, pressing gently to help them adhere.
- Chill the breaded Kievs: Place the breaded chicken Kievs on a plate or baking sheet and refrigerate for at least 30 minutes.
- Fry the chicken: Fill a large, heavy-bottomed skillet with about 1 inch of vegetable oil. Heat the oil over medium-high heat until it reaches 350°F (175°C).
- Cook to golden perfection: Carefully place the chicken Kievs into the hot oil, being careful not to overcrowd the pan. Cook for about 5-7 minutes per side, or until golden brown and cooked through. The internal temperature of the chicken should reach 165°F (74°C).
- Drain and serve: Remove the chicken Kievs from the skillet and place them on a wire rack lined with paper towels to drain any excess oil. Remove the toothpicks, if used.
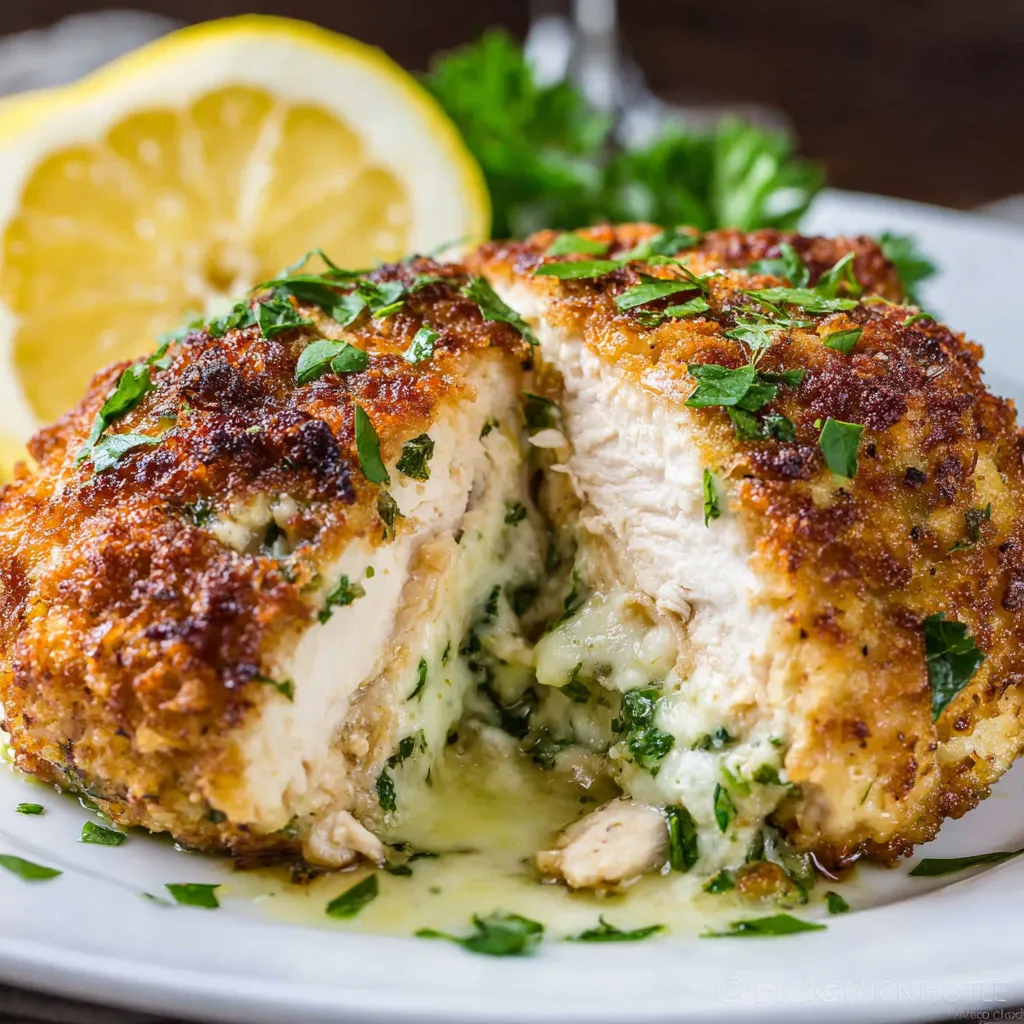
- Serve immediately: Serve the Chicken Kiev immediately while it's hot and crispy.
Notes
For extra crispy results, double bread the chicken. After the first breading, chill for 15 minutes, then repeat the egg and panko steps. Ensure the oil temperature remains consistent during frying for even cooking. Serve with mashed potatoes and roasted asparagus for a complete meal. To prevent the butter from leaking, ensure the butter is very cold and the chicken is sealed tightly. You can use an air fryer as a healthier alternative to deep frying.